
Hey guys!!
Today I’ve got a video tutorial for the #2 voted style from a couple of weeks ago. It’s this super easy and chic criss cross pompadour & double bun.

To get all the deets on how I got this look click here.
XOXO
~TJ

Hey guys!!
Today I’ve got a video tutorial for the #2 voted style from a couple of weeks ago. It’s this super easy and chic criss cross pompadour & double bun.
To get all the deets on how I got this look click here.
XOXO
~TJ
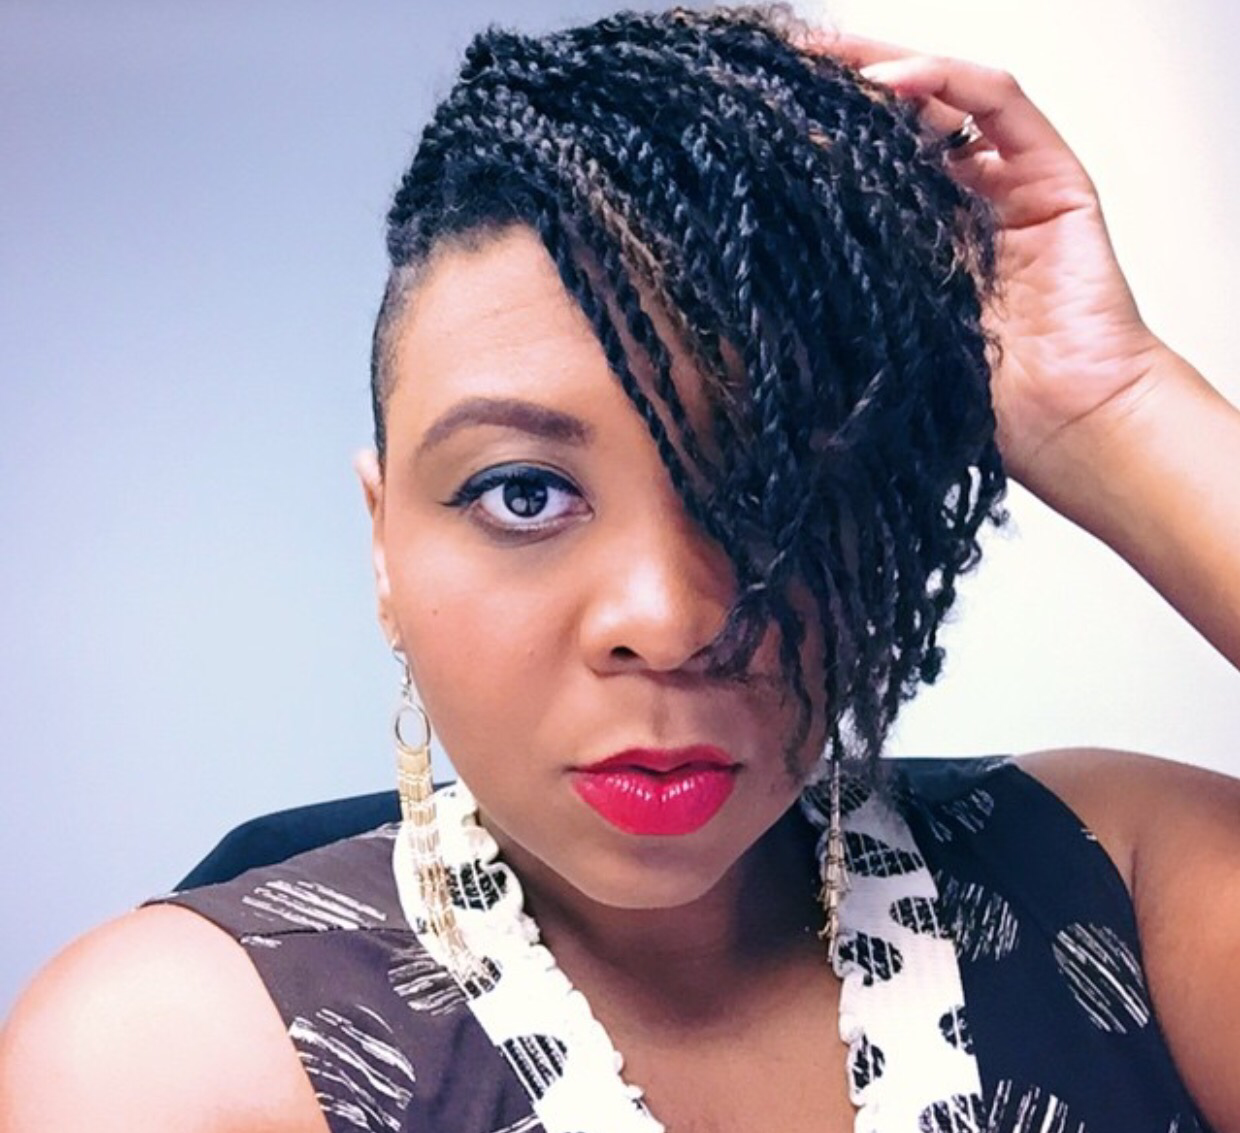
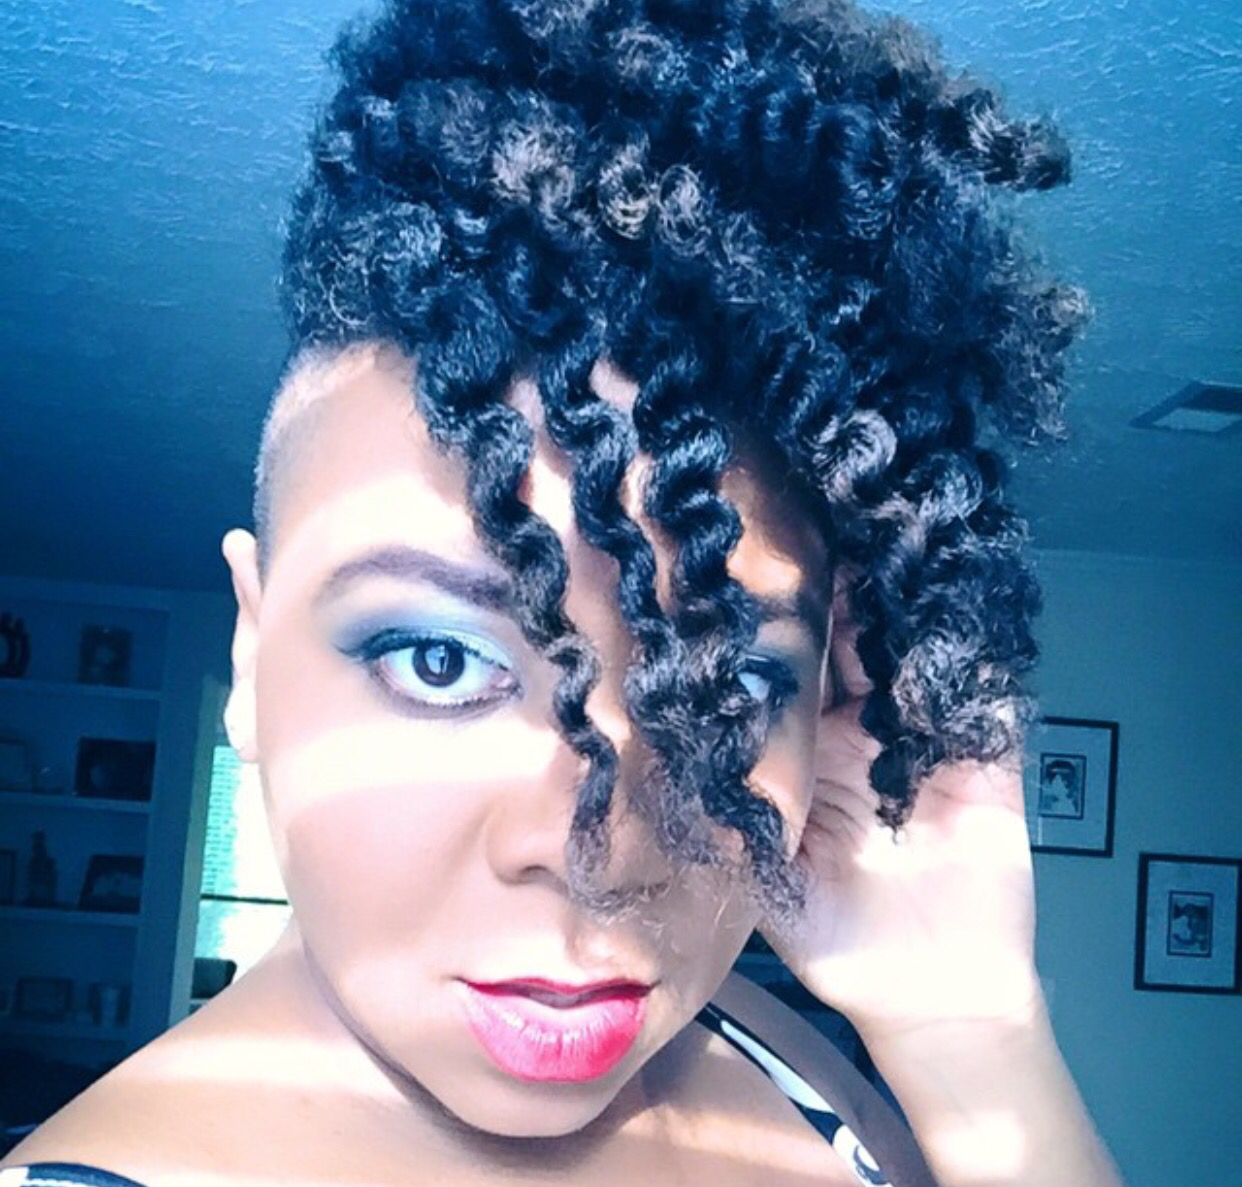
Twists or twists outs? That’s the question for today! The answer isn’t quite that simple however. Let’s talk about the pros and cons of each.
Pros of Twists
1. I love the look – Generally speaking I love the way twists lookM on me.
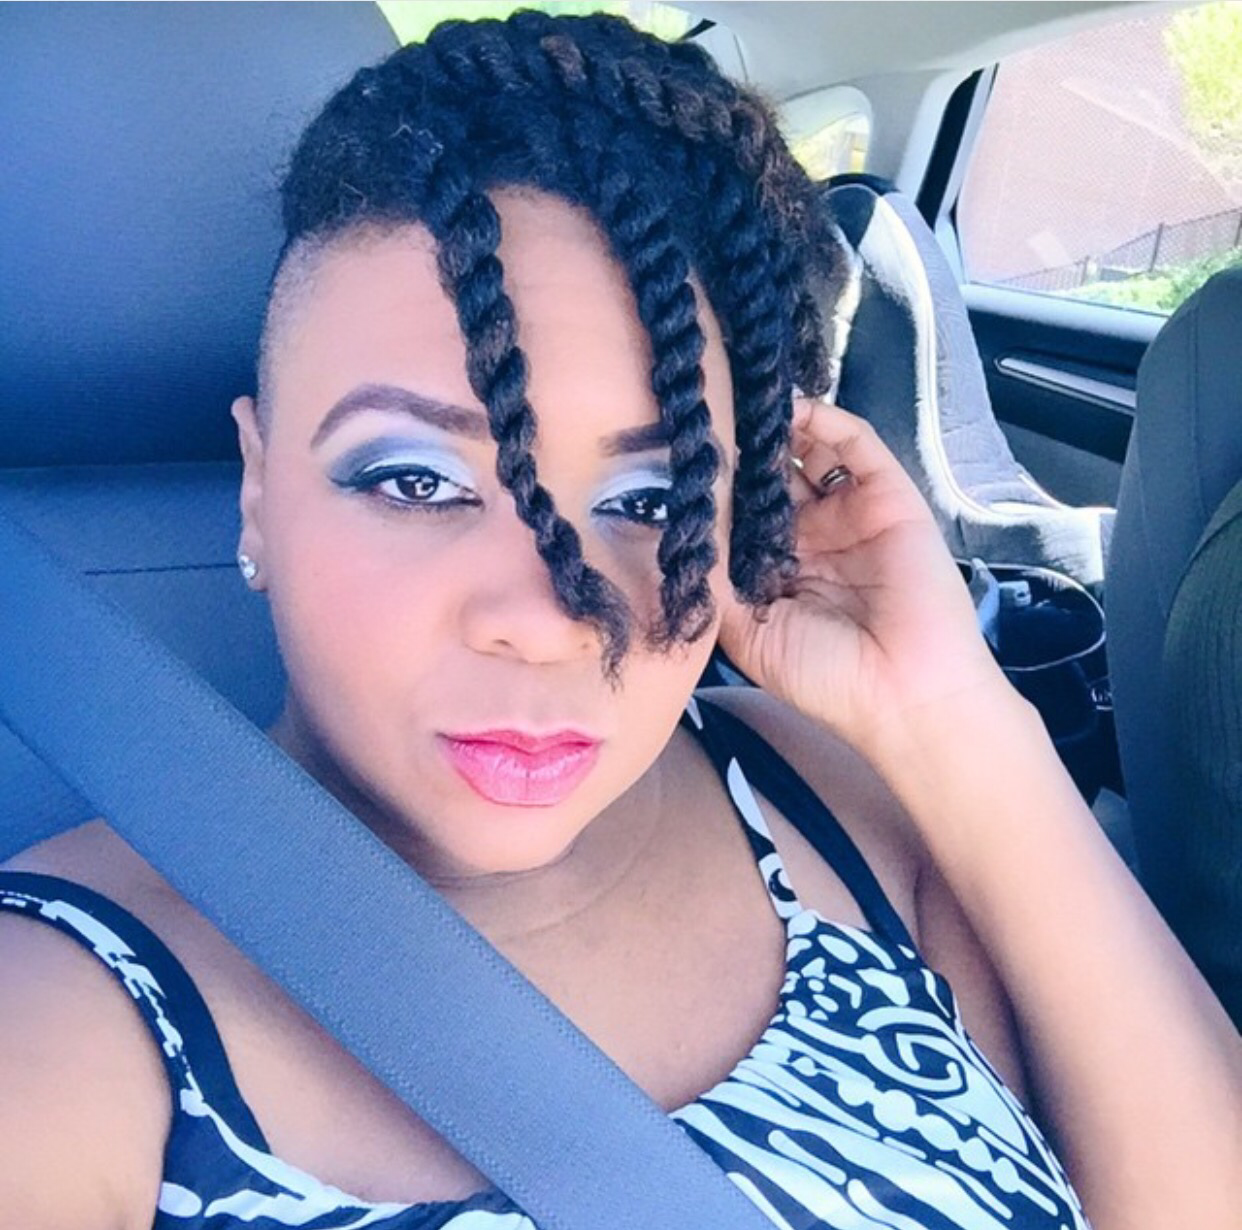

2. They’re protective and give my hair a break – Lets face it, sometimes even I get tired of styling my hair. This is a great way to give it a break and its a great protective style! Twists are very low maintenance not requiring much at all.
3. They’re still versatile – I still have the luxury of being able to style twists which helps me not to get bored


Cons of Twists
1. Limited styling capability – Although I’m able to get a little creative with styling my twists I am definitely limited. I can’t do nearly as many creative styles as I can with a twist out.
2. I miss my texture – After about a week or so of wearing twists I very genuinely start missing my texture. I crave my chunky twisted updos
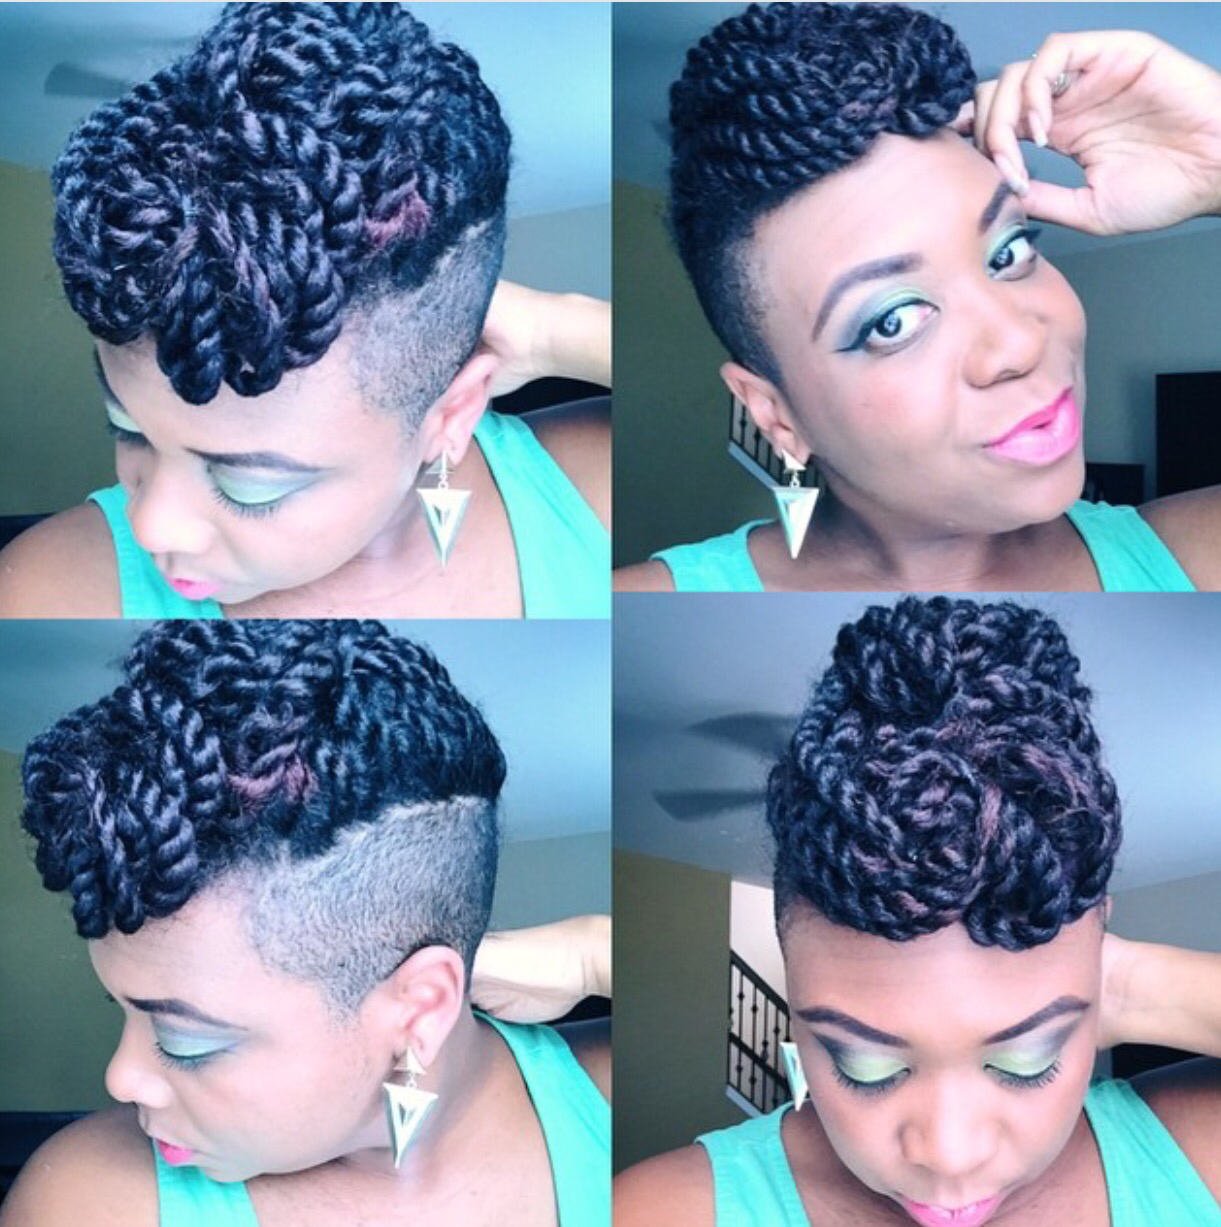
Pros of twist outs
1. Definition – I do enjoy curl defining styles every once in a while and this is probably the easiest way for me to achieve some great curl definition.
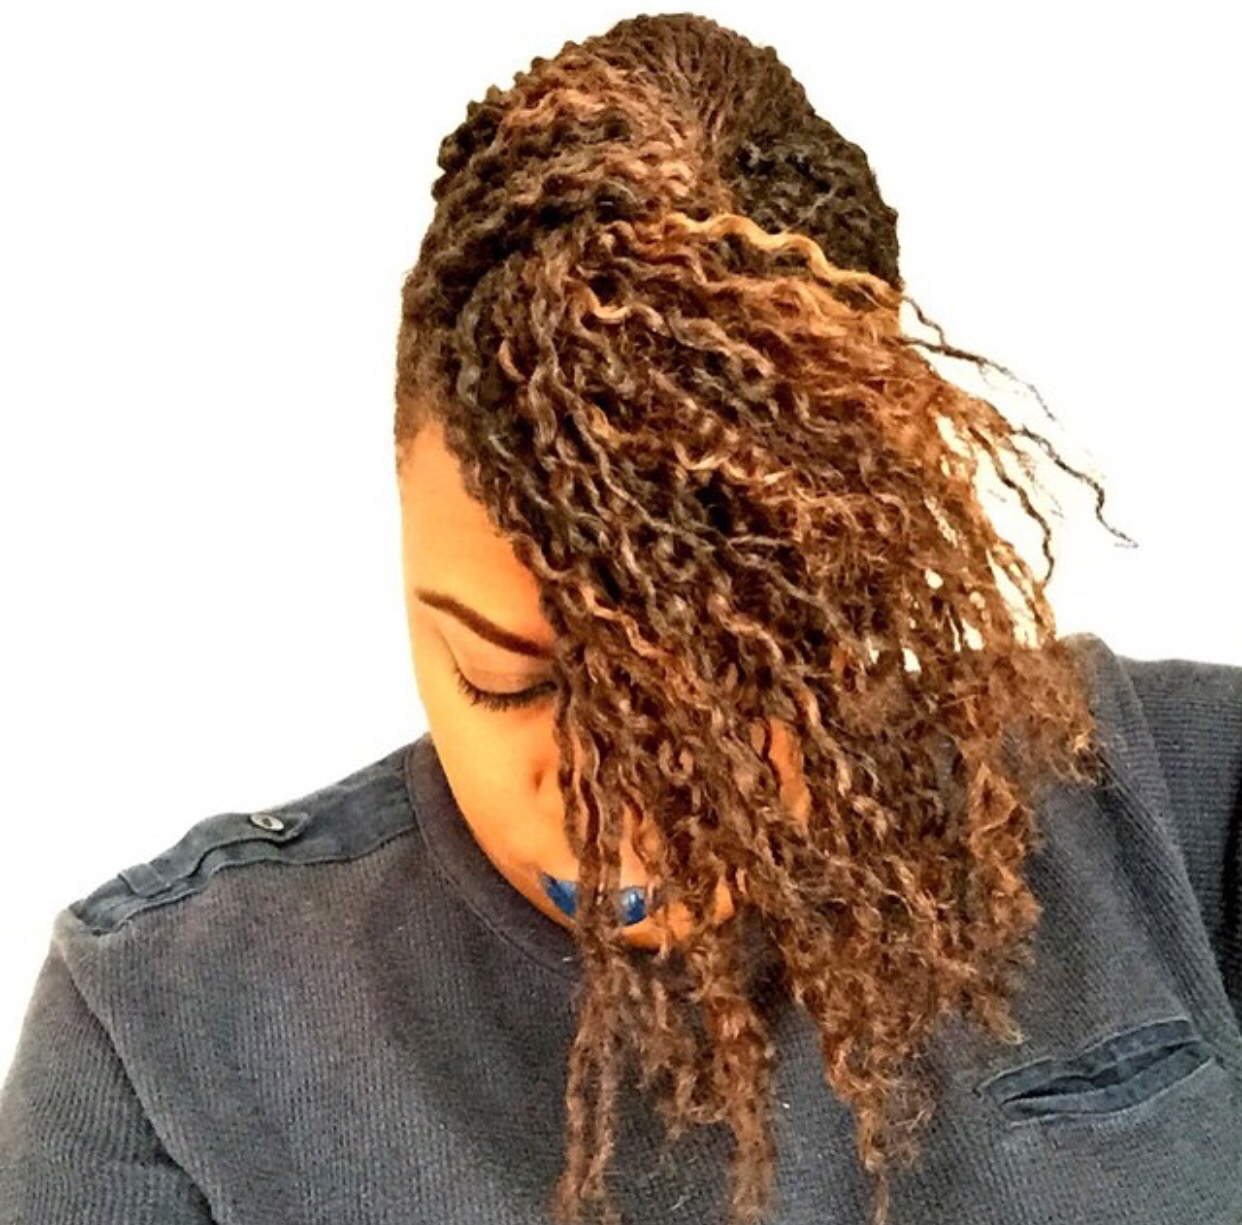
2. Unlimited styling capability – There is no end to styling options when working with a twist out


3. Fairly protective – although they don’t offer the same level of protectiveness or low maintenance as twists, twist out updos are still fairly protective.
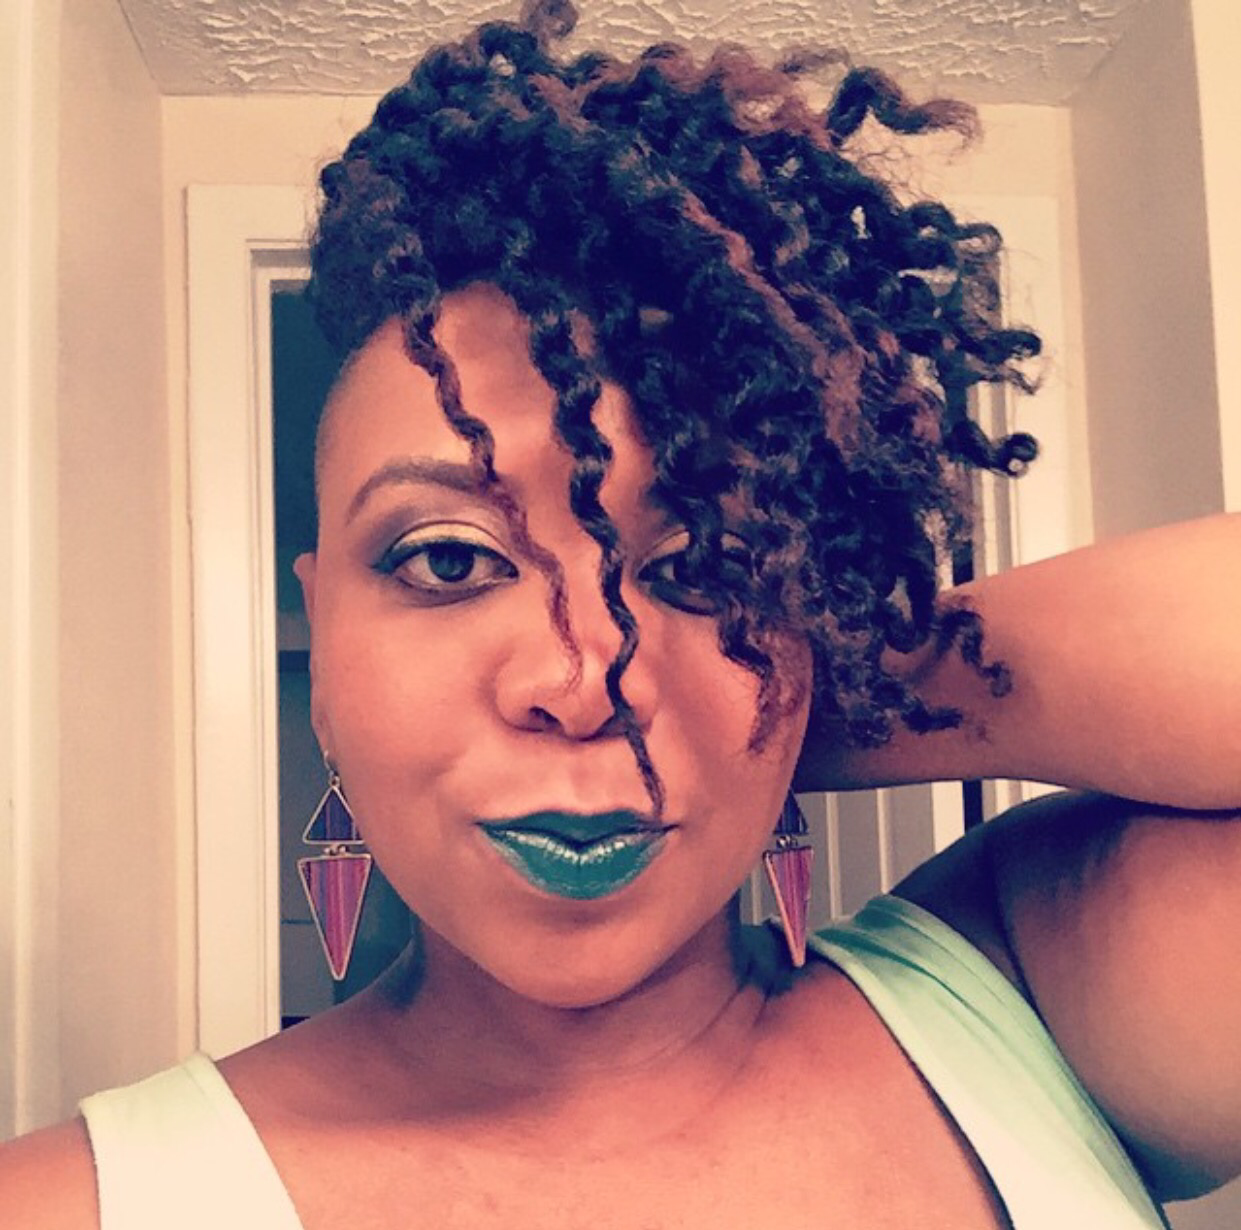
Cons of twist outs
1. Longer to style – I don’t often care to wear my twist outs out. 90% of the time I style them in updos which believe it or not it always takes me a bit longer to style. I fight against the definition to get the shapes I want which means I end up using a ton of bobby pins.
So….as for preference, I honestly can’t chose! I love both of these styles. It really just depends on what I’m in the mood for. You’ll definitely continue to see me rock twists and twist outs.
What’s your preference?
Heyyy beauties!
Today I’ve got a video tutorial for you. Inside my August curlBOX were some products by One ‘N Only.

I decided to take a few of them for a drive by doing a twist out using the L.O.C. Method (liquid, oil, cream). The results were beautiful!
Day 1
Day 2 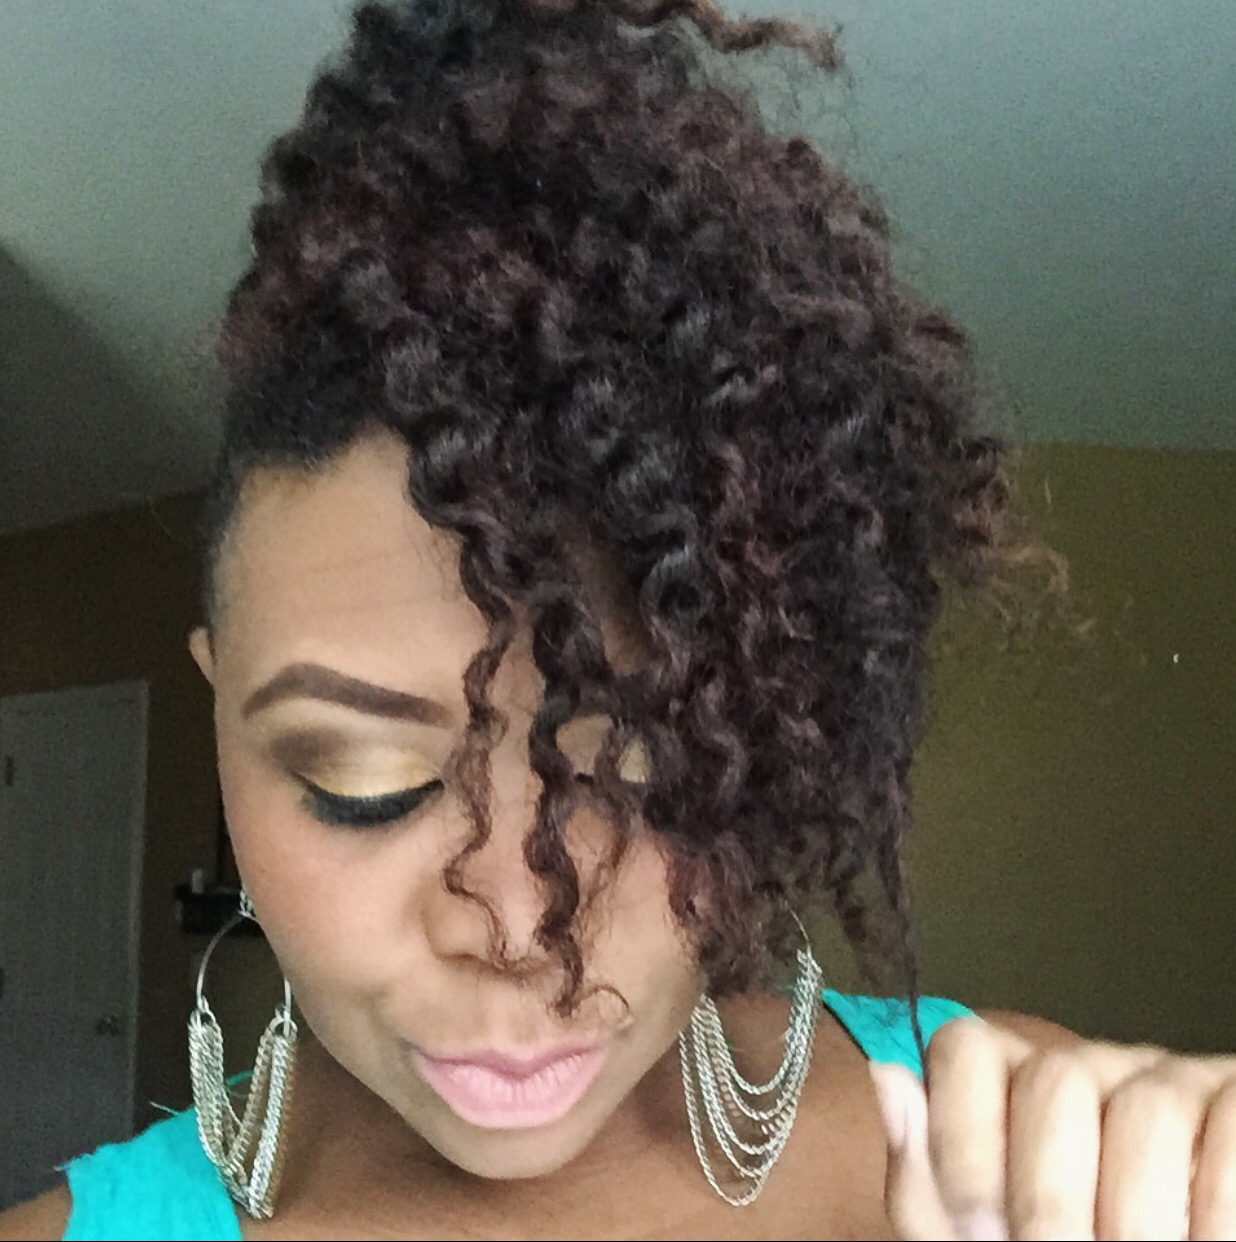
To check out the complete process click here
XOXO,
TJ
Hey lovelies!
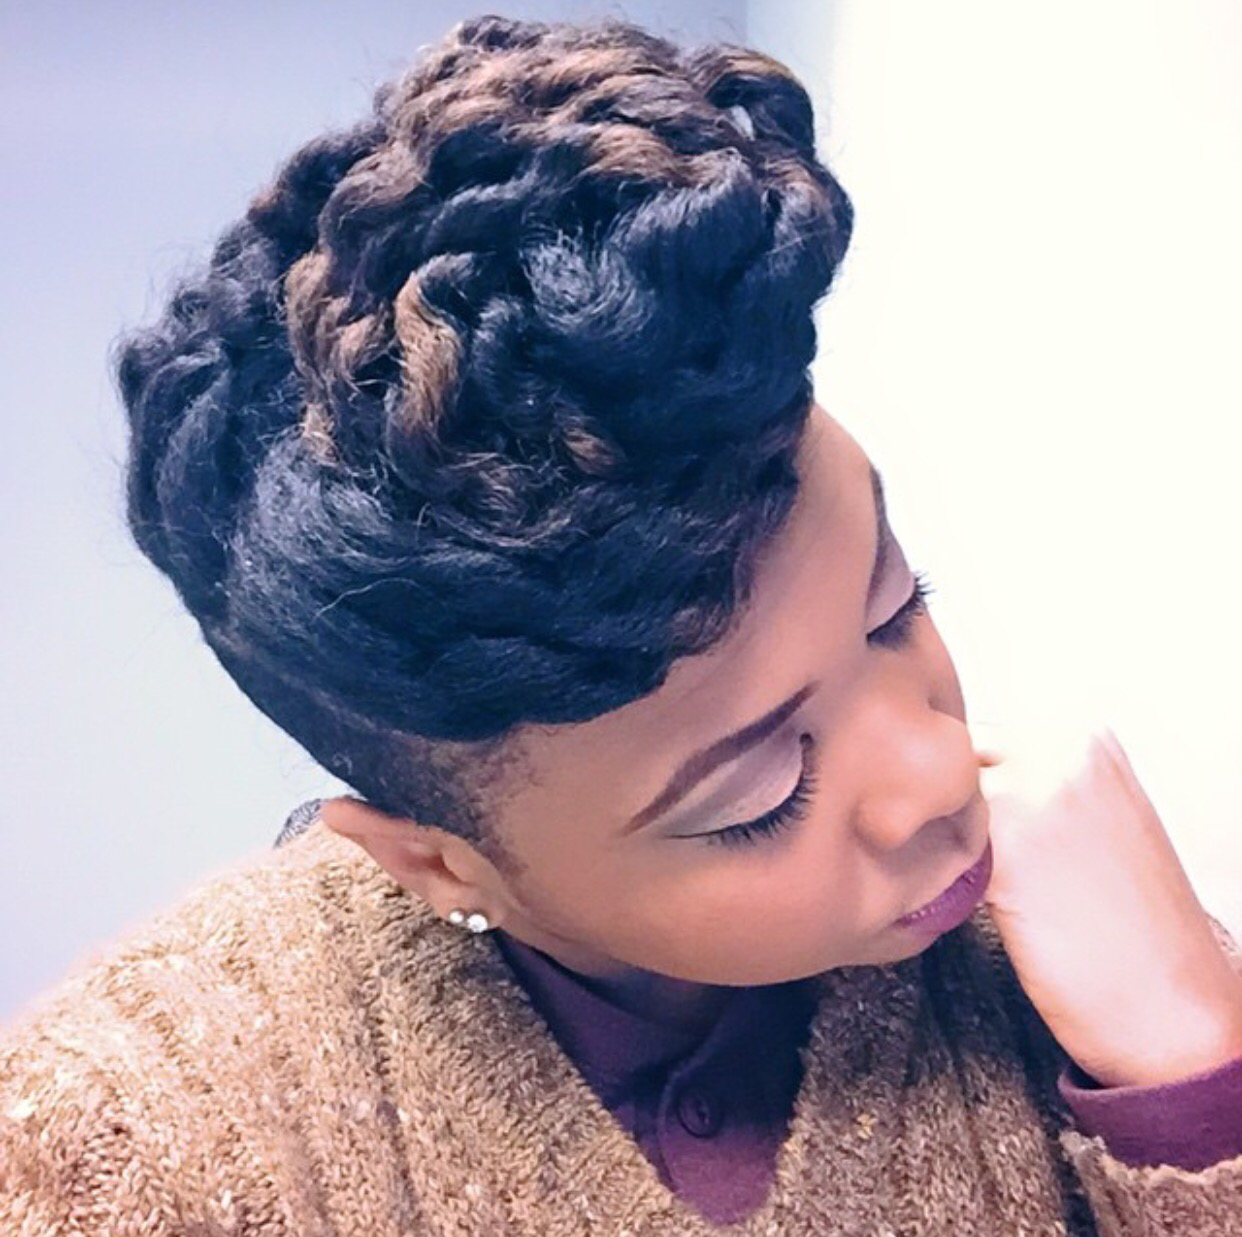
Today I’ve got a video tutorial of the #1 voted style from last week. It’s this super sophisticated but still a lot of fun double twisted pompadour.

If you want the deets on how I got this look, check out the video tutorial here
XOXO
~TJ
Hi luvs!
Today I’ve got a video with hubby bringing you guys into our lives a bit more. It’s a husband and wife tag video with a spiritual twist including a couple of questions about covenant.
To check out this video with lots of comedy and love click here.
Enjoy!
Hi loves!
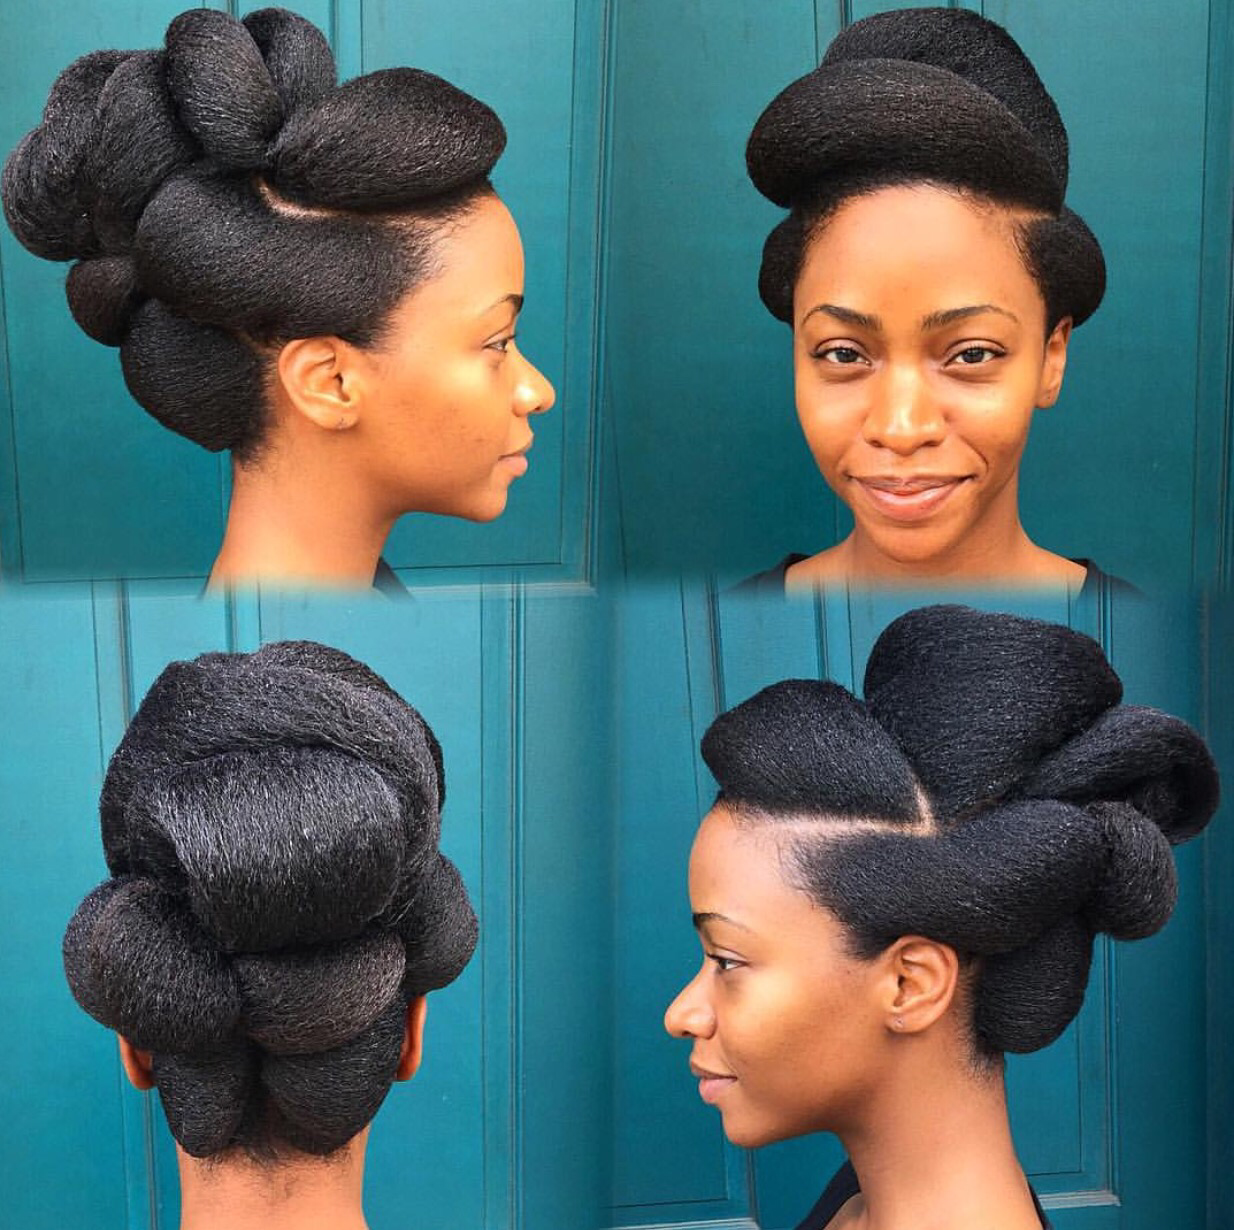
Today I wanted to share 3 eye-catching French rolls with you along with how-to’s for each look.
I love French rolls because they are extremely dynamic. You can always find a new way to style a French roll. Here are a few different styles I’ve come up with on both stretched and straightened hair and tutorials for each. And for more styles & tricks and tips to French roll versatility click here. Enjoy!
The Mega Side French Roll
Click here to see how I got this look

The French Roll with a Twist
Click here to see how I got this look

The Flat Twist Framed French Roll
Click here to see how I got this look. Tutorial starts at 3:26
Hi loves!
Coming up with a different style every single day definitely isn’t easy but boy do I love the challenge. As I’m sure you can imagine the inspiration to do something like that has to come from somewhere. Well, today I want to share with you all where I get my creative inspiration.
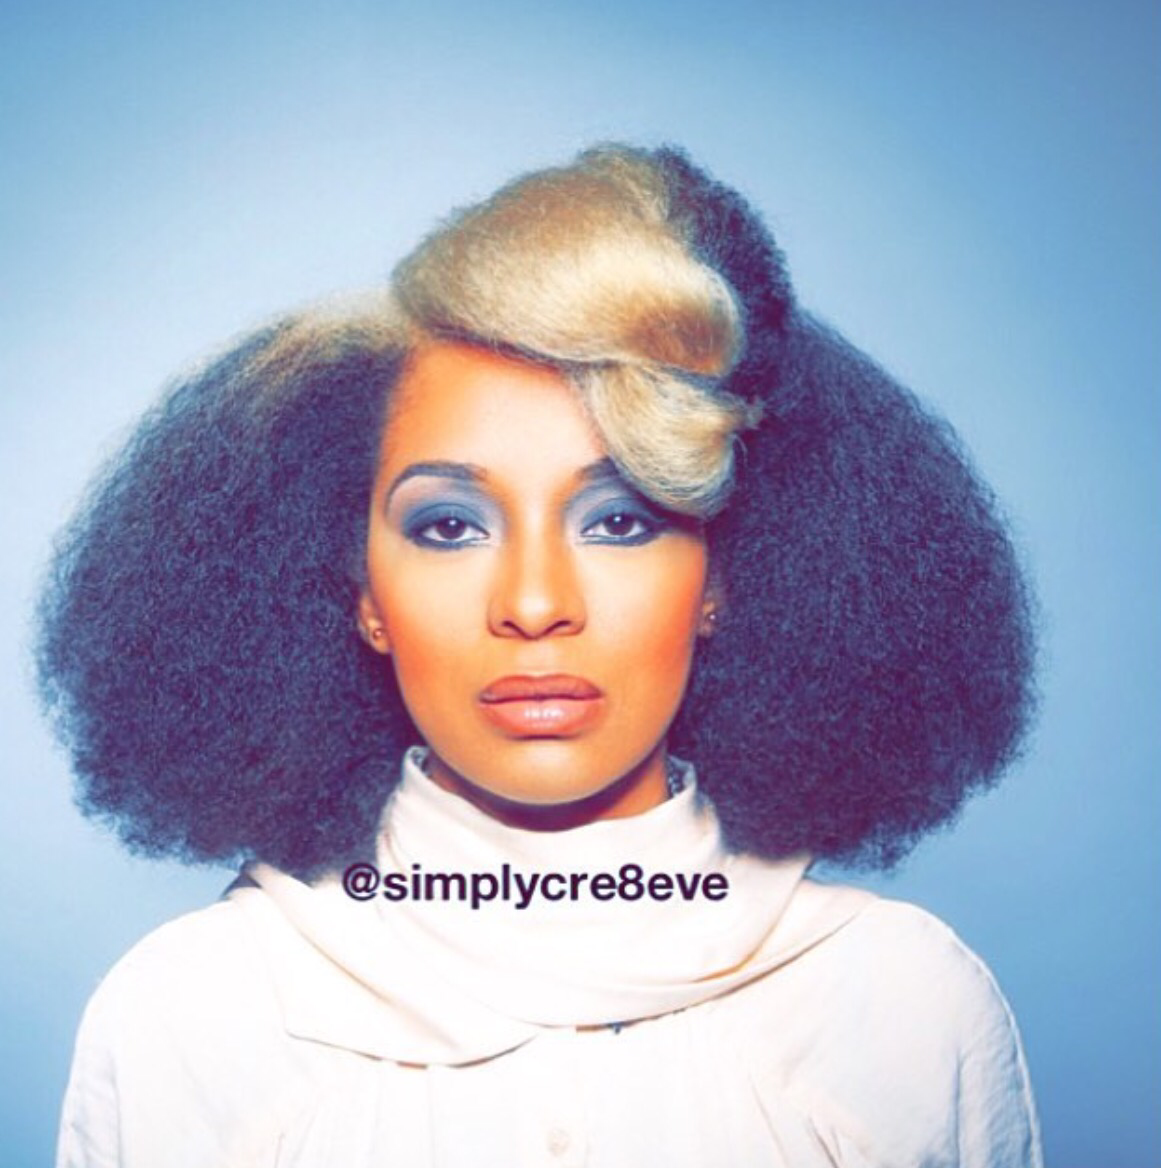
1. Creative styles by others – so there aren’t a whole lot of naturals that focus on creative updos (at least not that I’ve found). But there are a few Instagram accounts that I do pull inspiration from. The following ladies are always very innovative and unique with their styles which is right up my ally! There looks always get my creative juices flowing.
@simplycre8eve
@teyonahparris
@janellemonae

2. Shapes – Sounds simplye but I’m often inspired by different shapes and how I can incorporate them in my styles. You can learn more about how I do that here.
3. ME – So, I get that it may sound a tad narcissistic when I say that I am my own inspiration but, it’s true! I can’t tell you how often I go through my social feeds looking at old styles that I’ve done and get inspired to do something new. Every day! It’s like an ongoing competition with myself. A healthy competition, but a competition nonetheless :o)
That’s it you guys! These 3 simple sources of inspiration help me create each of my unique styles every day. For more insight on how I come up with my creative styles check out this YouTube video here.
Hello beauties!
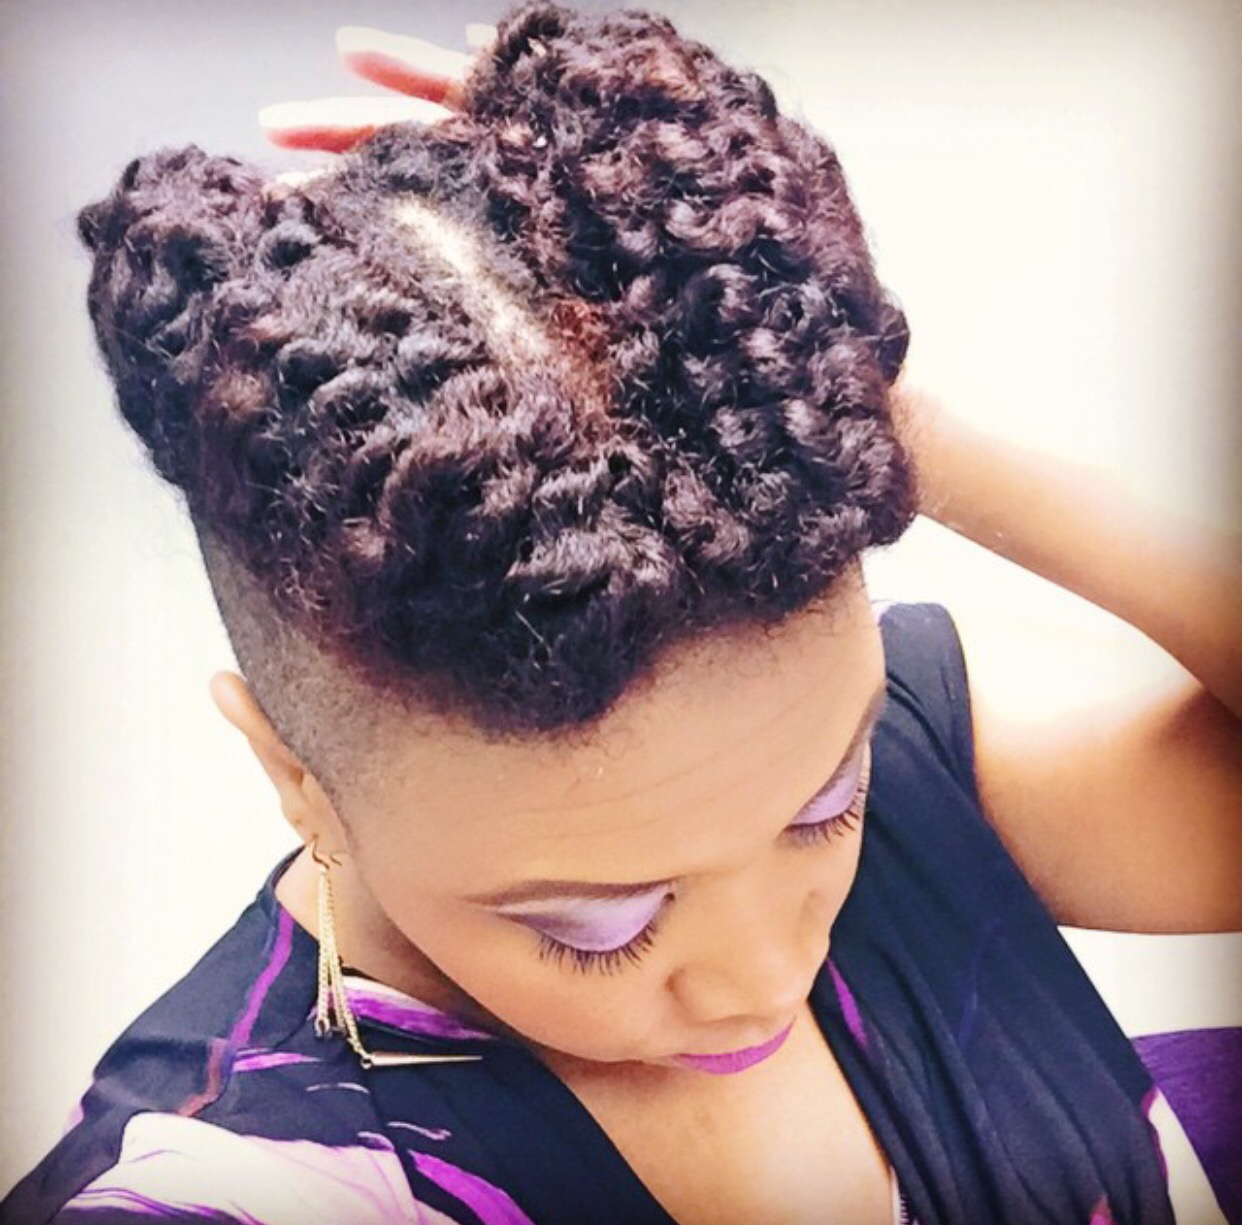
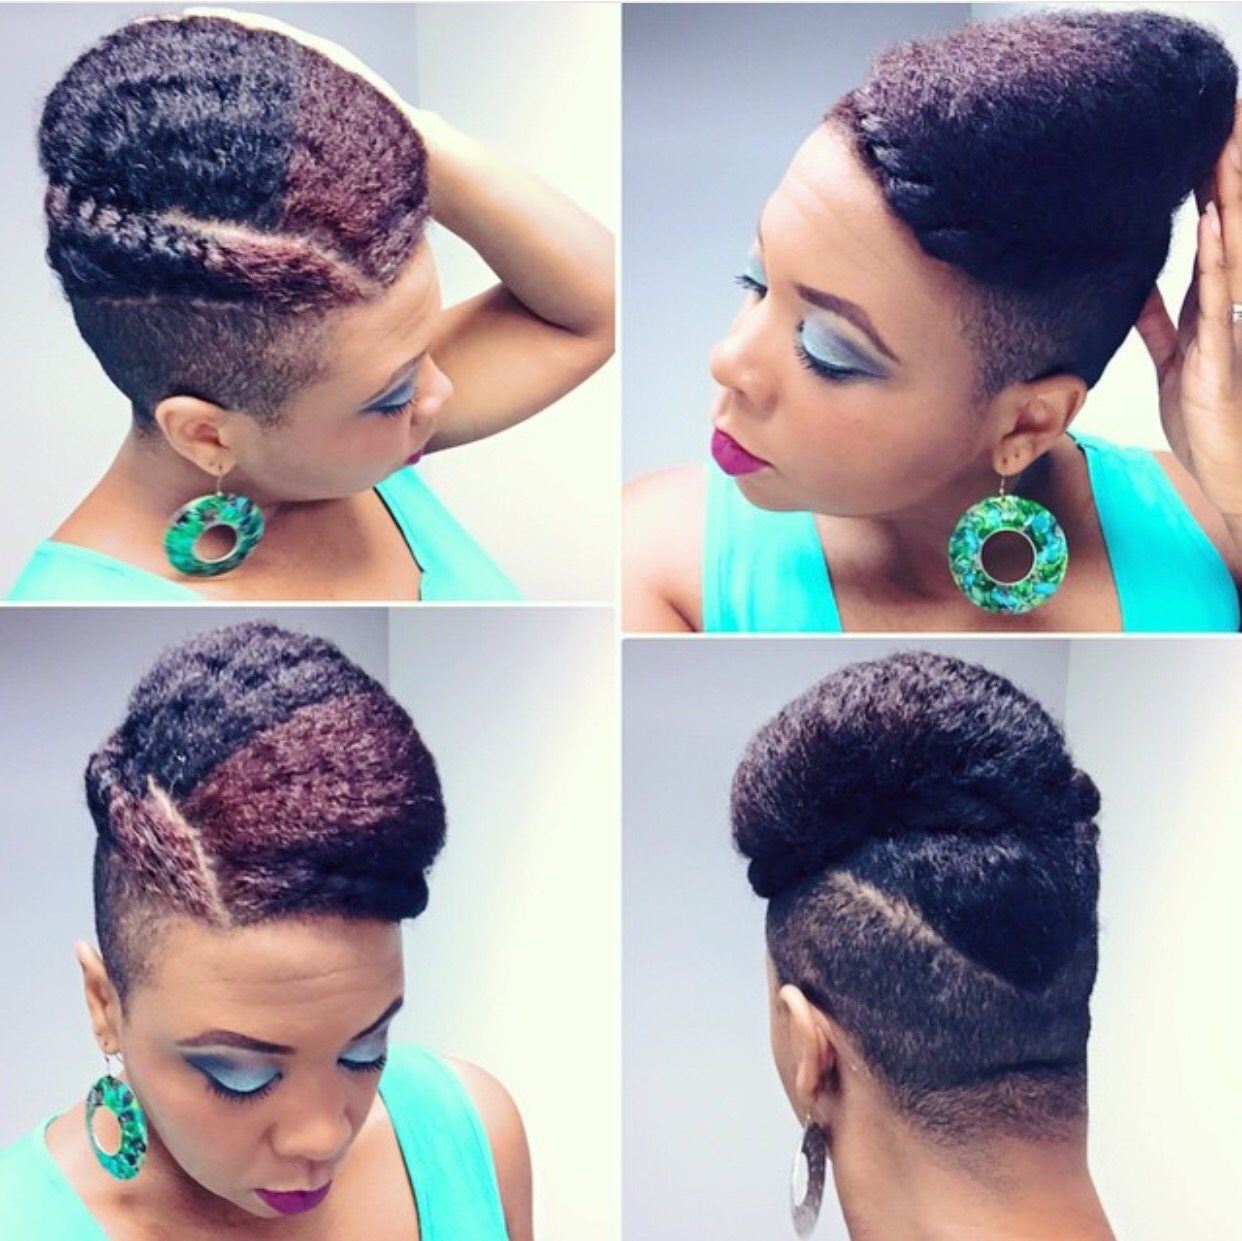
Probably one of my favorite all time buns and what I considered to be my go-to bun before I layered my hair is this super easy, edgy but chic bun hawk.
Bun hawk on wet hair
Bun hawk on semi-stretched hair

Bun hawk on semi-stretched hair
Bun hawk on completely stretched hair

The technique to get the look never changes but depending on the texture of your hair (wet, semi-dry/stretched or completely stretched) it can come out a little differently like you see above.
Before I started challenging myself to do something different every single day, this was an easy way to get a protective, creative yet simple style, especially if I was really short on time.
To see just how easy it is to get this look, click here.
Enjoy!
Hi beauties!
Faux styles can be a lot of fun to wear. There are two that I especially love. One is the faux bob and the other is the faux knot which I want to talk about today.
This faux knot style is just that, a style that includes what looks like a knot, but isn’t. Here are a few pics:

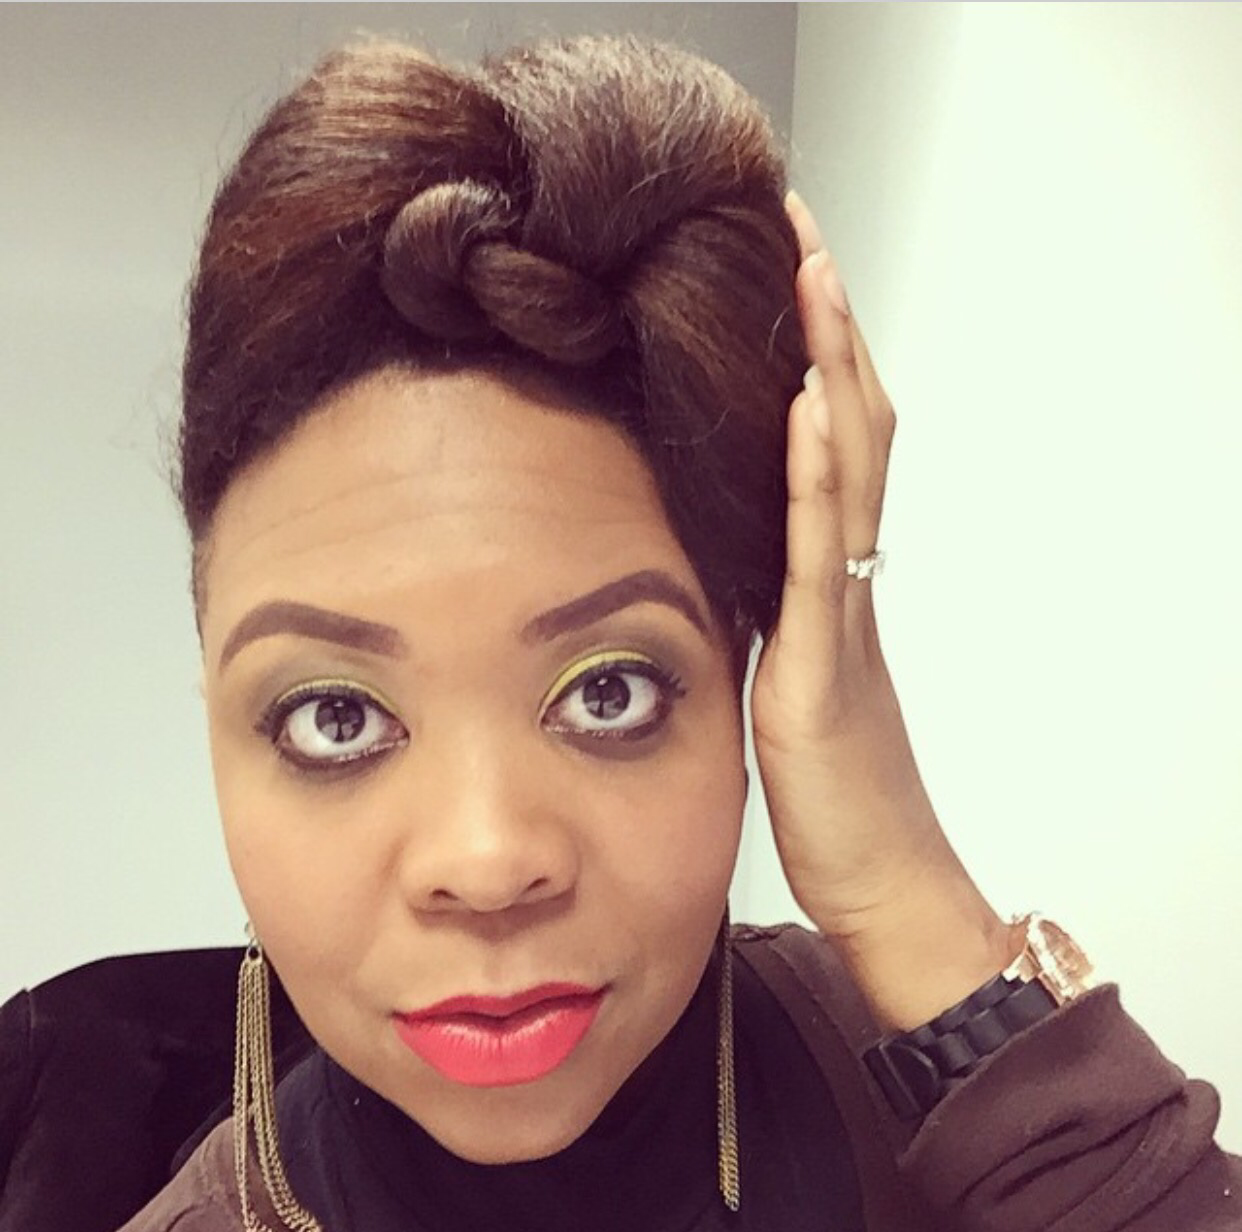
 This look works best for me on straight hair. I have done it on my more textured hair and the result is more of a pompadour, kinda like the last picture above.
As for how I get the look, below is a super quick how to of how I got the under knot. You can achieve different variations in how tight you do the twist and how you shape and pin the twist once it’s complete. The over knot is achieved just by pulling the hair up and back.
Mmuuahh!
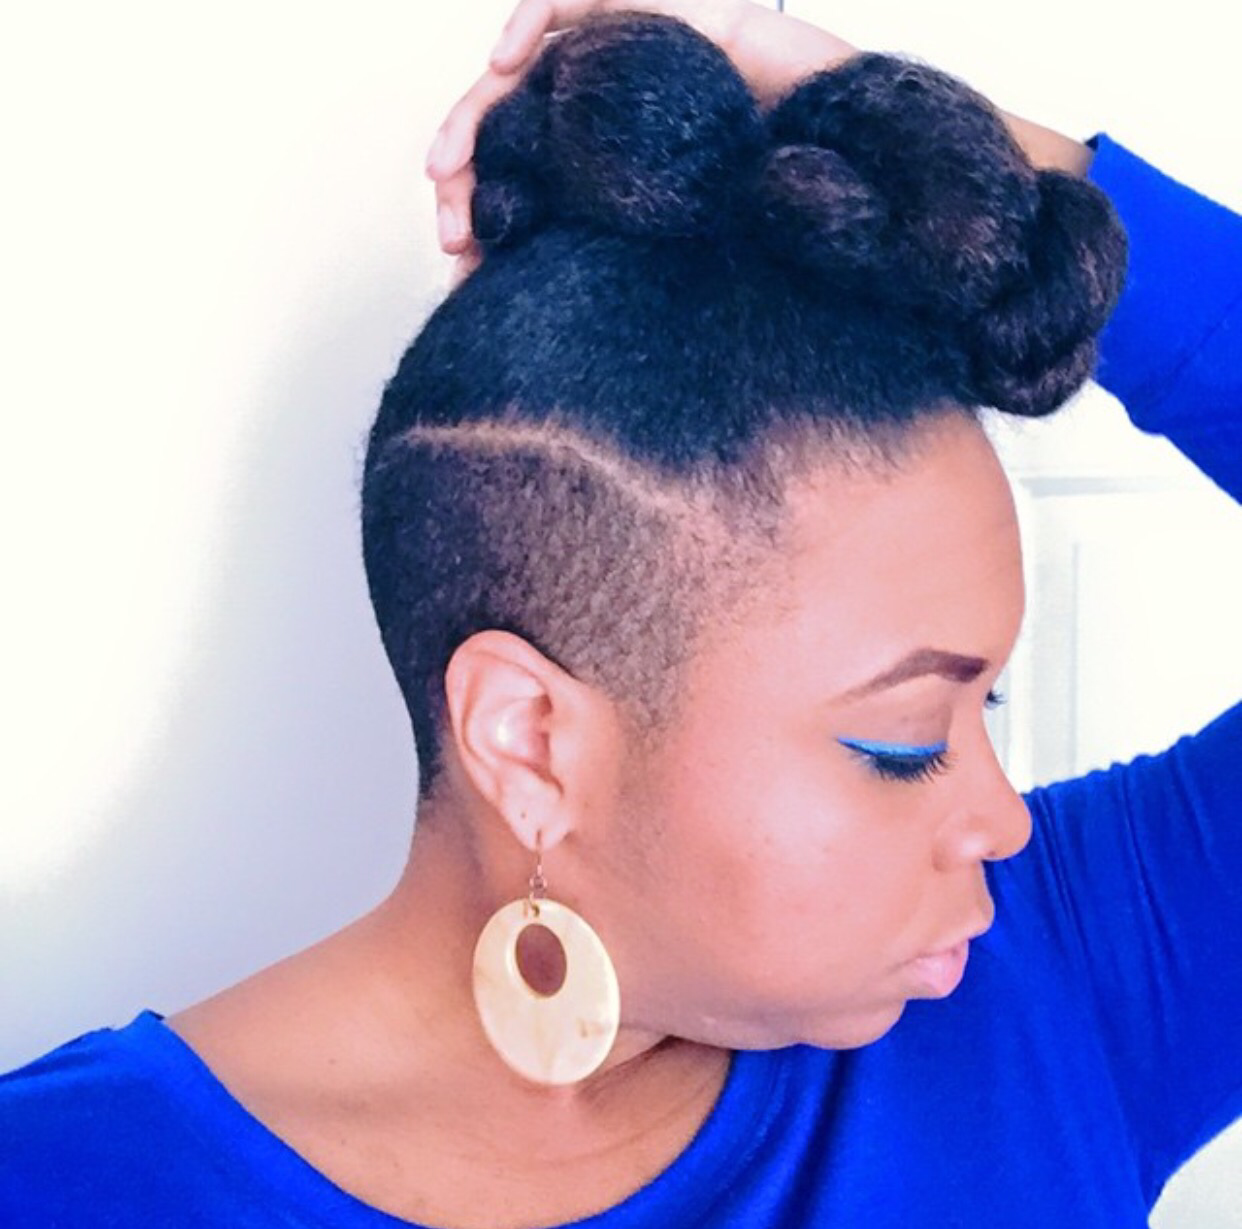
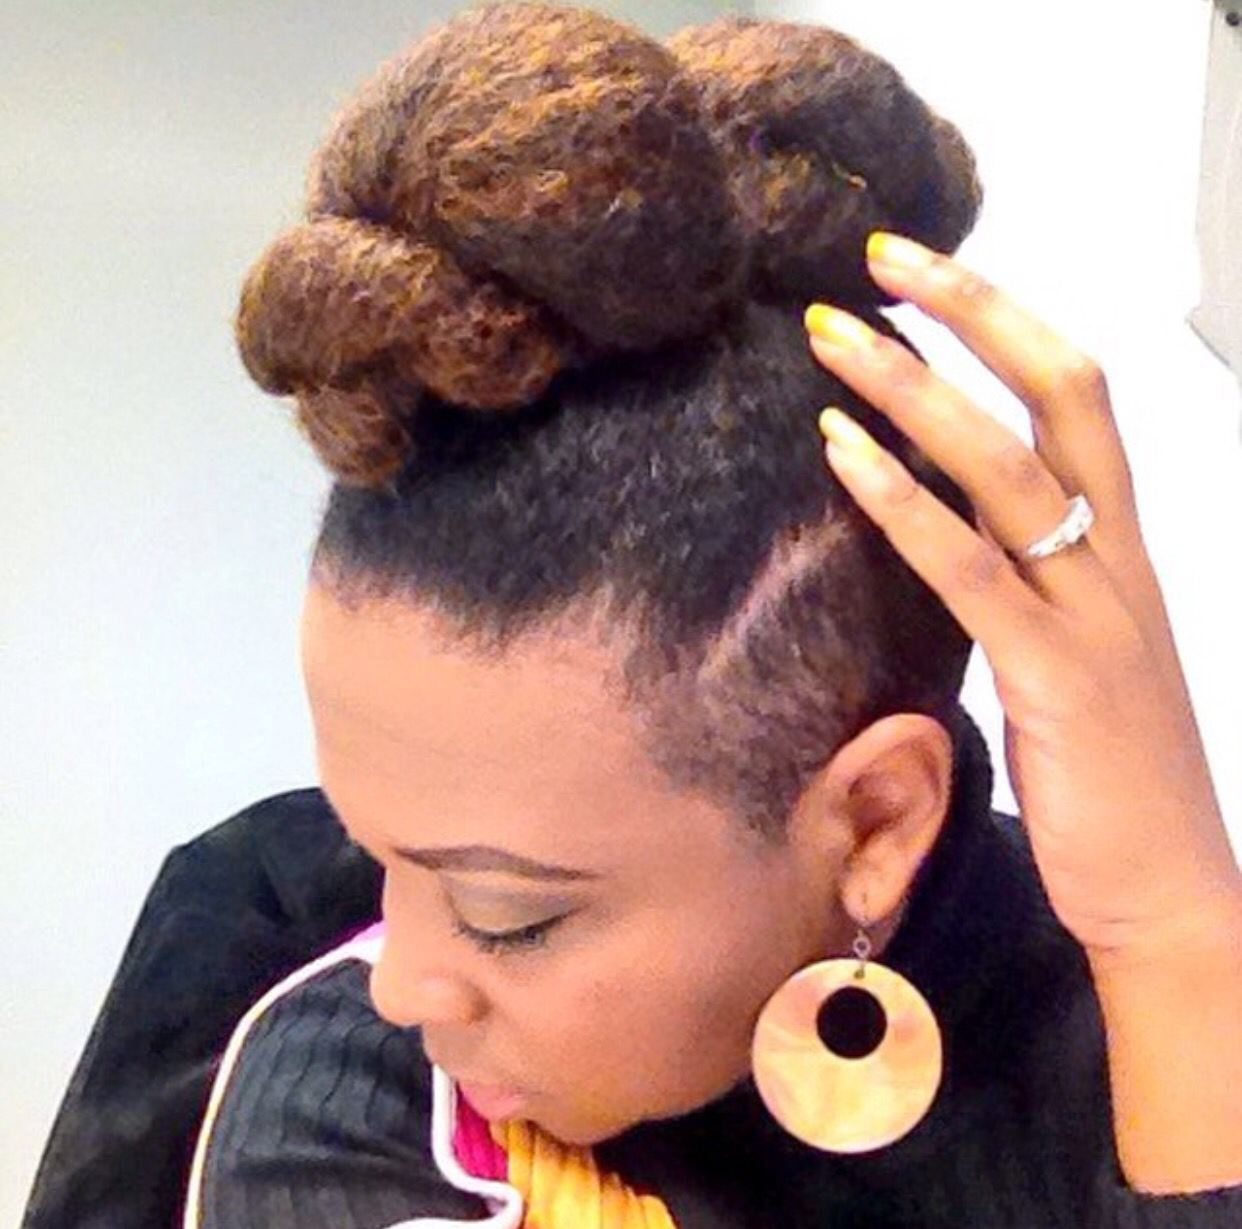
Hi beauties!
Today I want to talk about styling for your undercut. If you follow me on Instagram or Facebook you know that I style my hair for my undercut about 95% of the time. Why? Because I ADORE my cut. I love it’s edgy look but finding a way to make it look classy. Here is a quick video with 5 tips on how to make styling for your undercut fun and SLAYful. Click here to check it out.
Enjoy!


