Mini Twist Prep

Hey luvs!

Sometimes your hair just needs a break, you know? I recently decided to give my hair a reprieve from styling by installing mini twists, my favorite protective style. 

Before I actually install the twists I prep my hair with a 3 step process.

  1. Cleanse
  2. Condition
  3. Moisturize
  4. Chunky Twists

After these steps I then install my min twists. Of course I’ve got a video going through each of these steps in detail.  Click here to get all the deets on how I prep my hair for Mini Twists. That’s it for now!


XOXO 
~TJ

Advertisement

3 Thanksgiving Updo Ideas

Happy Monday luvs!

Thanksgiving is next week! Crazy right?  I love Thanksgiving though.  Outside of the fact that I love to express my appreciation for the many blessings in my life, it’s a great time to spend with family. 

I know that the day is going to be filled with food prep, cooking and cleaning and we’ll all want to look fabulous from morning to night. So, I’ve come up with 3 quick and creative updo ideas that will keep hair up and out of the way while looking gorgeous the entire day.

Click here to get the step by step for each of these looks.

XOXO 

~TJ

French Roll With A Twist

Happy Hump Day Luvs!

You all know how much I adore statement hair. Today I’ve got a statement style that is quick, creative and captivating. Check out this statement French Roll with a Twist


I love the idea of taking a classic French Roll and modifying it into a more unique style. Of course I’ve got a quick tutorial on how to achieve this side French Roll with a twist. Click here to check it out.  

Well that’s it for now!

XOXO 

~TJ

Scarf Season

Hey luvs!

So, technically it’s scarf season, however, here in Georgia we’ve been getting up to between the mid to high eighties every day! That’s entirely to hot to be wearing a scarf, but not too hot to incorporate it as a head wrap. That’s exactly what I’ve been doing. Check out these super cute looks starring traditional scarves tied as headwraps.


These looks are perfect for me on wash days or when I’m in a hurry and have to chose between my makeup or hair. Plus, I love how each of these looks still fit the fall season without making me hot in this crazy 80 something degree weather.  

Each of these scarves are tied exactly the same and of course I’ve got a tutorial to show you just how easy it is. Check it out here.

That’s it for now luvs! Happy Friday!

XOXO 

~TJ

Halloween Spider Makeup

Hi luvs!

I always consider Halloween a great opportunity to get super creative with my makeup. Last year I did a little spider web eye. It was pretty subtle but still fun and creative.

This year I decided to take the spider web action up several notches. I did some research on Pinterest and found this extremely impressive spiderweb makeup by MadeULook by Lex.

I love how crazy realistic this look is! I totally felt like trying to recreate this was way out of my league, which frankly made it perfect! I love a challenge. It’s the only way to improve. I used a simple black eyeliner pencil by Jordana and a few shadows from my bh Cosmetics palette. Here’s where I ended up

Although lacking a lot of depth I was very happy with the final look which I completed in 30 minutes. I used part of Zakai’s nap time to do it and that’s all the time he gave me.

Had tons of fun with this spider web makeup! Zavien was a pretty amazing looking Ninja. He was totally in character. 


Zakai wore a batman onesie, but of course I didn’t snap any pics before daycare (uugghh!) 

They both had s great time and of course we have tons of candy to show for all the fun tHey had.

Looking forward to next year!

XOXO 

~TJ

Pumpkin Rice Krispy Treats

Happy Halloween Luvs!

I hope you all had a great weekend and enjoyed your Halloween. We had a pretty busy weekend full of excitement and possible new beginnings that I hope to share soon. 

To end the weekend I spent last night making snacks for Zavien’s Kindergarten class for today.  I’ve been having a lot of fun getting creative with his snacks. I’ve done cereal butterfly bags and pencil wafers. 

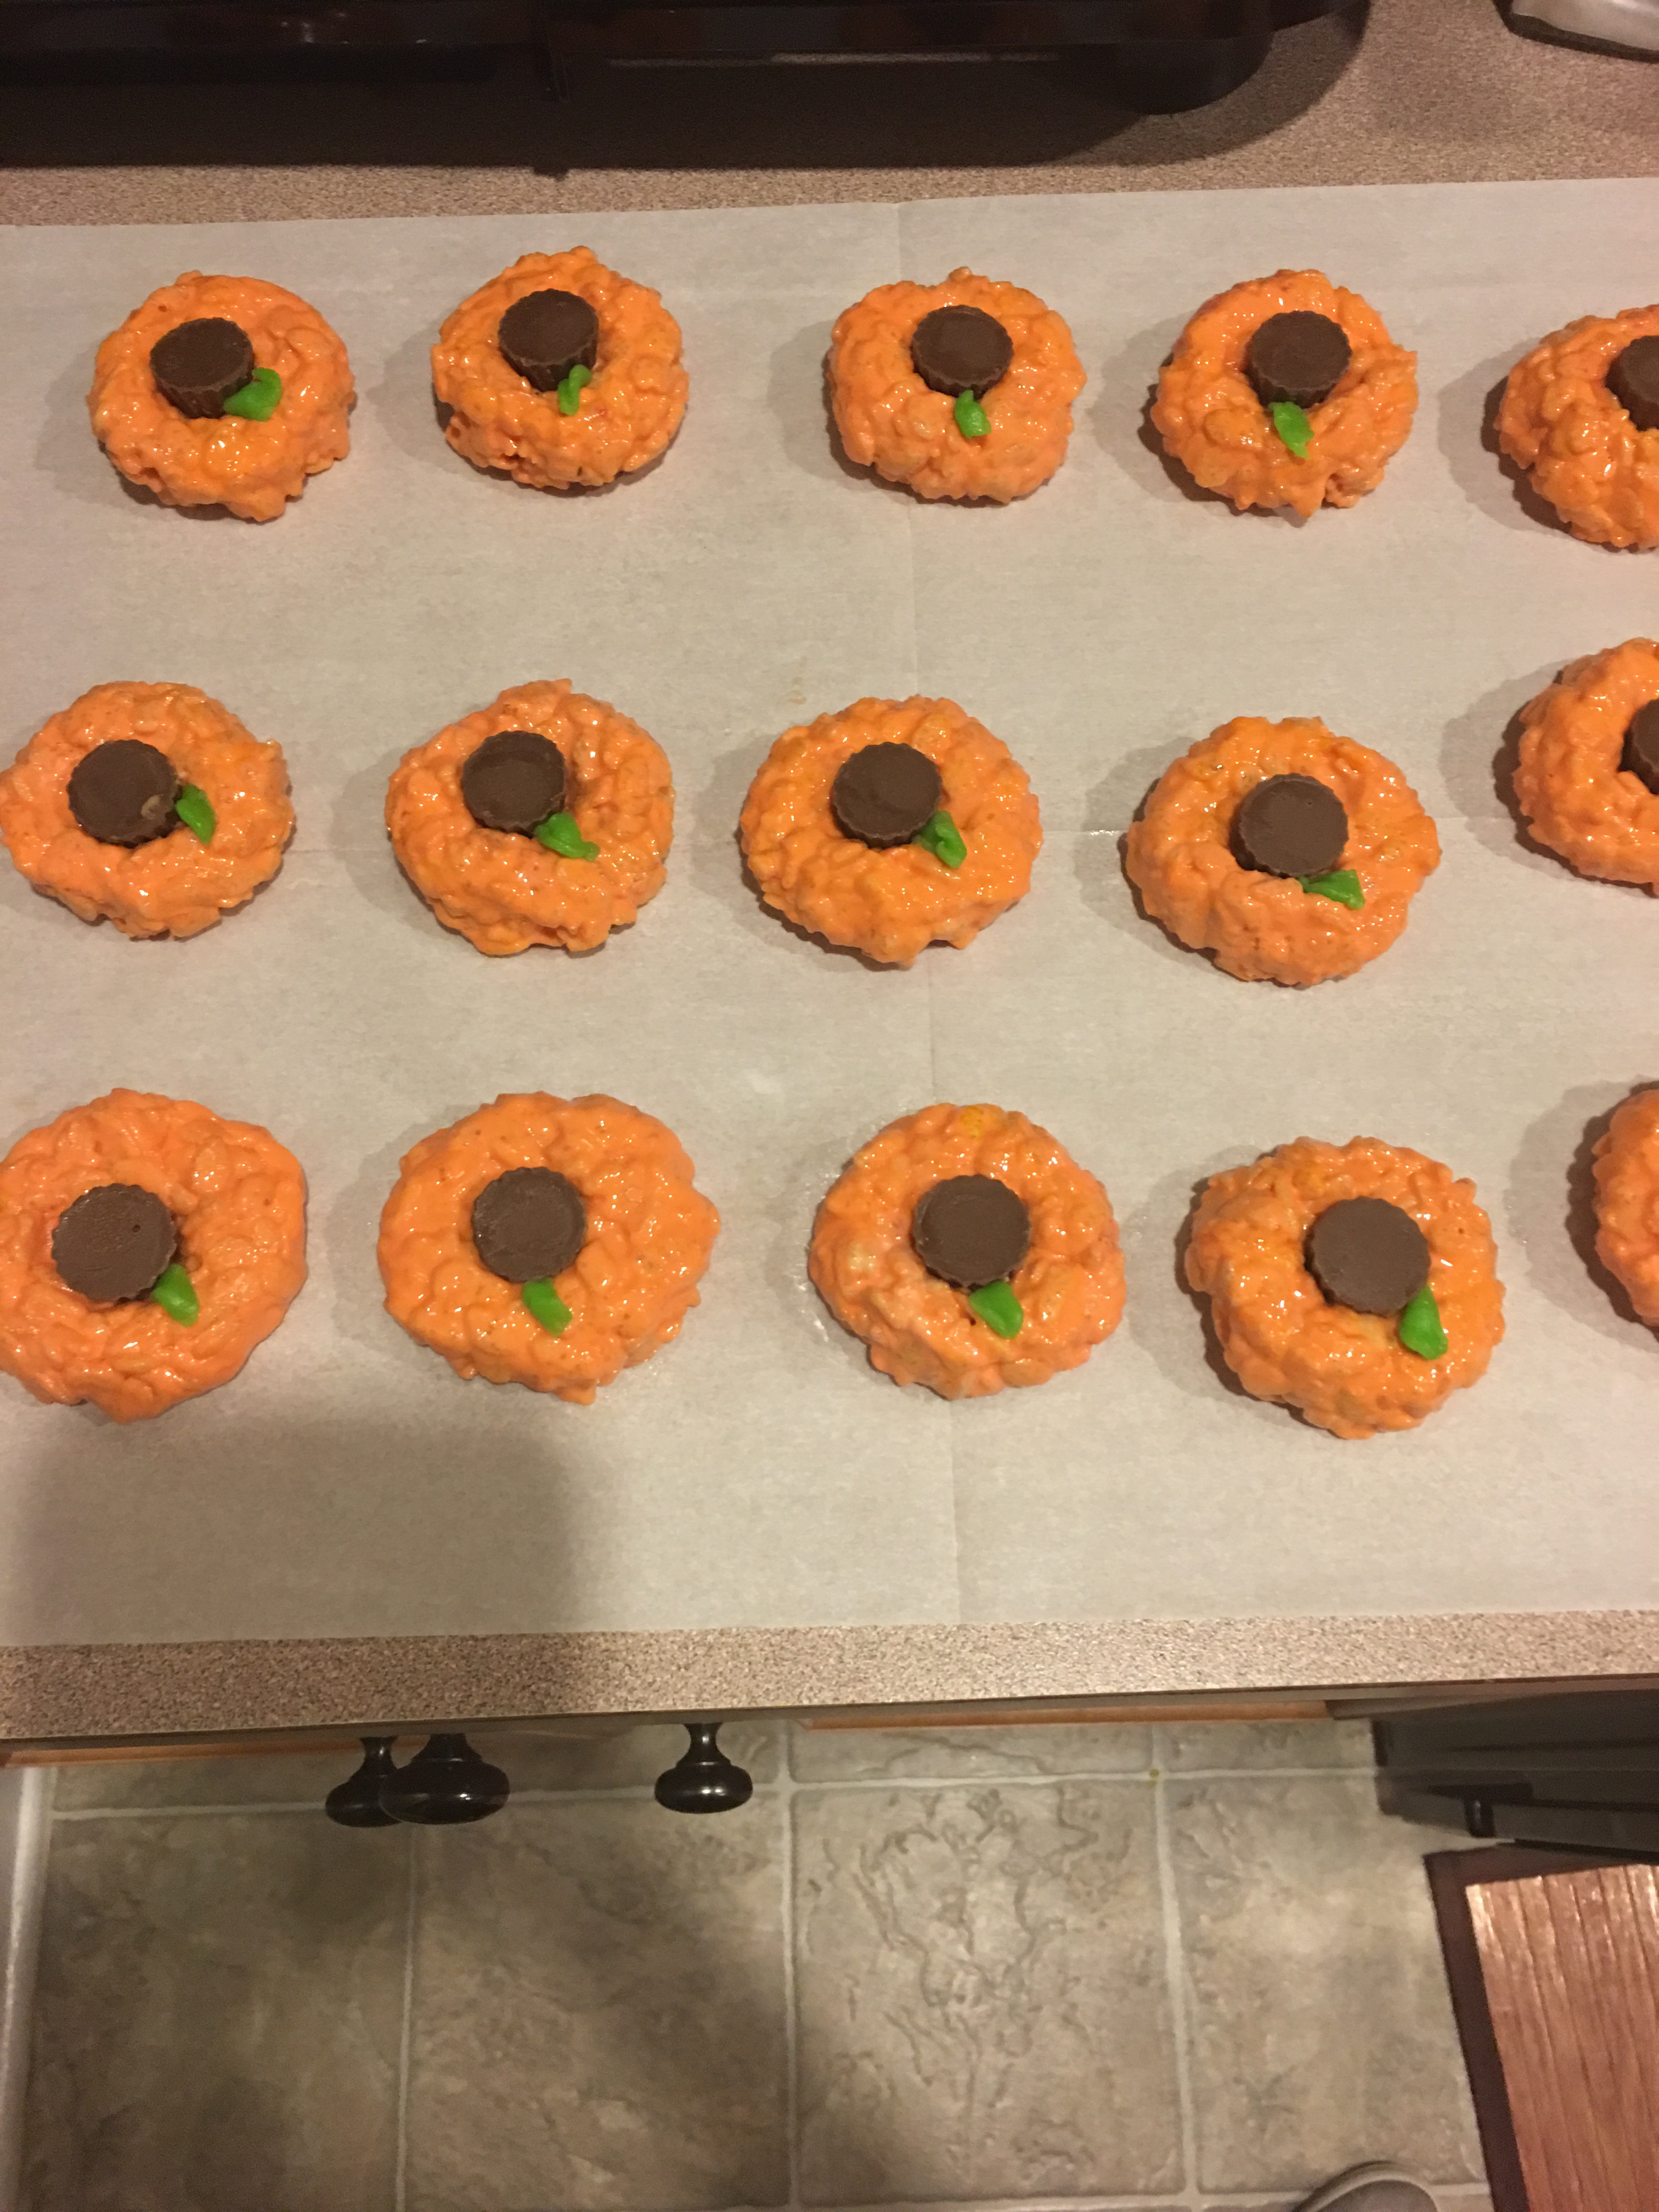
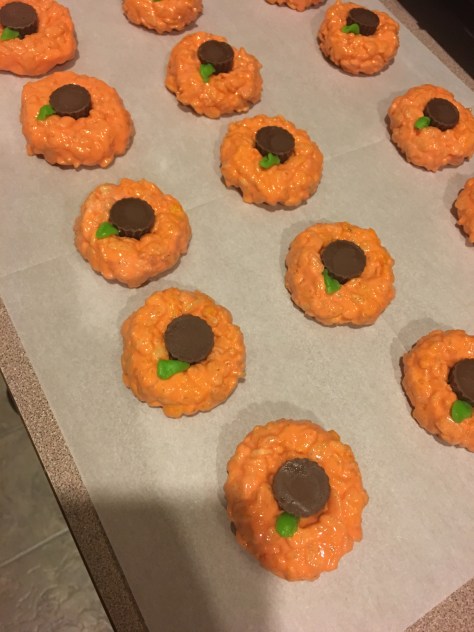
This time, I decided to go with Rice Krispy Treat Pumpkins!

Here’s what I used

  • Rice Krispy Cereal
  • Jet-Puffed Marshmallows
  • Butter
  • Mini Reces Pieces
  • Green Apple Airheads

Here’s how so did it:

Melt 3-4 Tablespoons of butter in pan on low heat

Add marshmallows (I honestly didn’t measure) and melt (stirring occasionally) on low heat

Remove from heat once completely melted

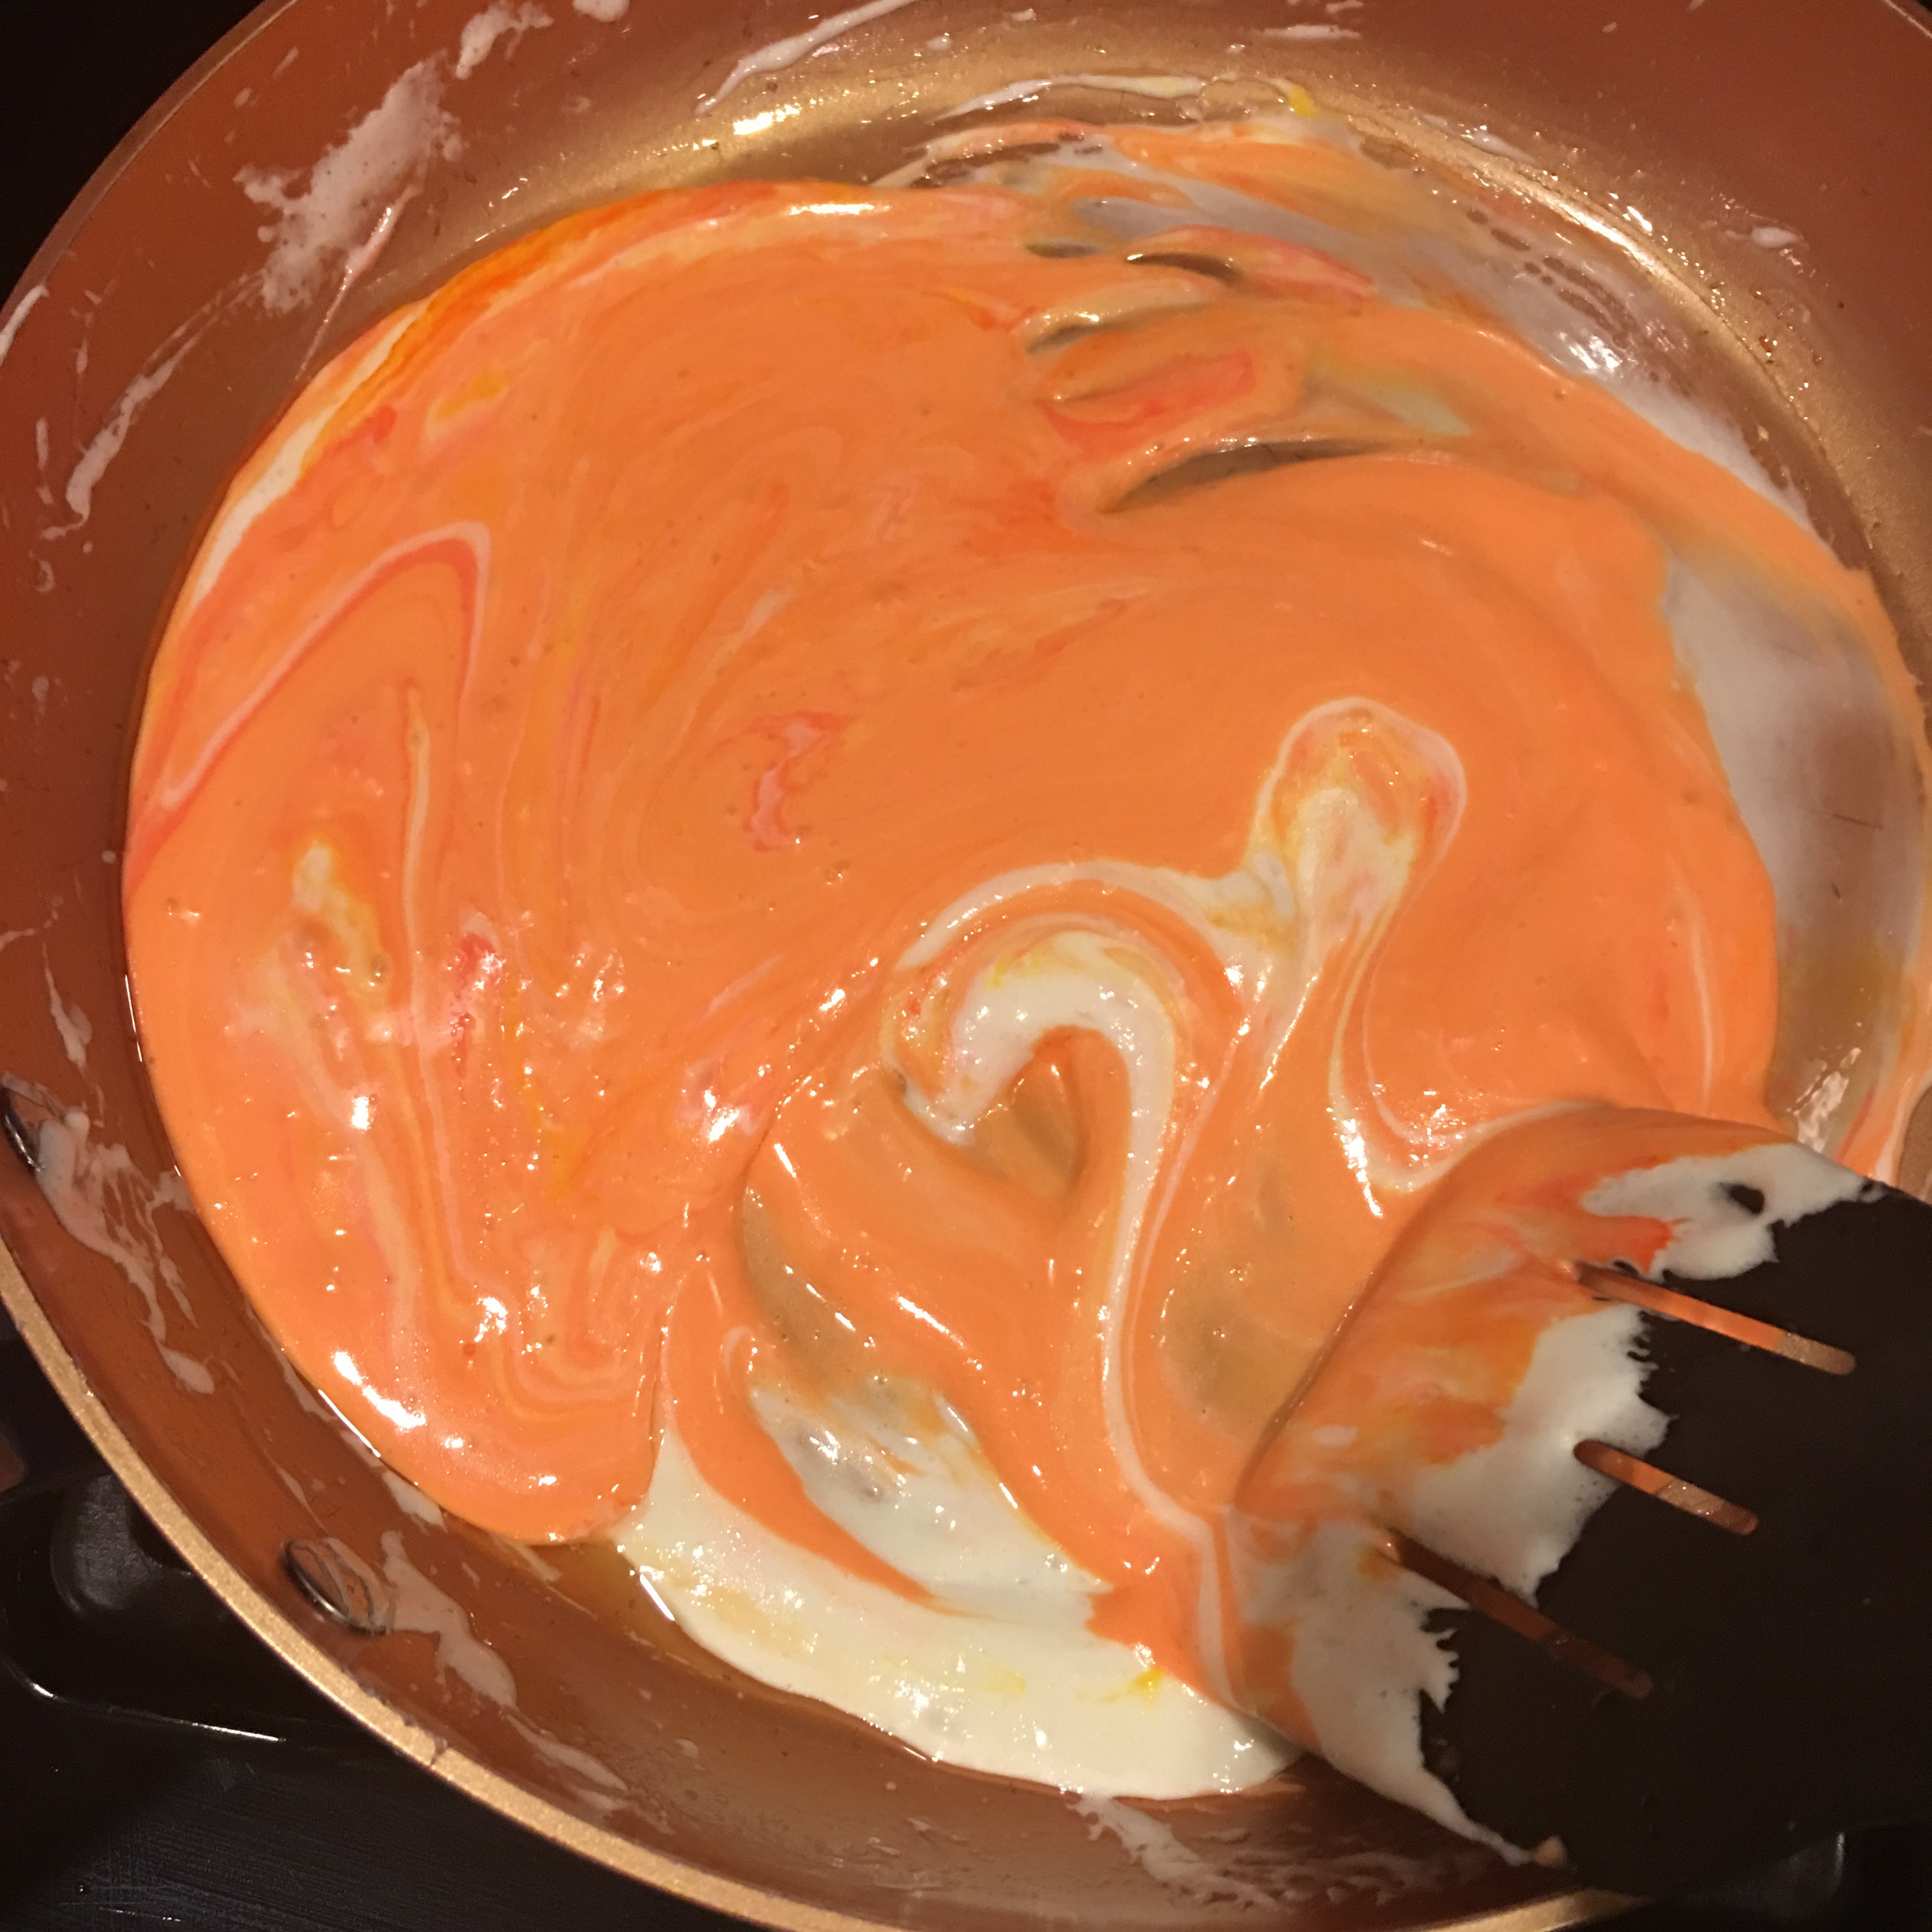
Add food coloring. I mixed red and yellow to make orange.

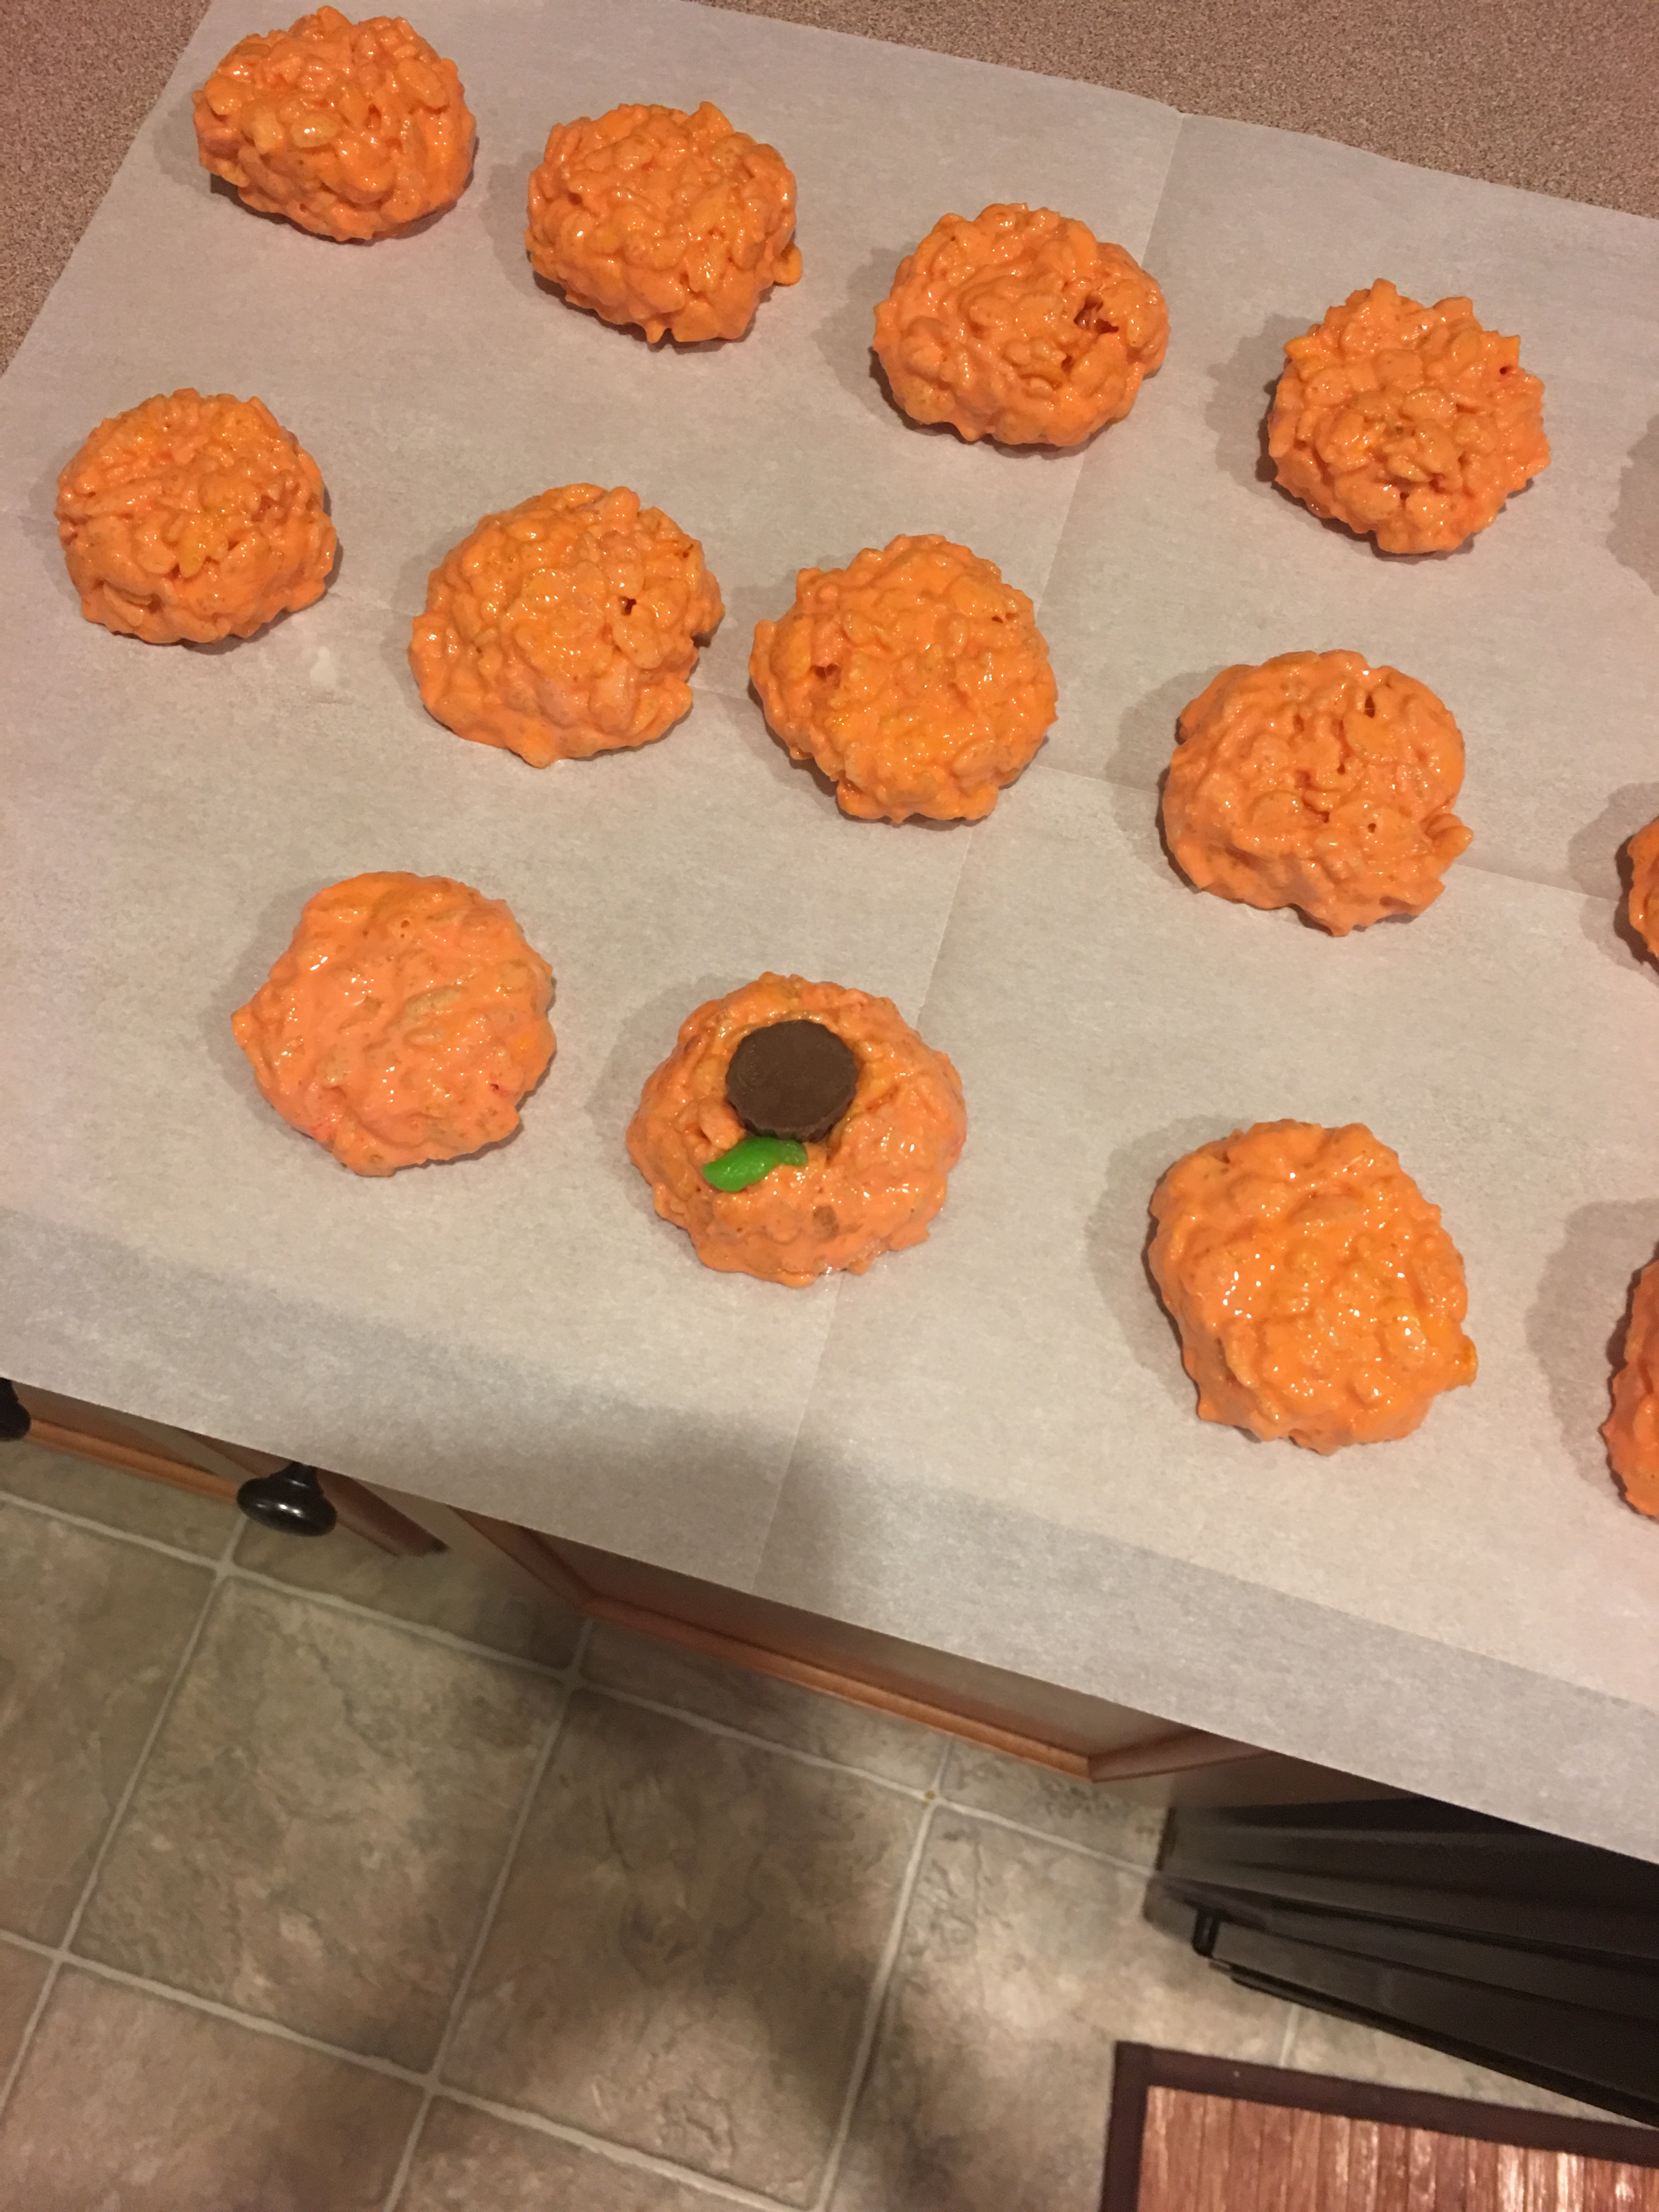
Next I added the rice Krispy treats. Again, no real measurement here, I just poured and stirred until I liked the consistencey. After that, I sprayed a little cooking spray on my clean hands and formed little pumpkins.


Once they cooled I turned them over so they would be more round and not completely flat on one side. I added a mini recess piece to the center for the stems and a small piece of green apple airhead for the leaf.

That’s it! Zavien and his class loved them. Oh…hubby did too. Well, that’s all for now.

XOXO 

~TJ