Family, Good Food & Great Hair

Hi beauties!

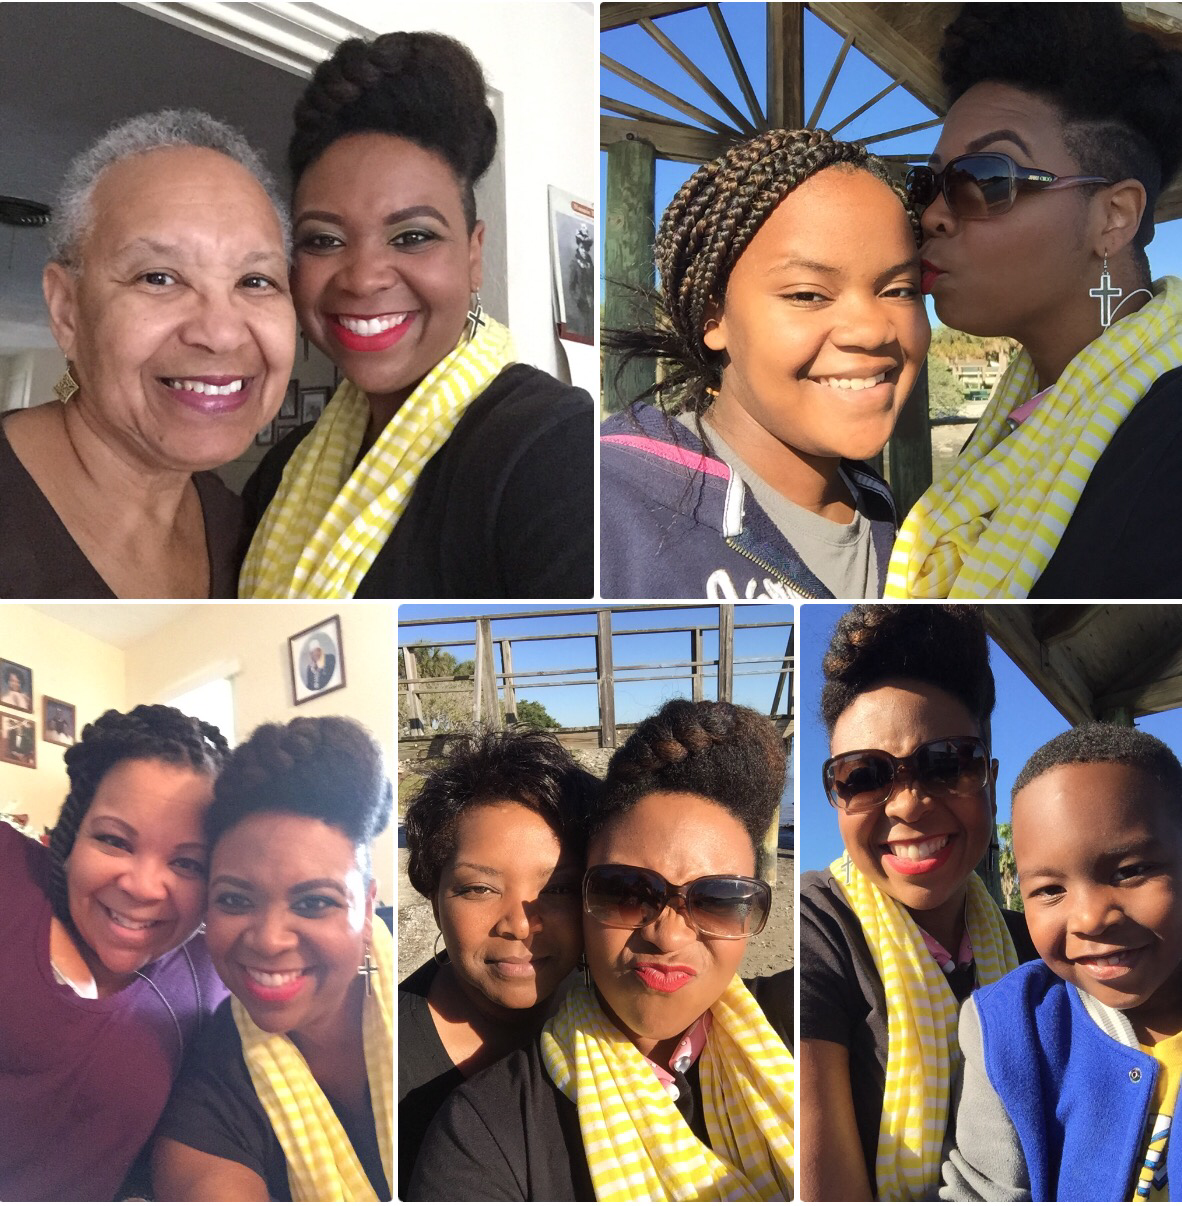
After an awesome Thanksgiving Holiday in Tampa, the family and I are on our way back to Atlanta. It went by entirely too quickly but the family time was great.

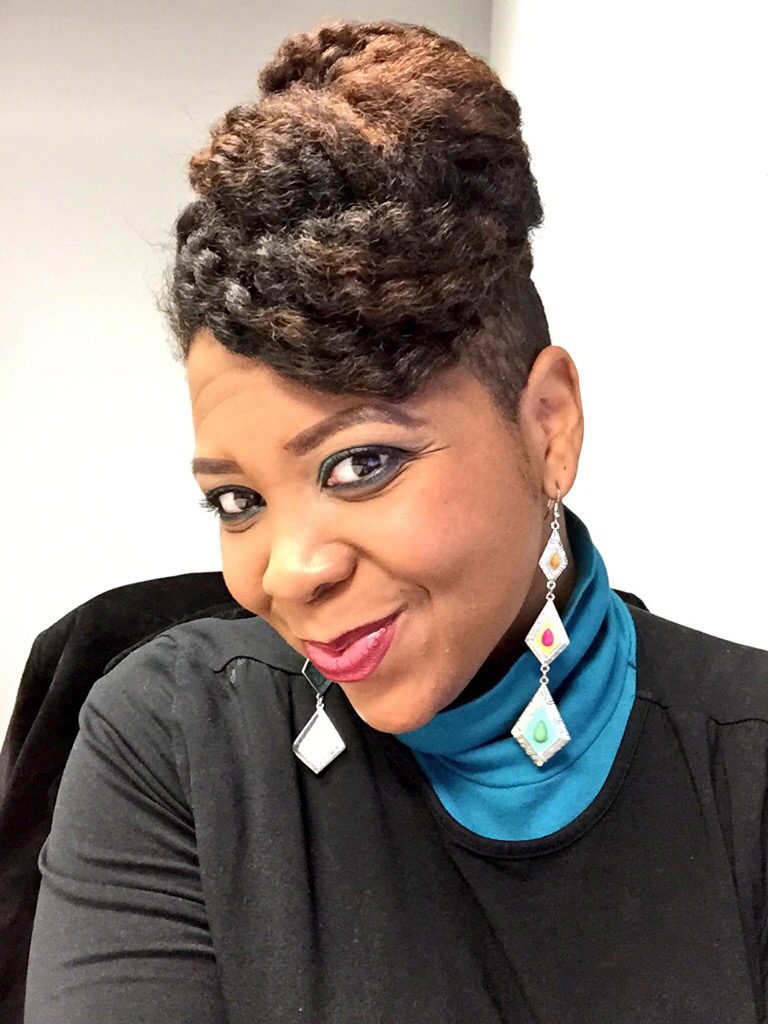
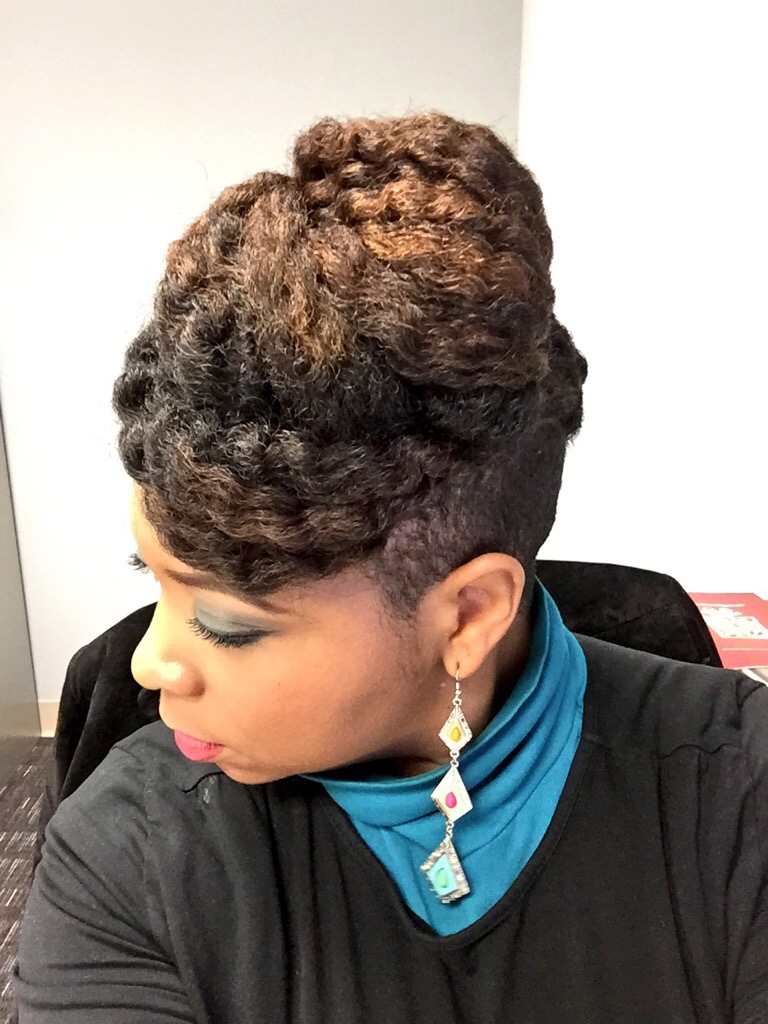
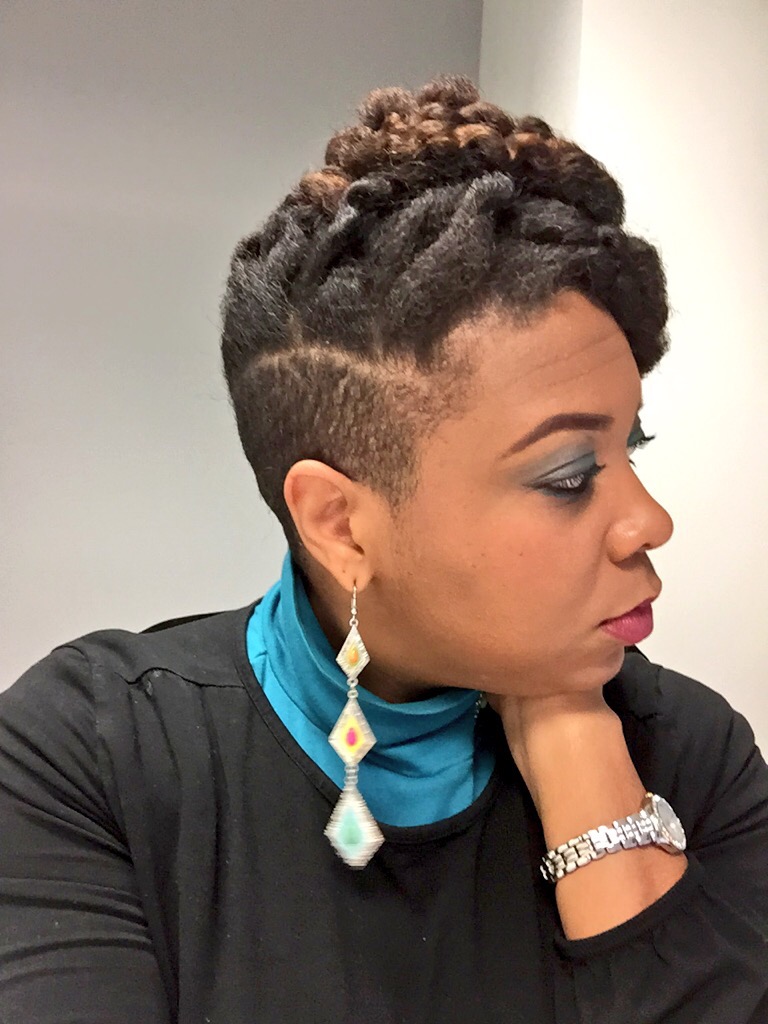
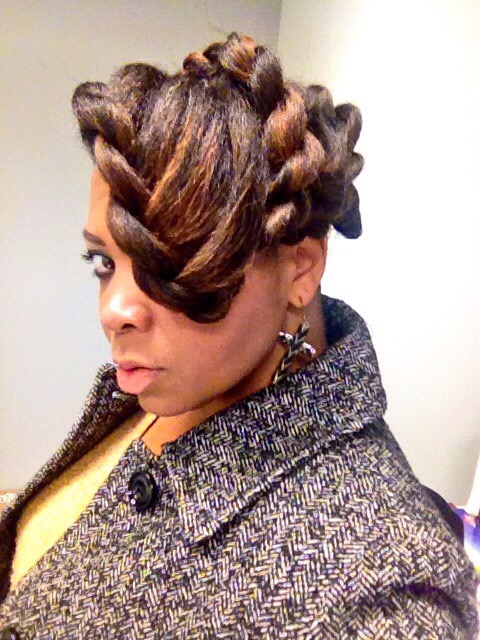
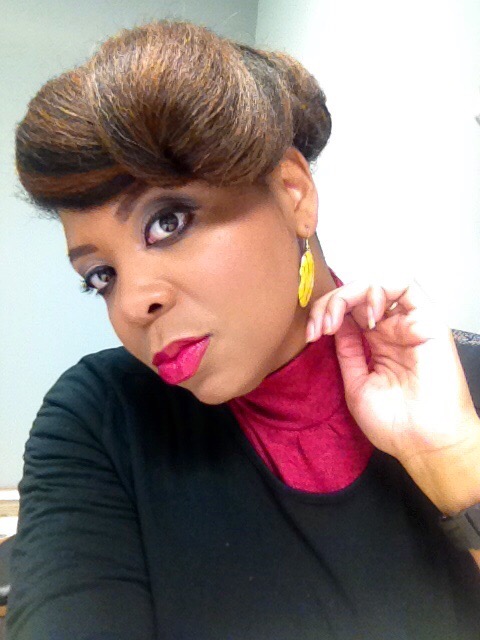
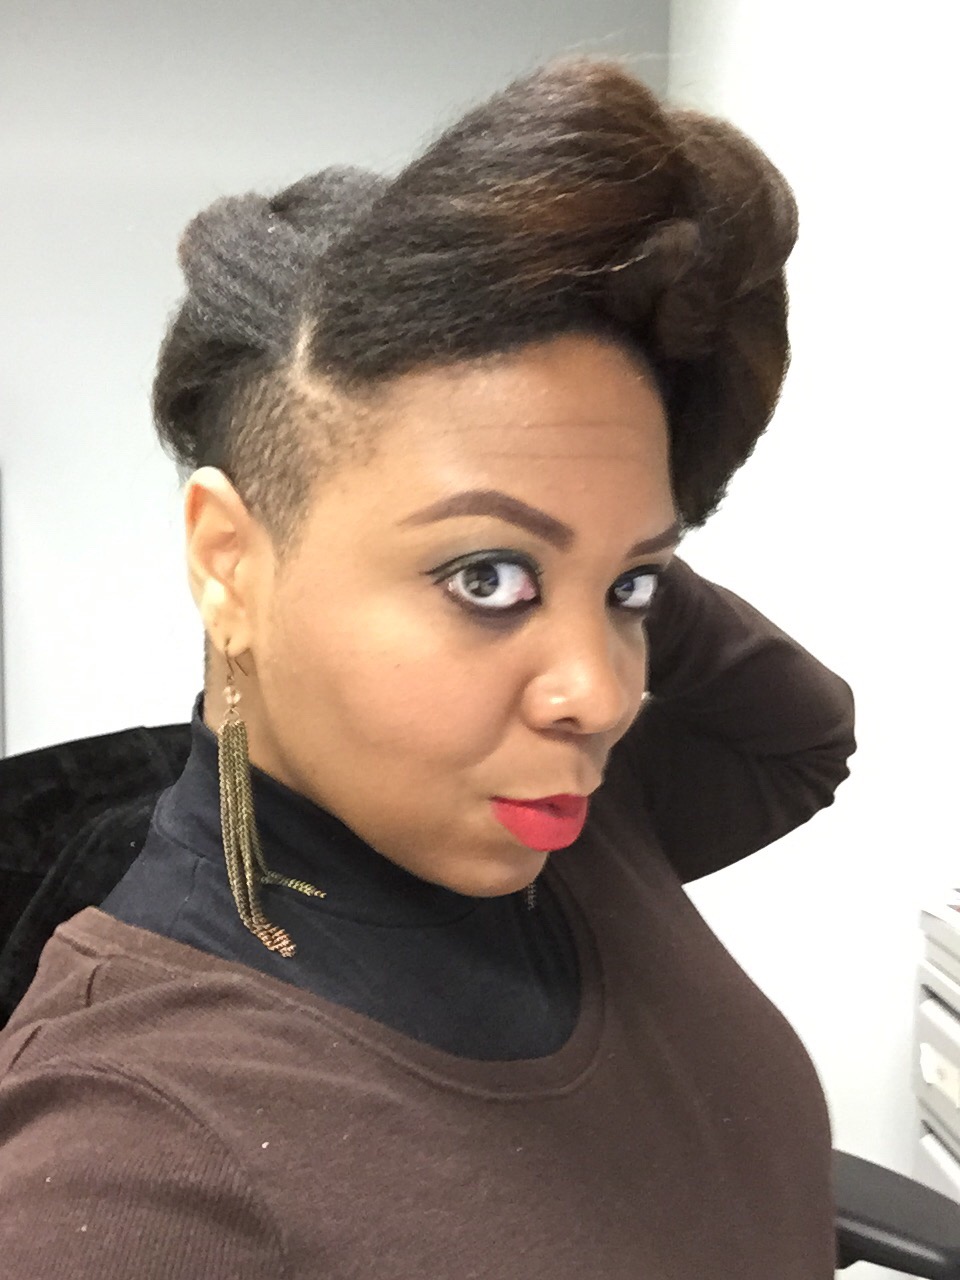
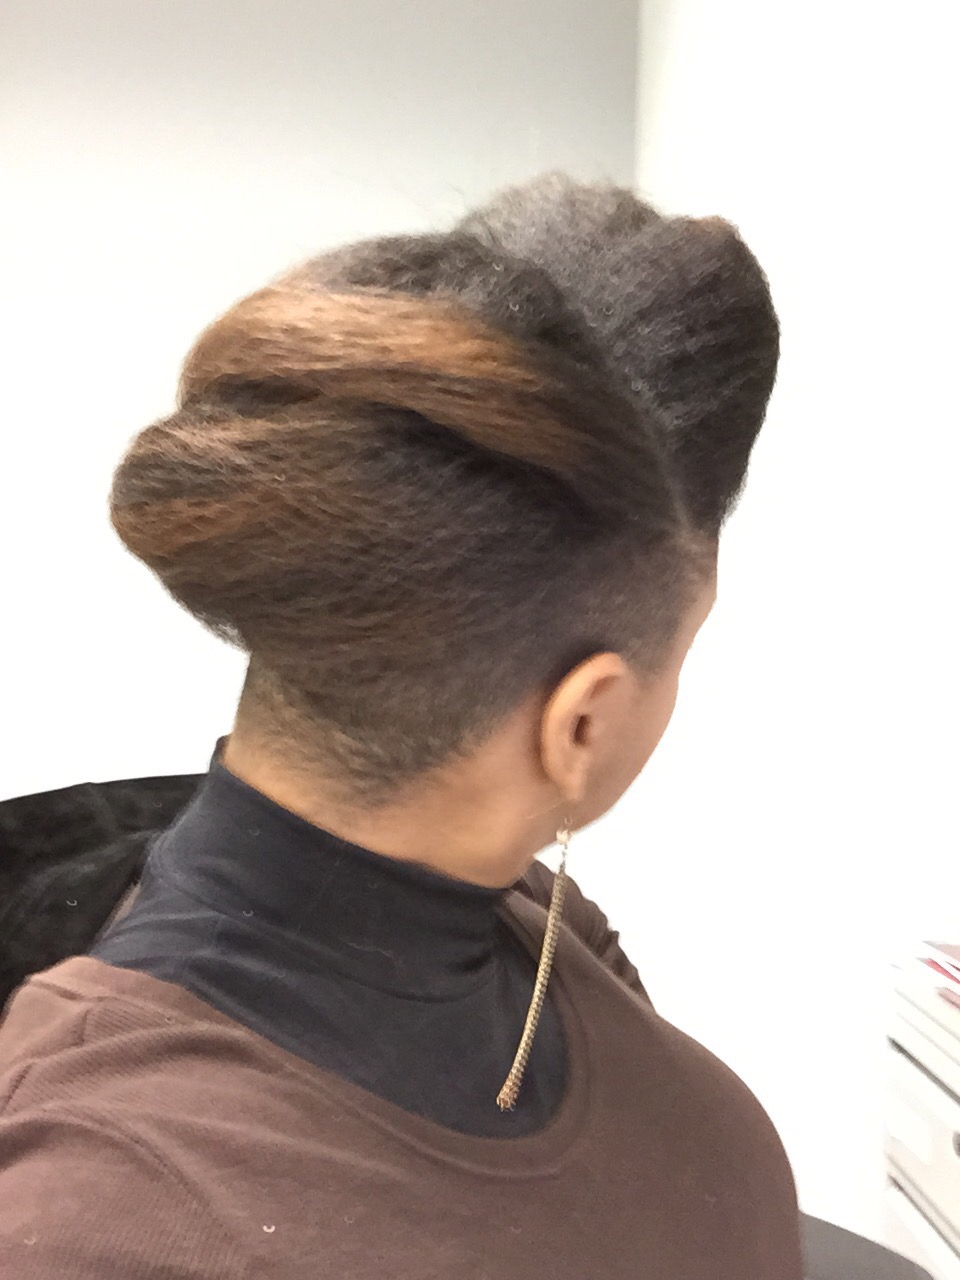
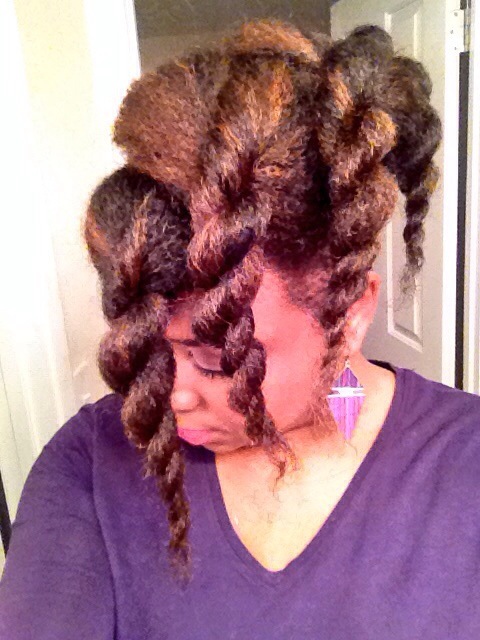
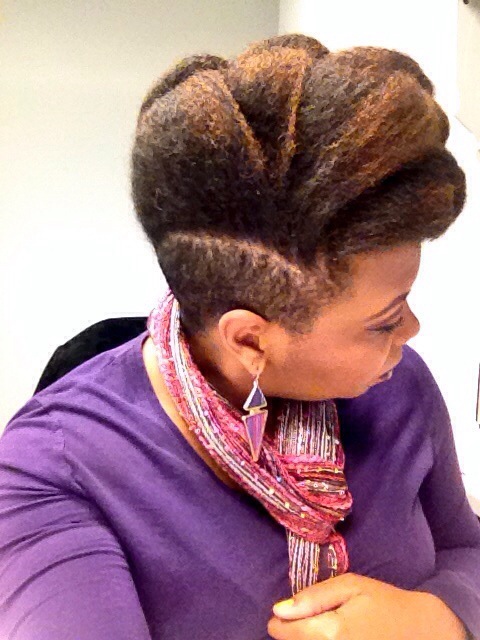
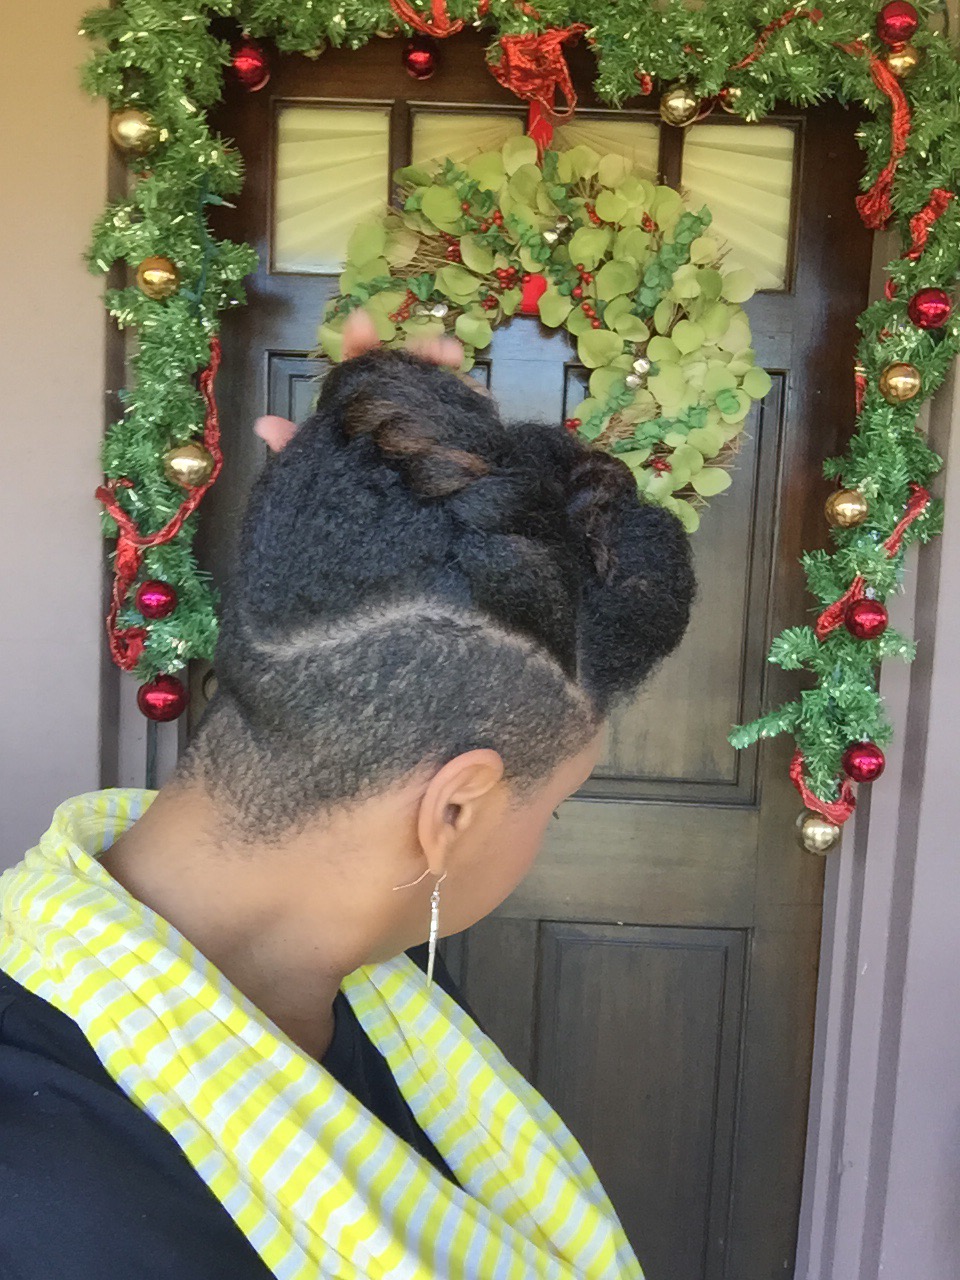
Using my in-laws Christmas decorated front porch as a back drop for pics, the holiday hair was a mixed bag of twist styles and fros! Thanksgiving eve I went with this high twisted bun.

IMG_1661.JPG

IMG_1662.JPG

IMG_1668.JPG

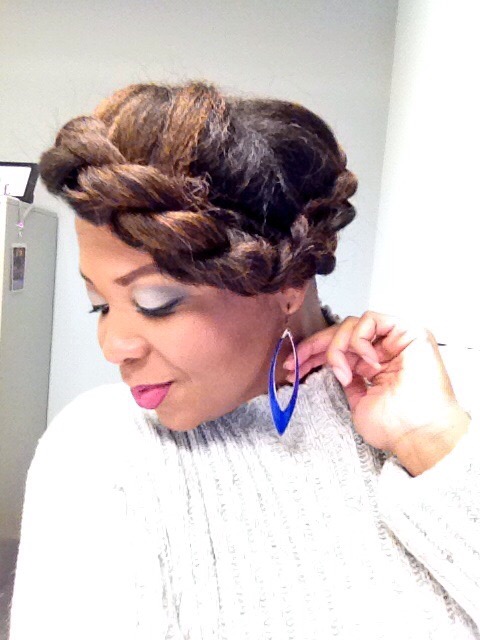
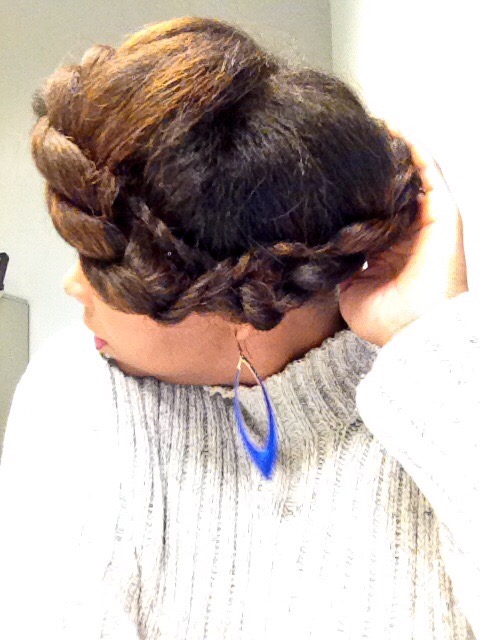
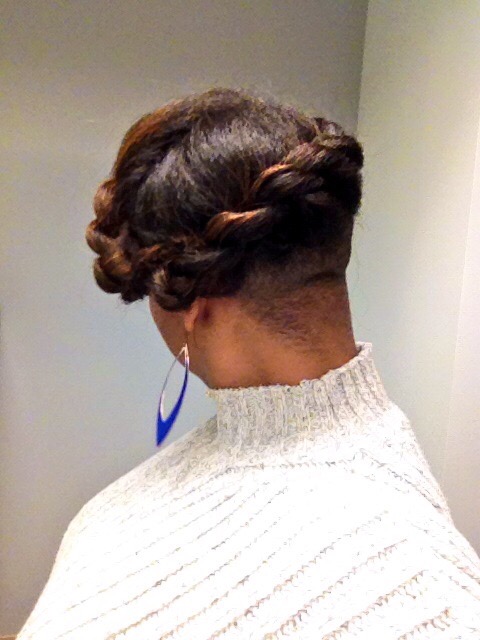
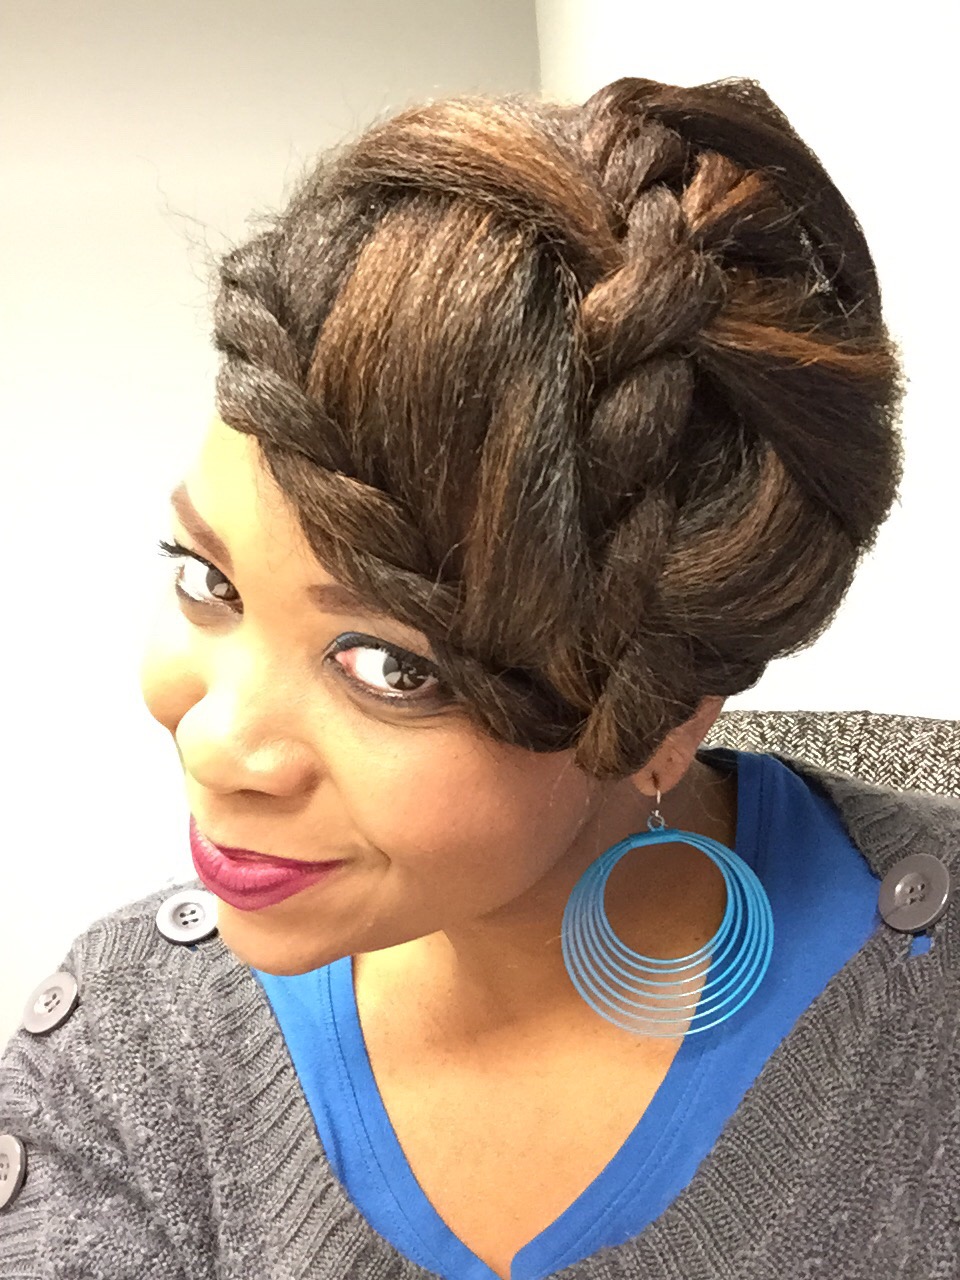
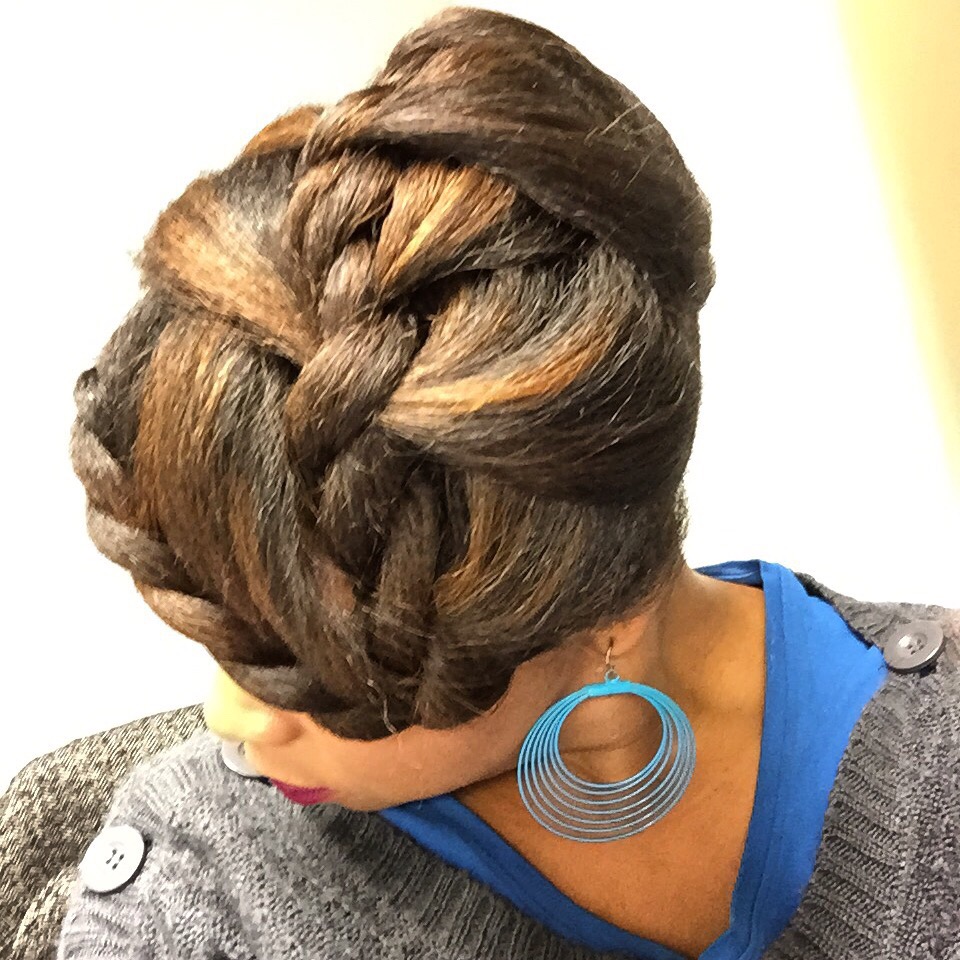
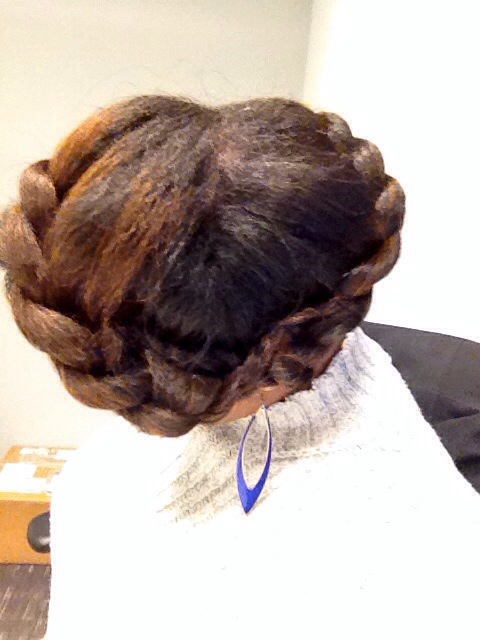
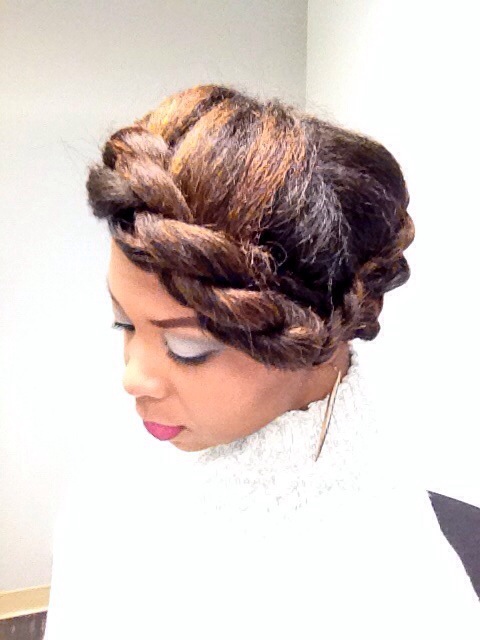
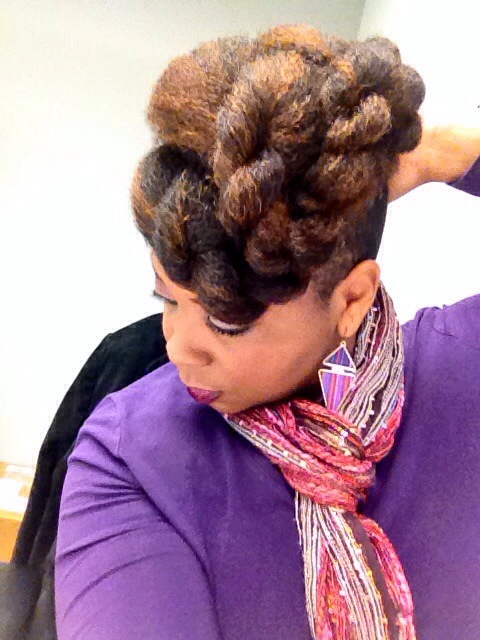
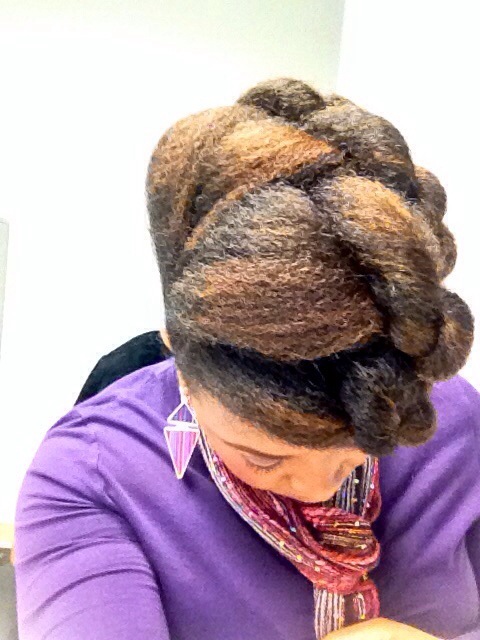
Thanksgiving day was a unique flat twisted updo. Really love how this one turned out.

IMG_1786.JPG

IMG_2248.JPG

IMG_1750.JPG

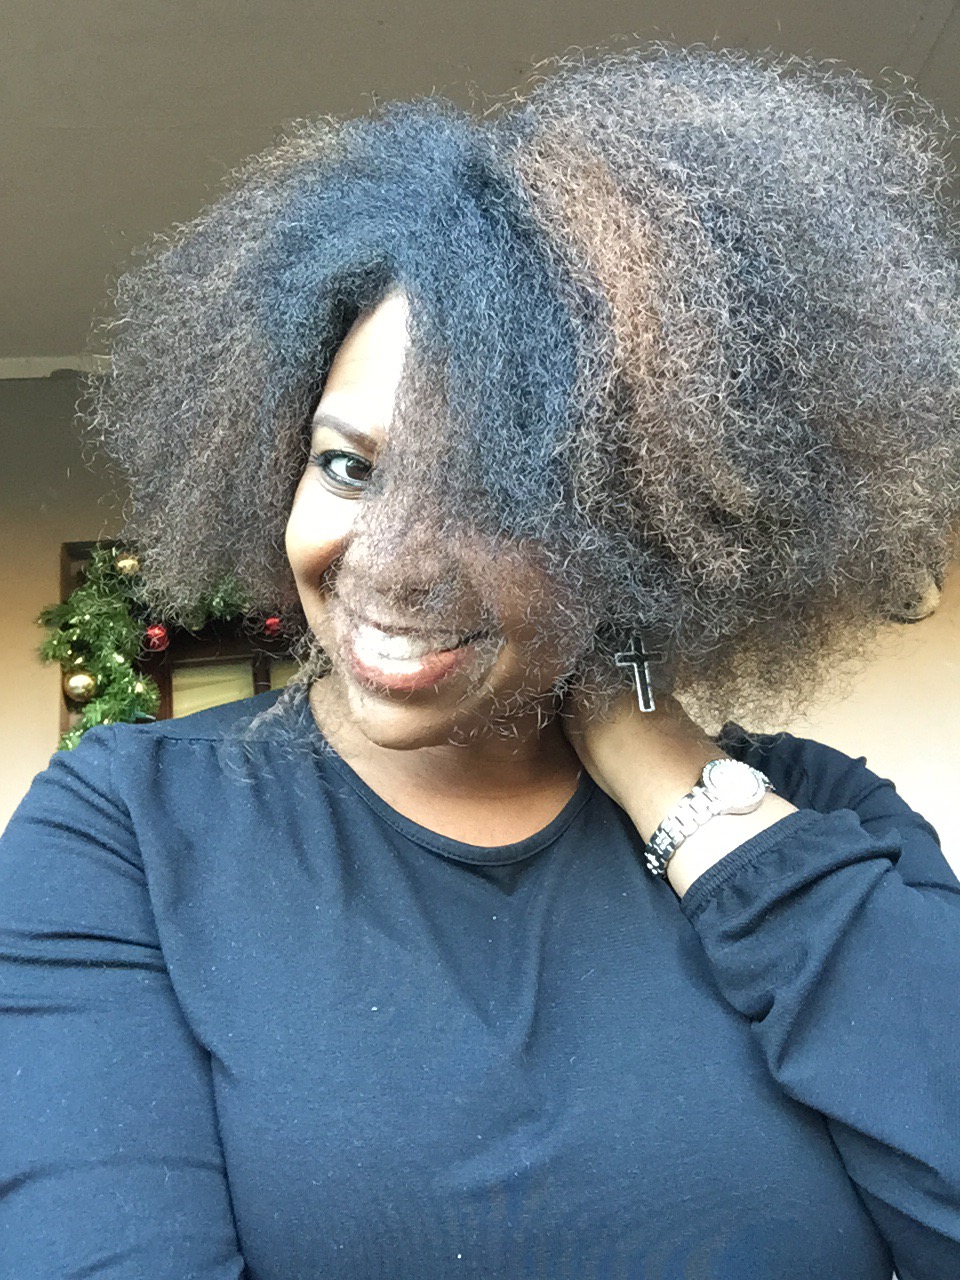
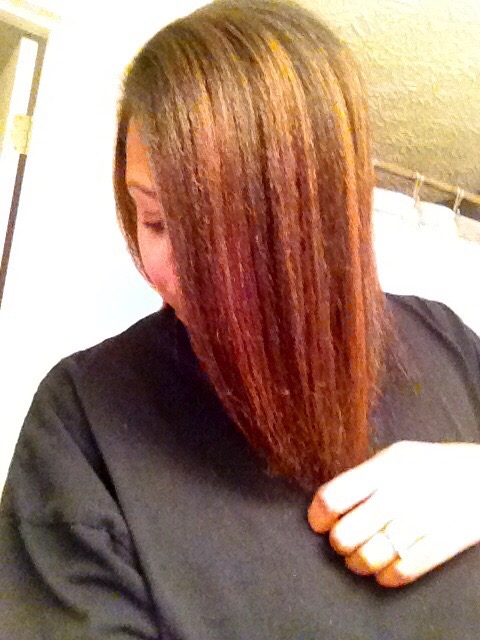
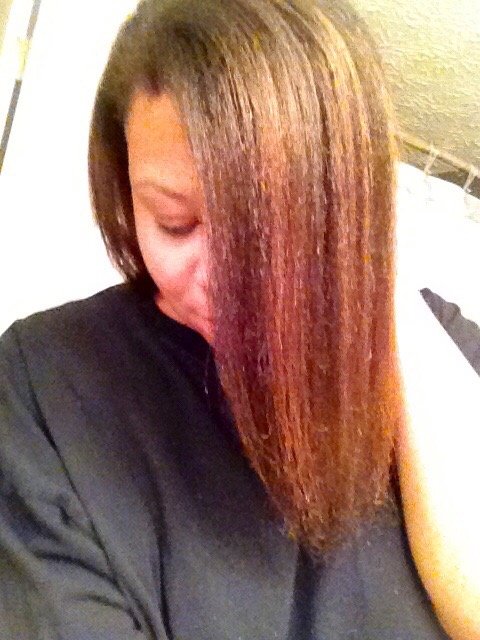
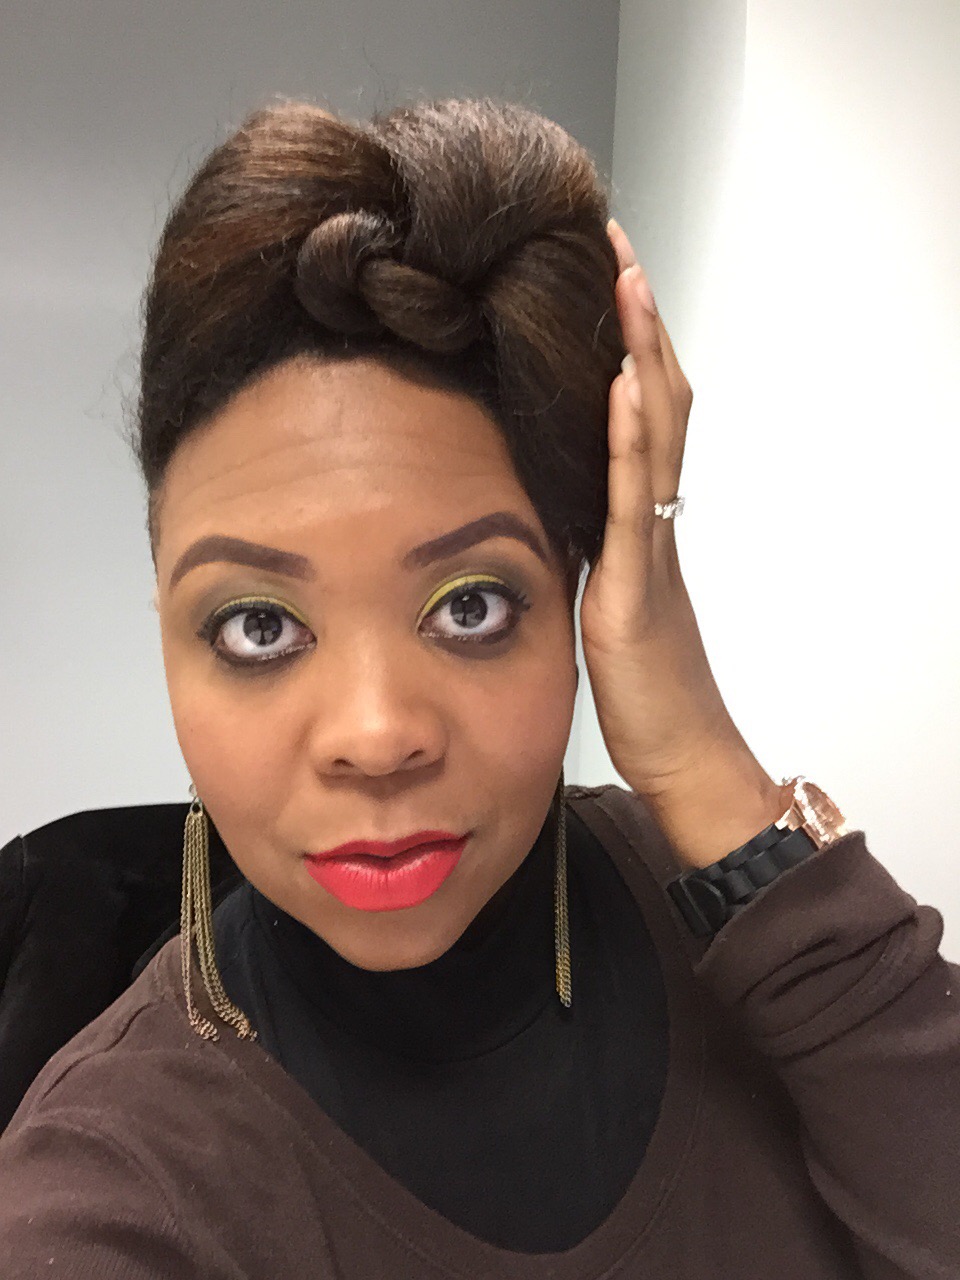
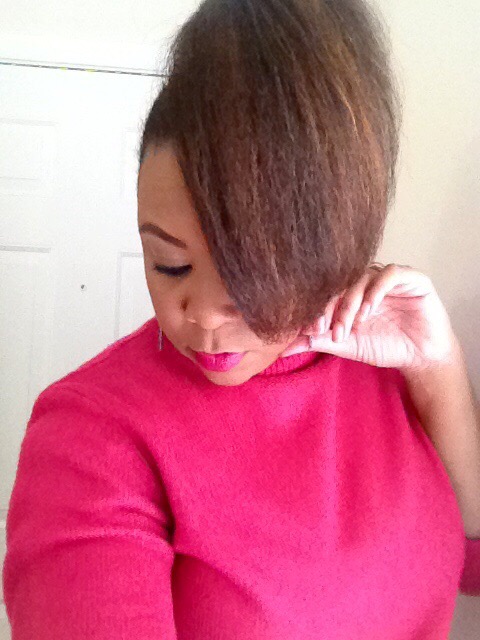
Black Friday I though I’d let the Fro loose. As always it was very refreshing. It’s tons of textured gave me life which was much needed for the long day of shopping.

IMG_2036.JPG

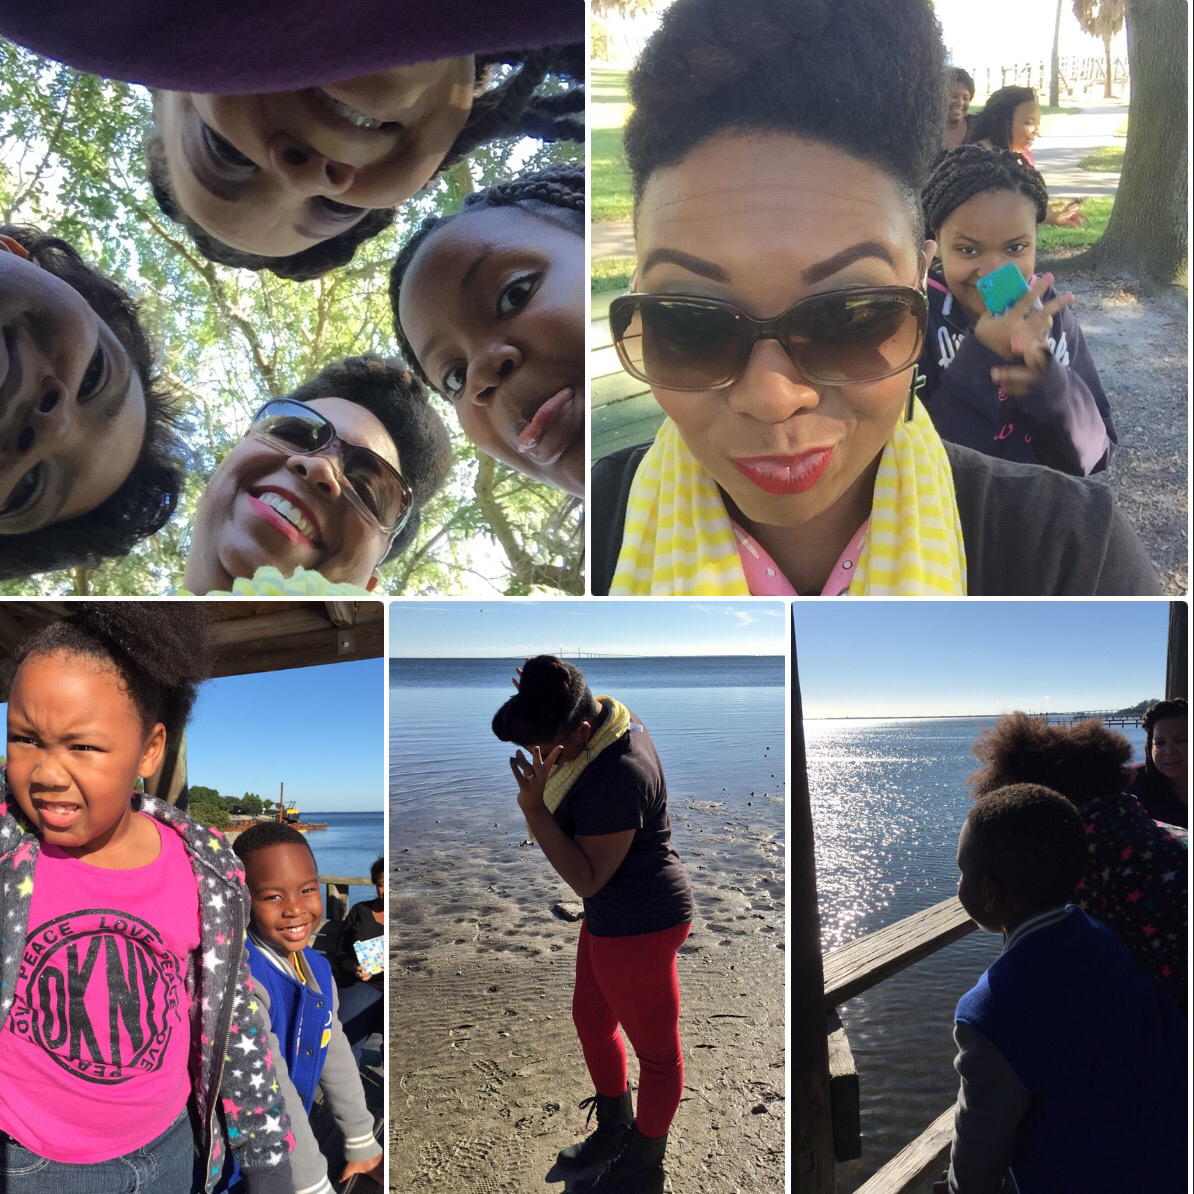
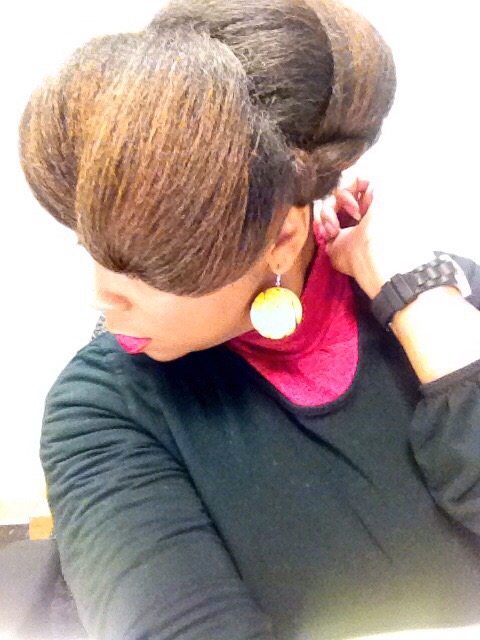
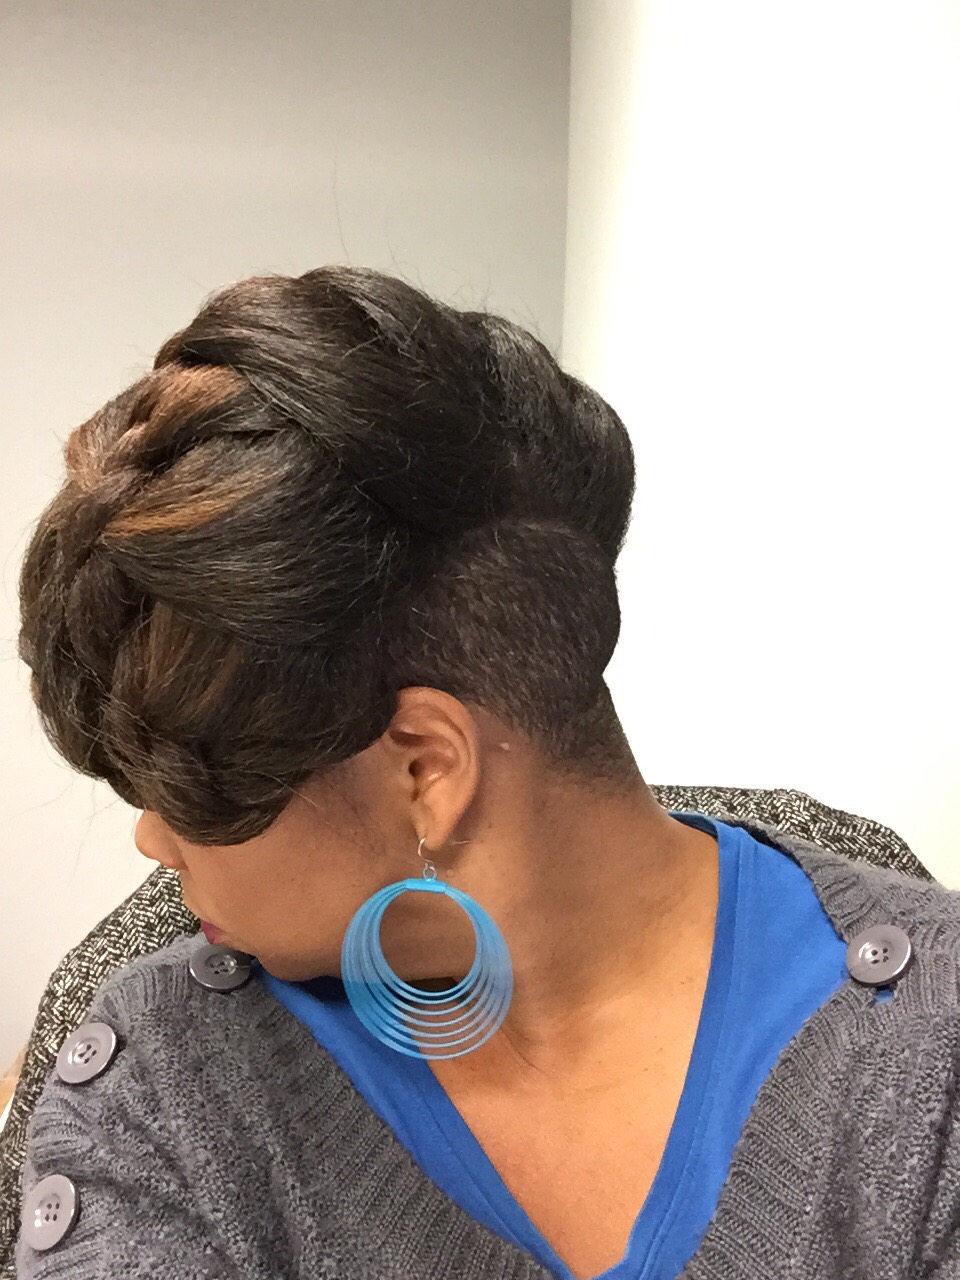
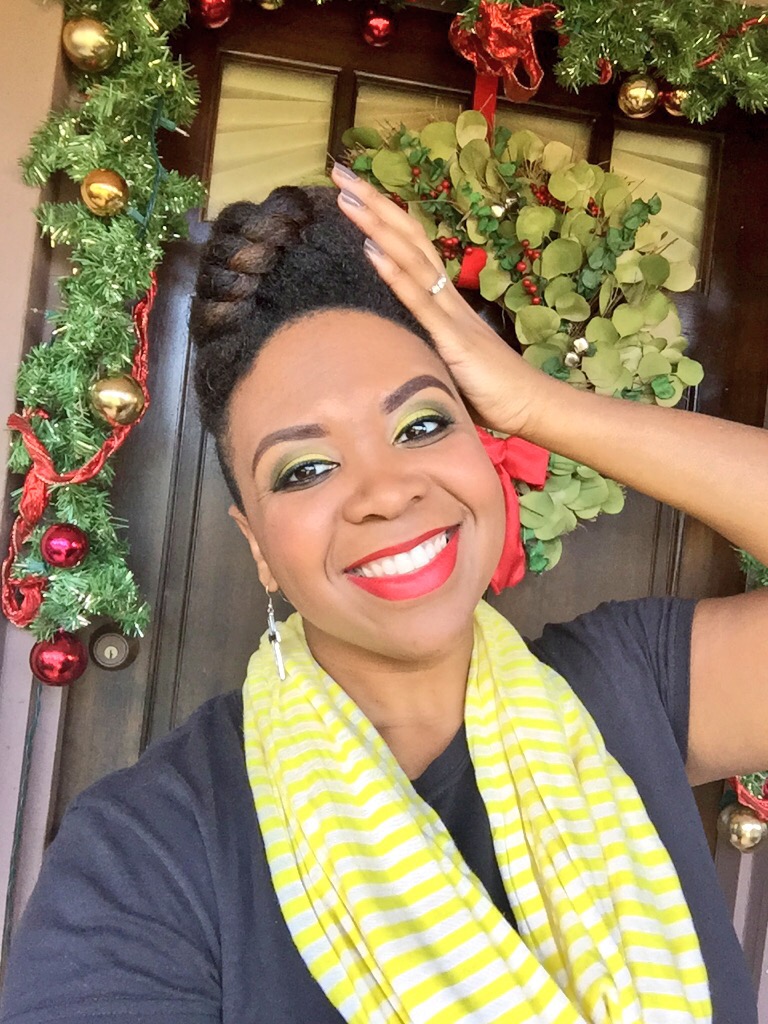
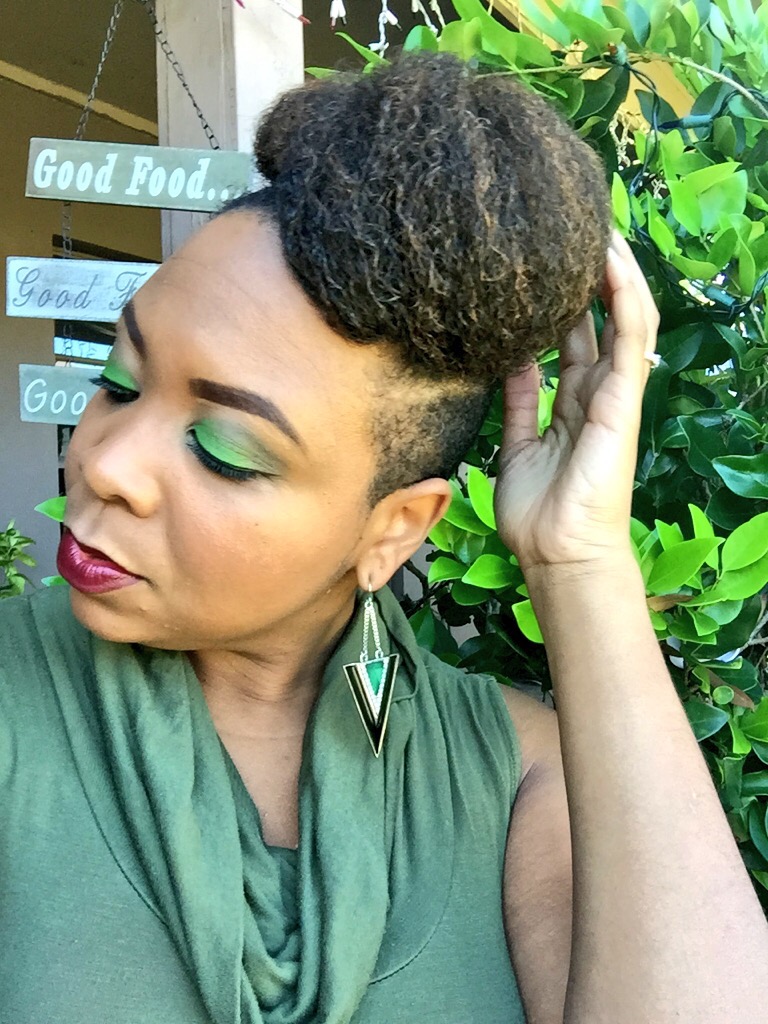
And lastly on Saturday a day filled with running around with a one year old and two three year olds I decided in a simple high bun.

IMG_2244.JPG

IMG_2212.JPG

IMG_2209.JPG

All in all it was a long weekend full of family, good food and great hair! I hope you all had as wonderful a holiday as I did. Here are some more pics

IMG_2249.PNG

IMG_2250.PNG

IMG_2252.PNG

IMG_2251.PNG

IMG_2003.JPG

Advertisement

Twist Out Criss Cross Video Tutorial

Hello beauties!

I am officially on vacation!! Yay! I’m so excited to be going home to Tampa for the Thanksgiving holiday. I’ve been thinking up some holiday hairstyles but haven’t yet decided so stay tuned!

Today I wanted to post a video tutorial of the style I wore yesterday. It was a twist out updo that turned out really nice. So, here are some pics as well as a video tutorial on how I got the look. If you happen to try this style please tag me on Instagram @TJluvsbeingnatural, I’d love to see your creations!

IMG_1489.JPG

IMG_1488.JPG

IMG_1502.JPG


Straight Hair Style Compilation

Happy Saturday!

I hope you all are having a great weekend. I wanted to take some time today to do a recap of my straight hair adventures over the last two weeks. I had way more fun styling my hair than I thought I would. So here are the deets!

It had been quite a while since my last trim and with the frigid Atlanta weather we’ve been having I figured the timing was pretty perfect to straighten my hair, do some maintenance and have some fun.

To straighten my hair I first of course washed and conditioned it. After that I blew it out first prepping my hair using the Garnier Fructis Sleek & Shine Flat Iron Protector. Then I sectioned my hair starting from the back and started flat ironing. Here’s what I used to flat iron my hair:

20141122-163747.jpg

20141122-163805.jpg

I love the Tool Science Titanium flat iron. My hubby bought me a Chi and I still prefer my Tool Science over the Chi. Here are my flat iron results.

20141122-164050.jpg

20141122-164131.jpg

Not bad right!? Now for the styles. What I love most about the styles I came up with is that they were all for the most part protective styles, and they took no more than 10 minutes to do! Ok, I’m going to number them out. Let me know which one(s) you like best.

Style 1

20141122-164700.jpg

20141122-164719.jpg

Style 2

20141122-164904.jpg

20141122-165003.jpg

20141122-165104.jpg

Style 3

20141122-165222.jpg

20141122-165253.jpg

Style 4

20141122-165408.jpg

20141122-165514.jpg

20141122-165618.jpg

Style 5

20141122-165808.jpg

20141122-165942.jpg

20141122-170026.jpg

20141122-170051.jpg

Style 6

20141122-170220.jpg

20141122-170302.jpg

20141122-170323.jpg

Style 7

20141122-170501.jpg

20141122-170632.jpg

I had so much fun getting creative with styles for my straightened hair! I’m already excited about my next straight hair adventure. Comment and let me know which one is your favorite.

10 Minute Flat Twist Up-do Tutorial

Good morning loves!!

Since I straightened my hair last week I’ve been having a ton of fun creating some unique styles. I’m going to do a recap of all of them but today I wanted to focus on the look from yesterday.

20141120-083929.jpg

This style got a lot of attention yesterday and there were several requests for a tutorial. I’ve been wanting to start my YouTube Chanel back up so I thought this would be a great opportunity! Please keep in mind that this is my first video in over a year so bare with me as I get back into the swing of things.

Please subscribe to my channel and let me know what other looks you’d like to see tutorials on. Here are a couple more pics of the style and the link to the video tutorial. Enjoy!

20141120-084259.jpg

20141120-084320.jpg

The Almost Infinity Twist

Hello loves!!

I’ve got some major catching up to do on blog posts but I just wanted to show you all my hair of the day.

I straightened my hair earlier this week so that I could trim my ends and so I’ve been playing with some styles . Today I went with this…

20141114-092305.jpg

It reminds me a lot of an infinity braid or twist which I love but this is nothing more than two flat twists. I separated my hair into two fairly equal sections. For the front section I flat twisted all if the hair to the left side. And for the back I did the same thing. Lastly I tucked the end of the front flat twist inside the flat twist in the back, and I tucked the end of the back flat twist inside the front one. Here are some more pics!

P.S. I get my iPhone 6 Plus next week so videos coming soon!

20141114-092727.jpg

20141114-092741.jpg

20141114-092748.jpg

20141114-092804.jpg

20141114-092846.jpg

About Today’s Hair

Good morning loves!

Today I’ve got a new twisted updo that is giving me so much life!! Probably one of my favorites yet. So here are the deets on how I got the look

1. First I started with dry stretched hair.
2. I moisturized my hair with Carols Daughter Hair Milk.
3. I separated a medium size section in the front of my hair and did a fairly secured twist forward and to the left.
4. I then separated out another 3 sections twisting them all forward and to the left until I ended up here:

20141104-074834.jpg

5. Then, starting with the twist in the back I pulled the twist forward and bobby pinned it up under the twist in front of it. I repeated this for the next twisted section.
6. When I got to the two front twists I just pulled them to the side and tucked the ends under the twist behind them and secured them with a bobby pin.

Here’s the final look. What do you think?

20141104-075233.jpg

20141104-075244.jpg

20141104-075306.jpg

20141104-075314.jpg

20141104-075328.jpg