Happy Saturday!
I hope you all are having a great weekend. I wanted to take some time today to do a recap of my straight hair adventures over the last two weeks. I had way more fun styling my hair than I thought I would. So here are the deets!
It had been quite a while since my last trim and with the frigid Atlanta weather we’ve been having I figured the timing was pretty perfect to straighten my hair, do some maintenance and have some fun.
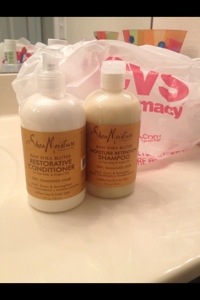
To straighten my hair I first of course washed and conditioned it. After that I blew it out first prepping my hair using the Garnier Fructis Sleek & Shine Flat Iron Protector. Then I sectioned my hair starting from the back and started flat ironing. Here’s what I used to flat iron my hair:

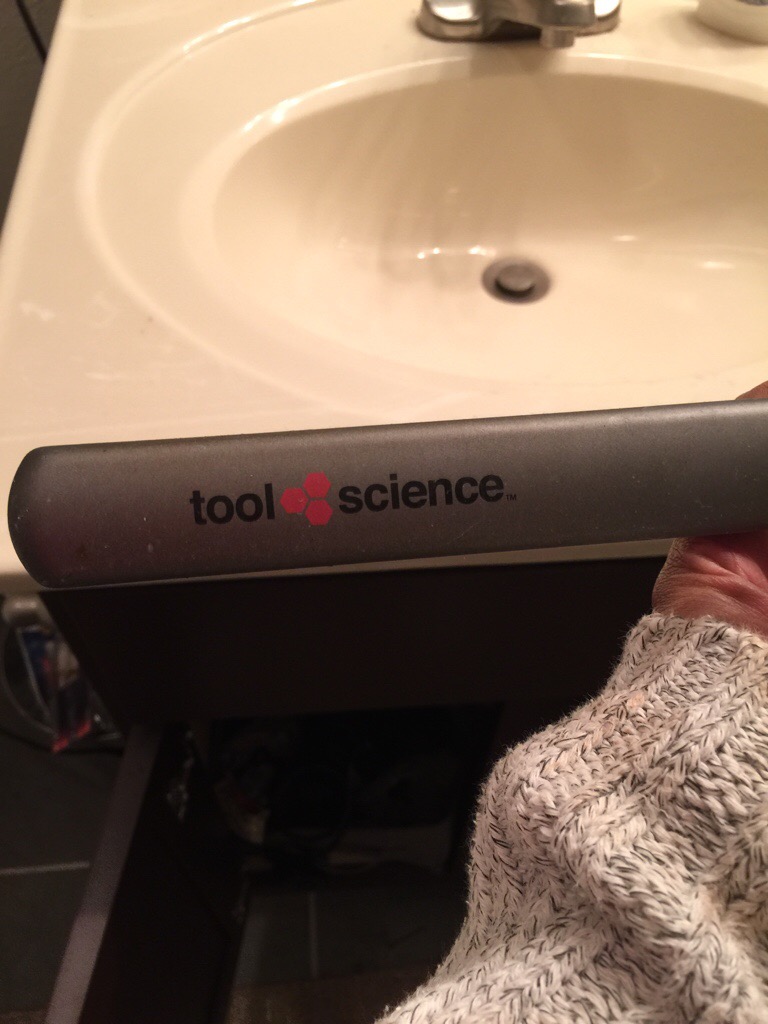
I love the Tool Science Titanium flat iron. My hubby bought me a Chi and I still prefer my Tool Science over the Chi. Here are my flat iron results.
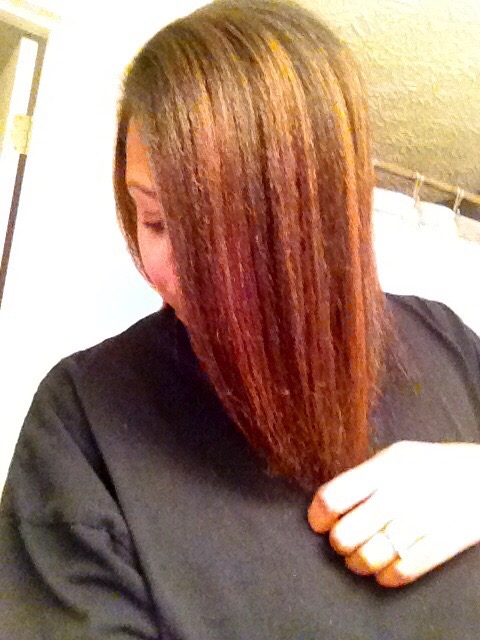
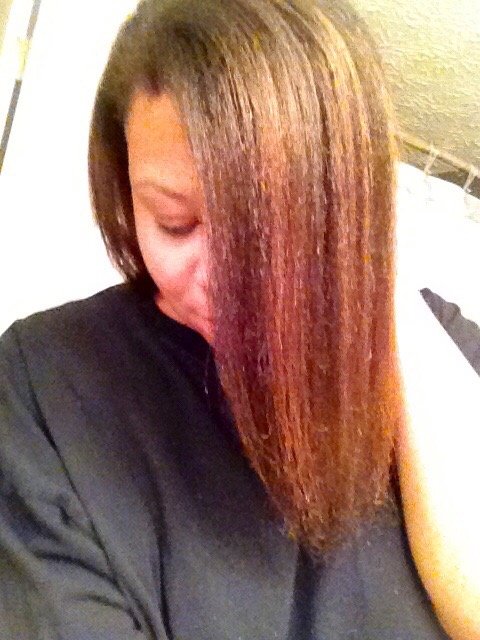
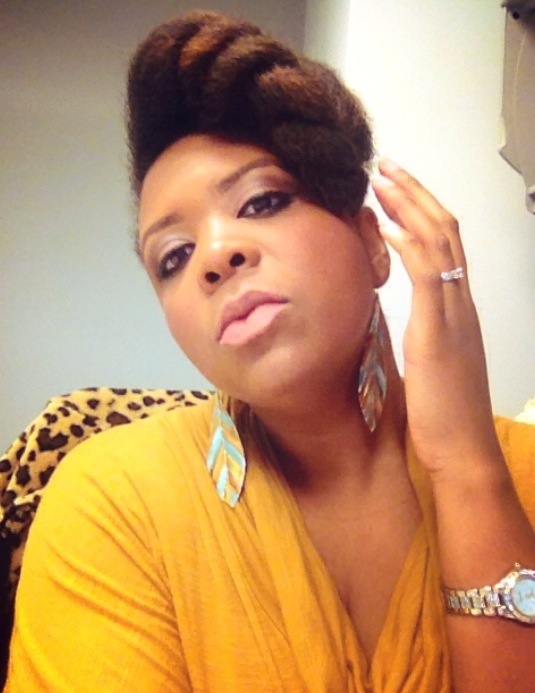
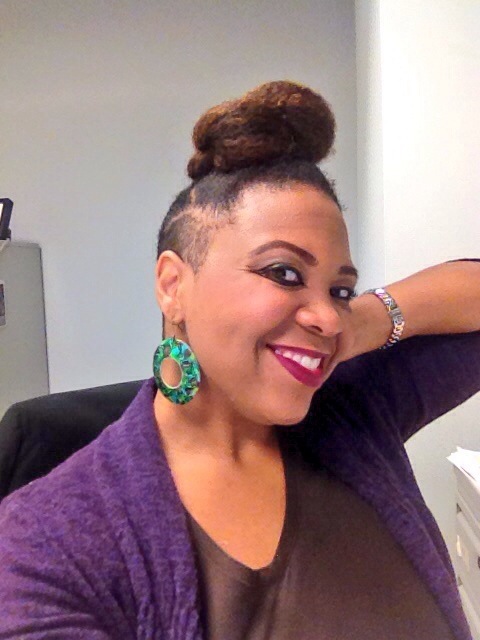
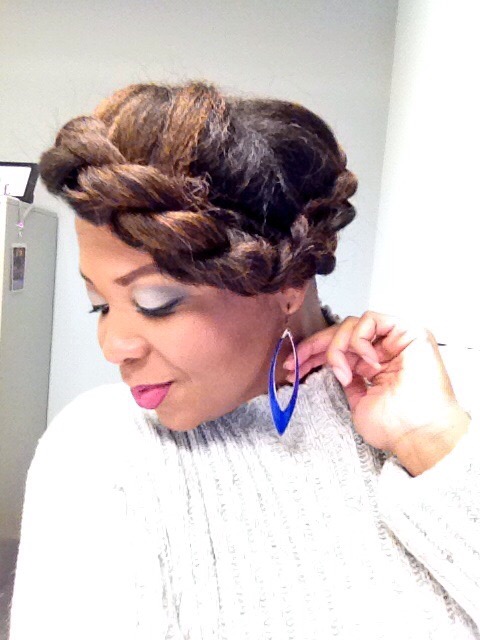
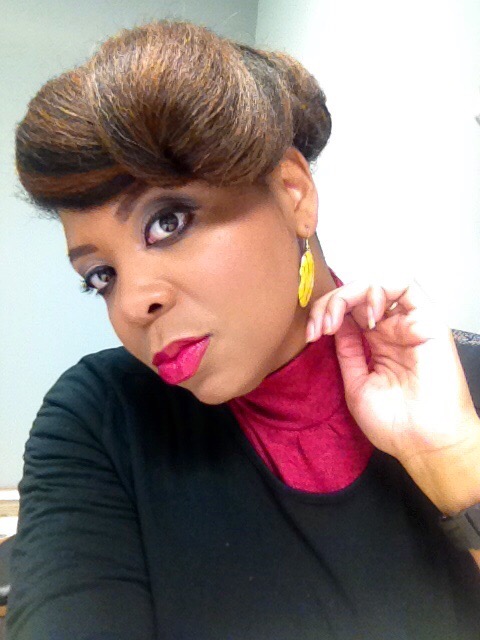
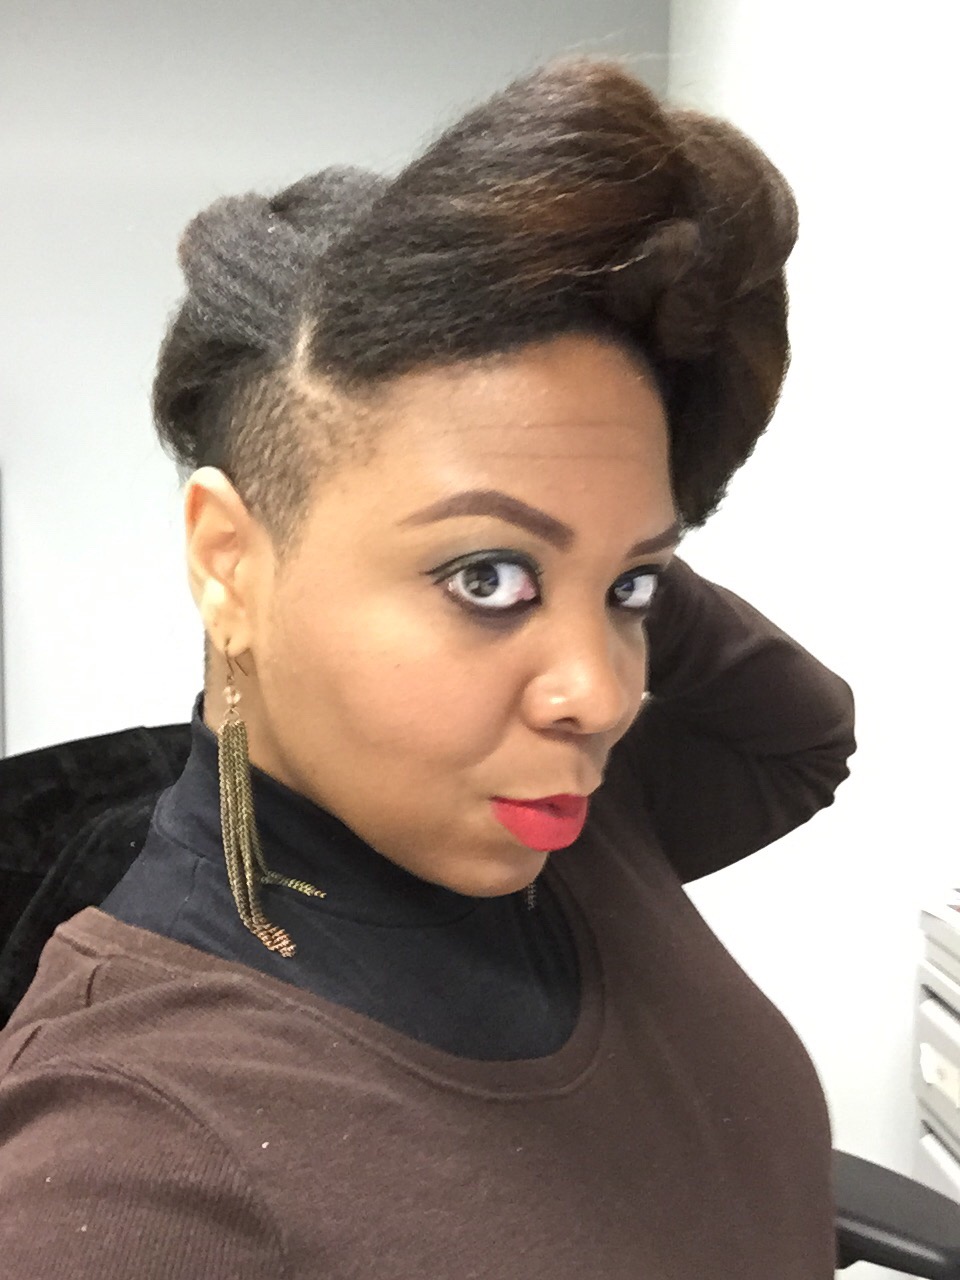
Not bad right!? Now for the styles. What I love most about the styles I came up with is that they were all for the most part protective styles, and they took no more than 10 minutes to do! Ok, I’m going to number them out. Let me know which one(s) you like best.
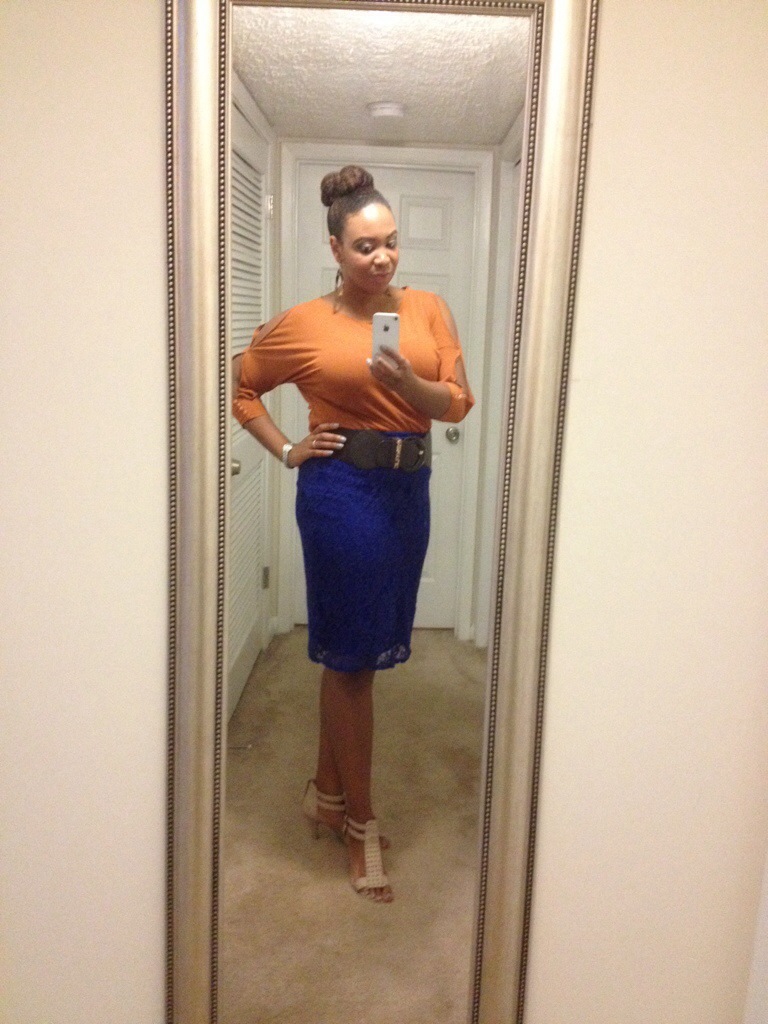
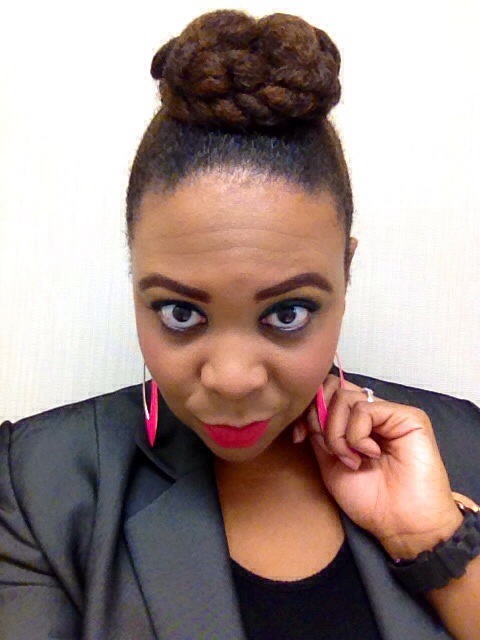
Style 1


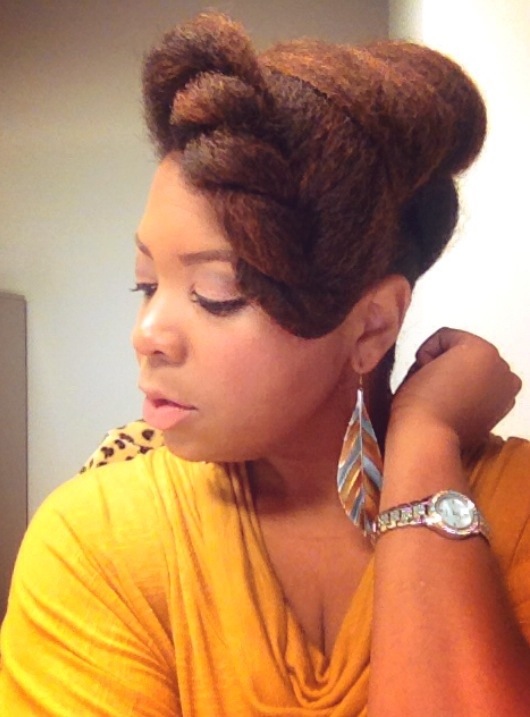
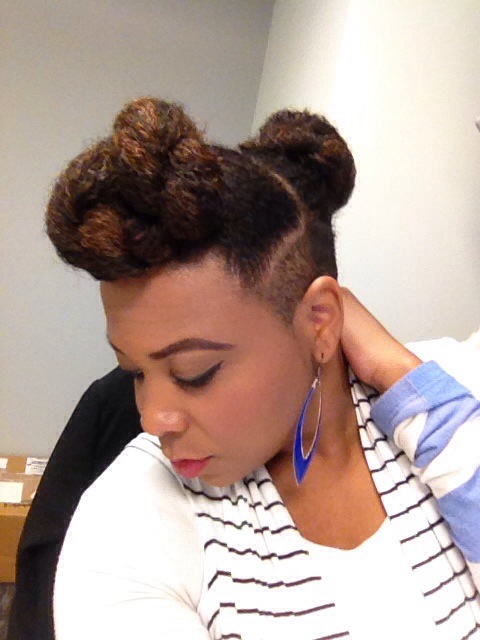
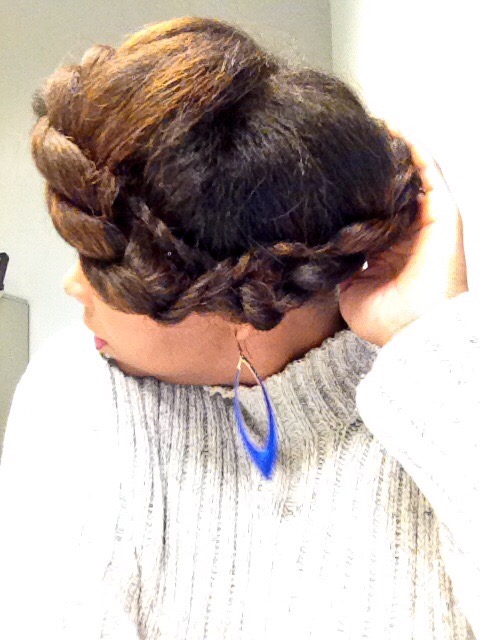
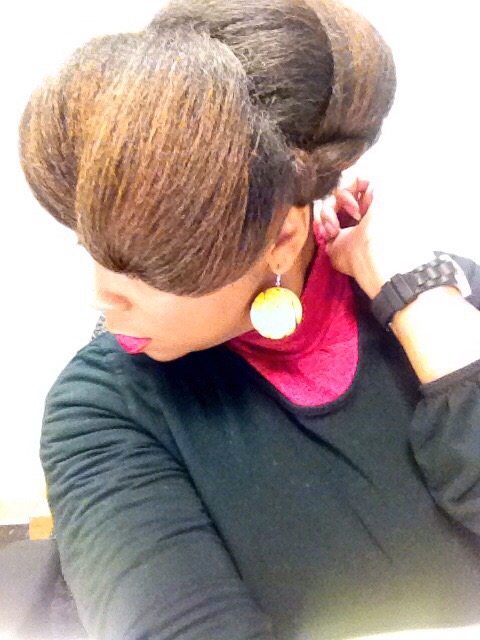
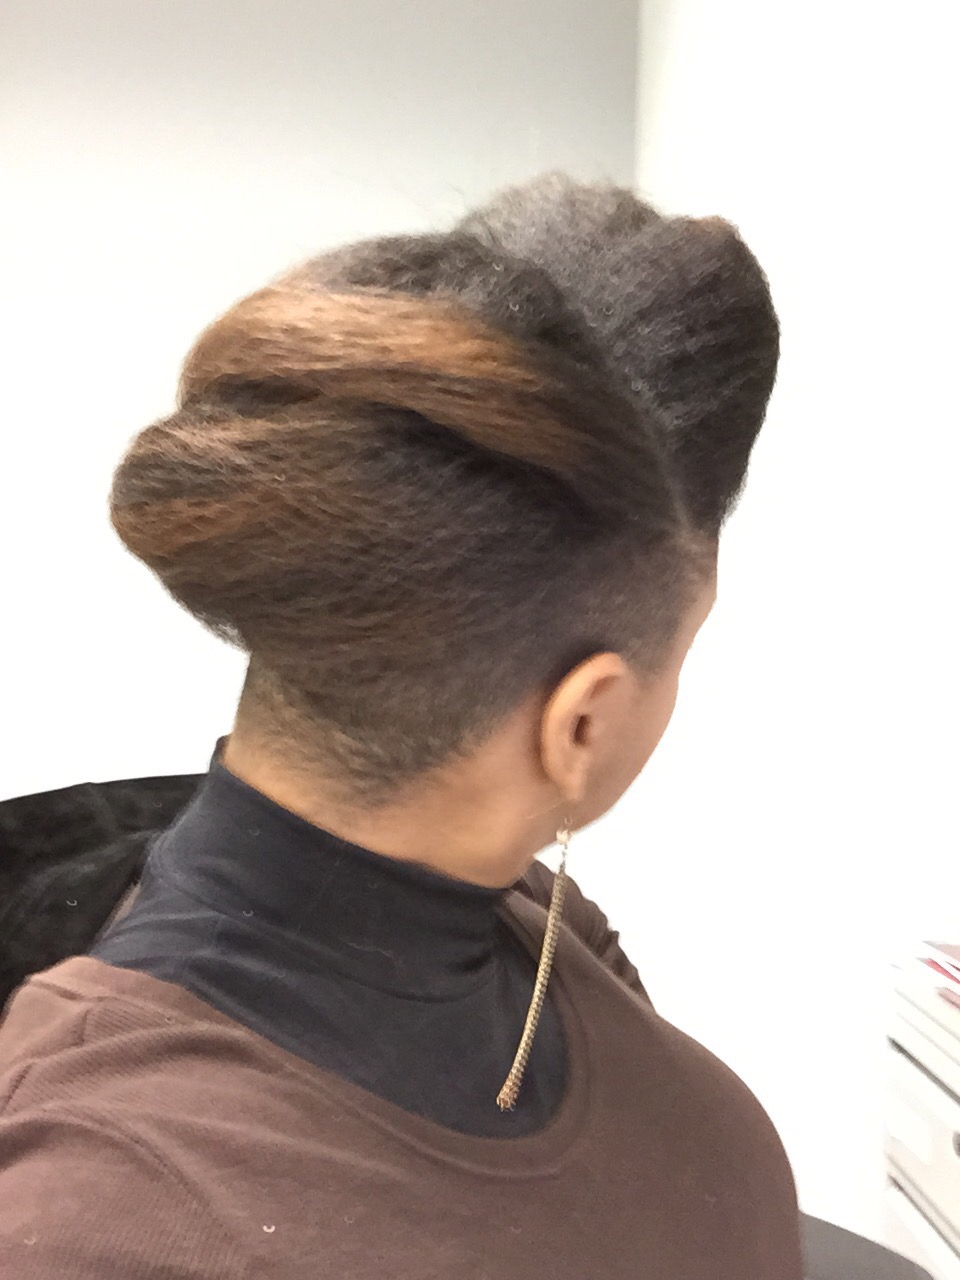
Style 2
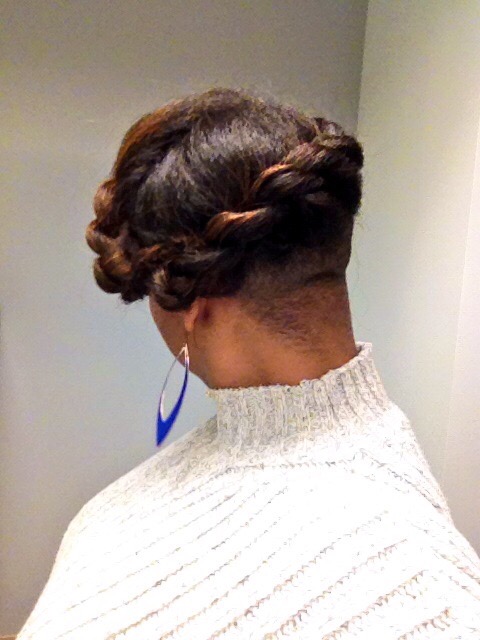
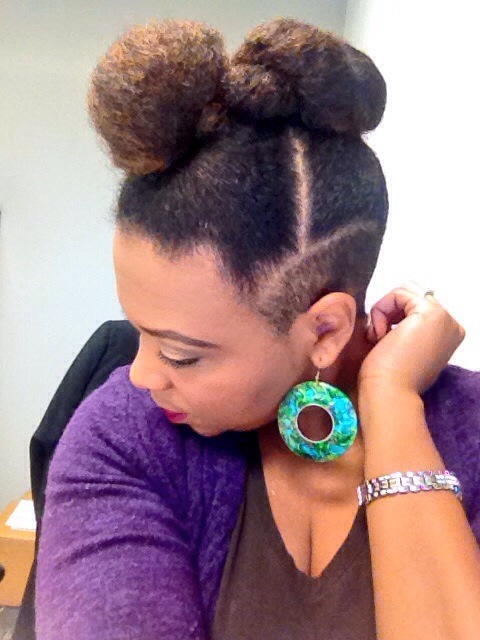
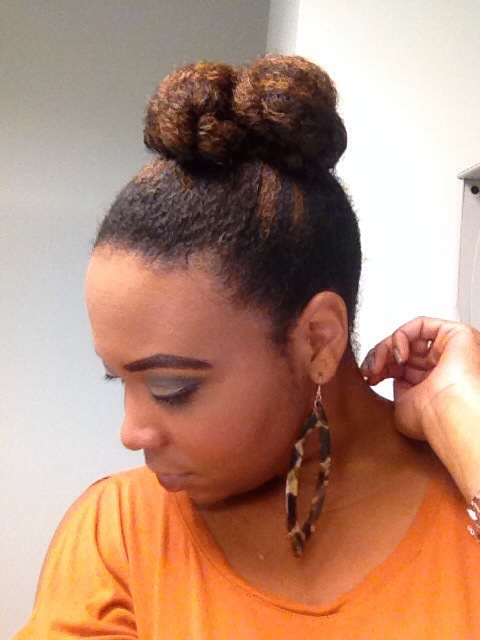
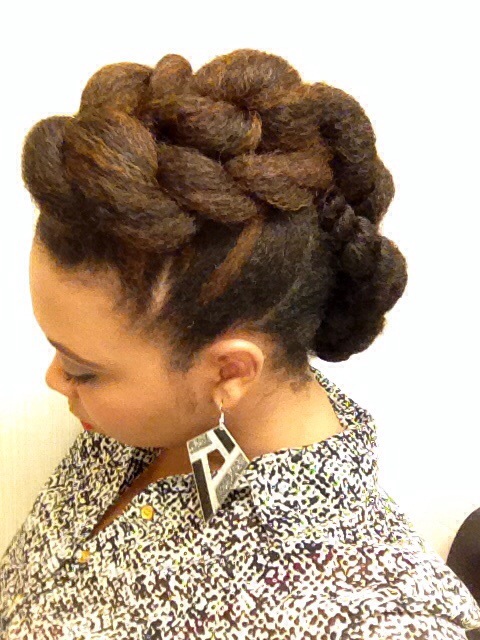
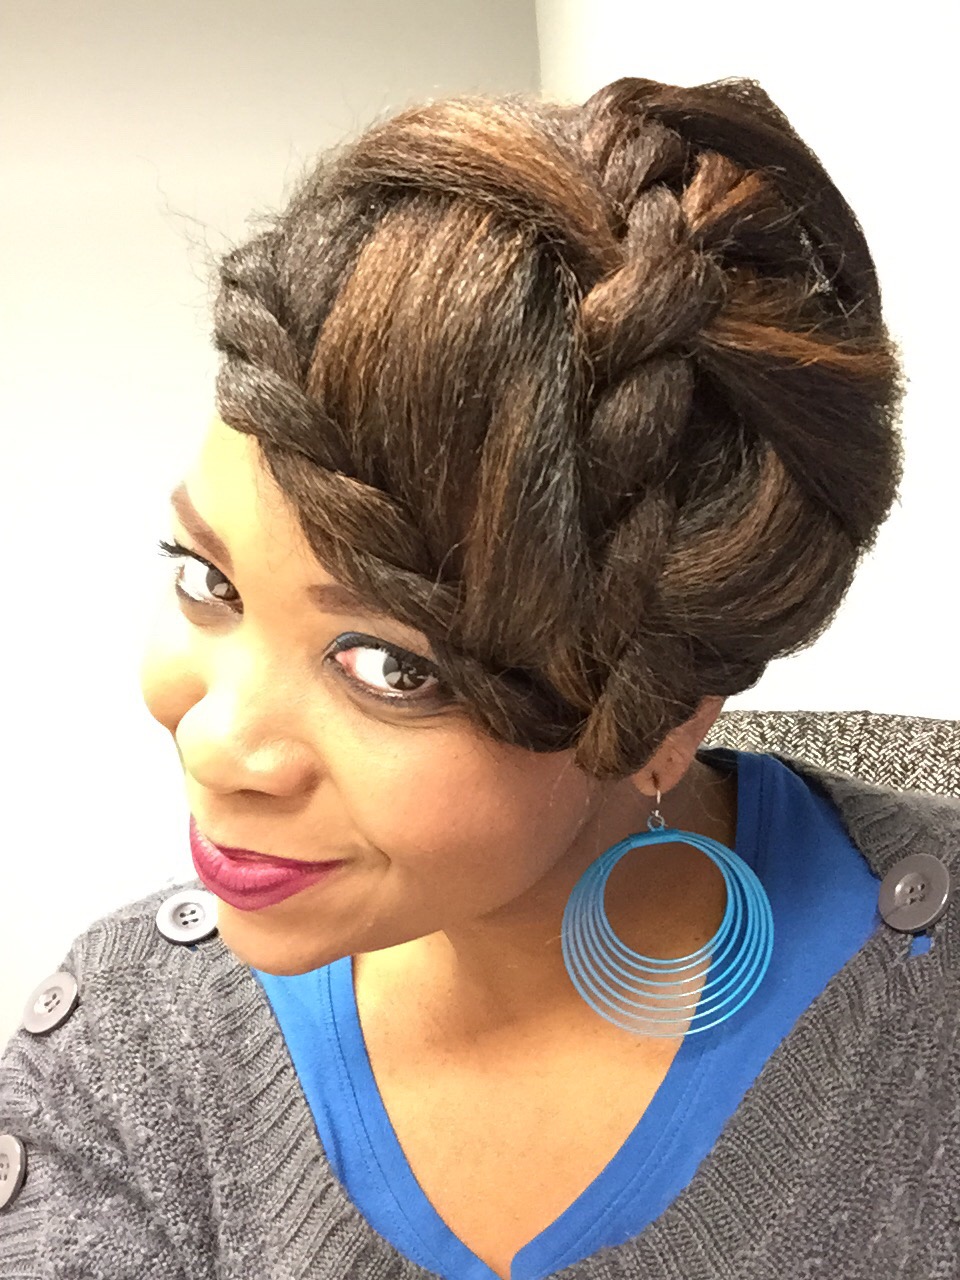
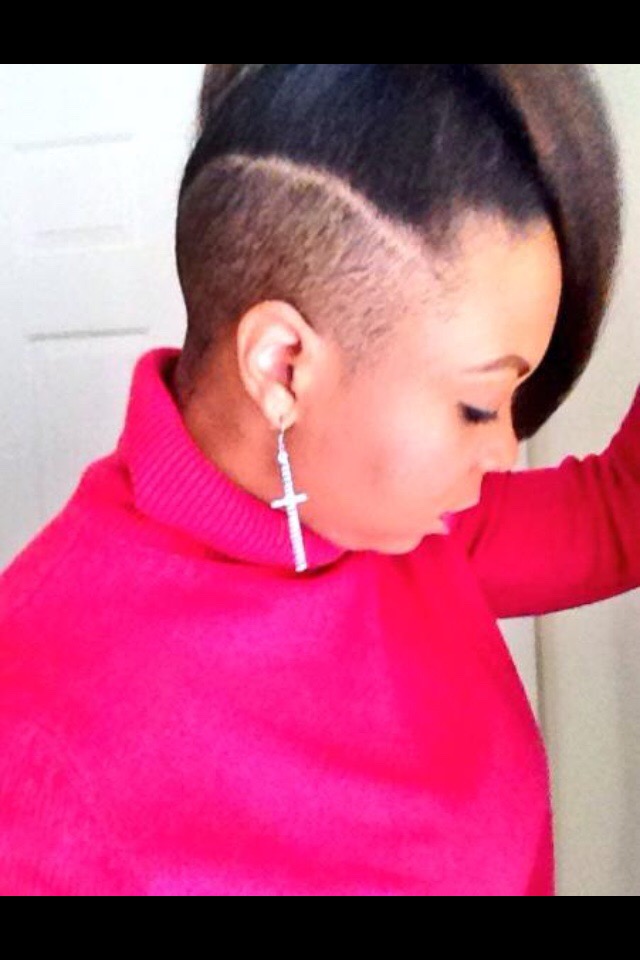
Style 3

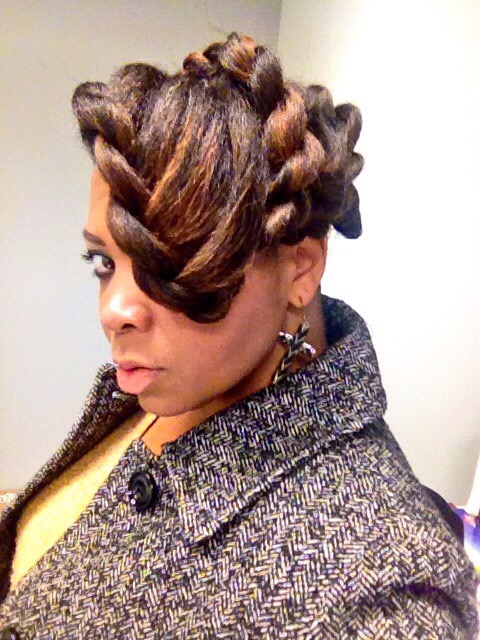
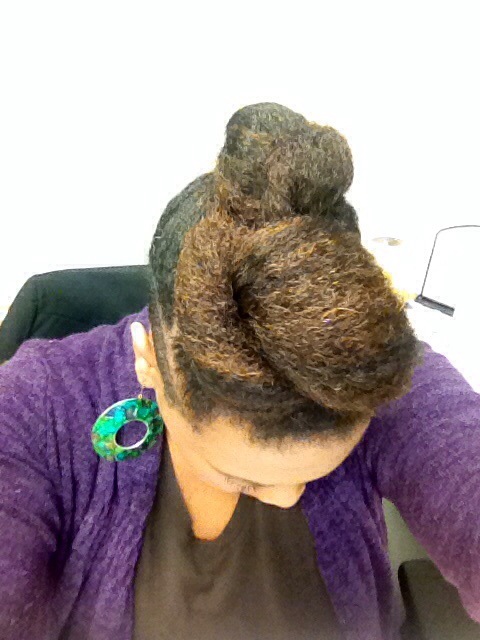
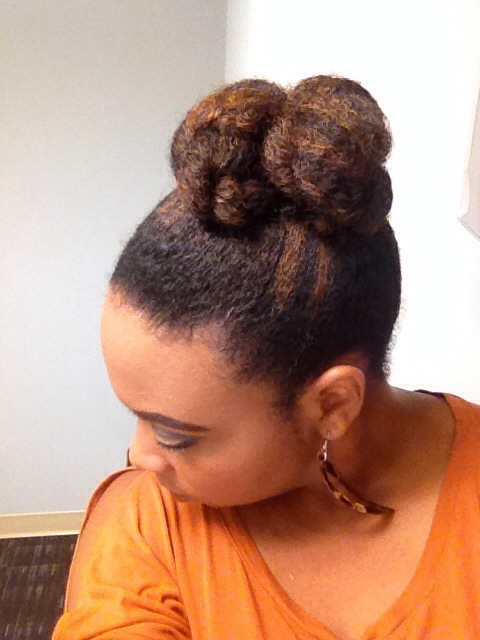
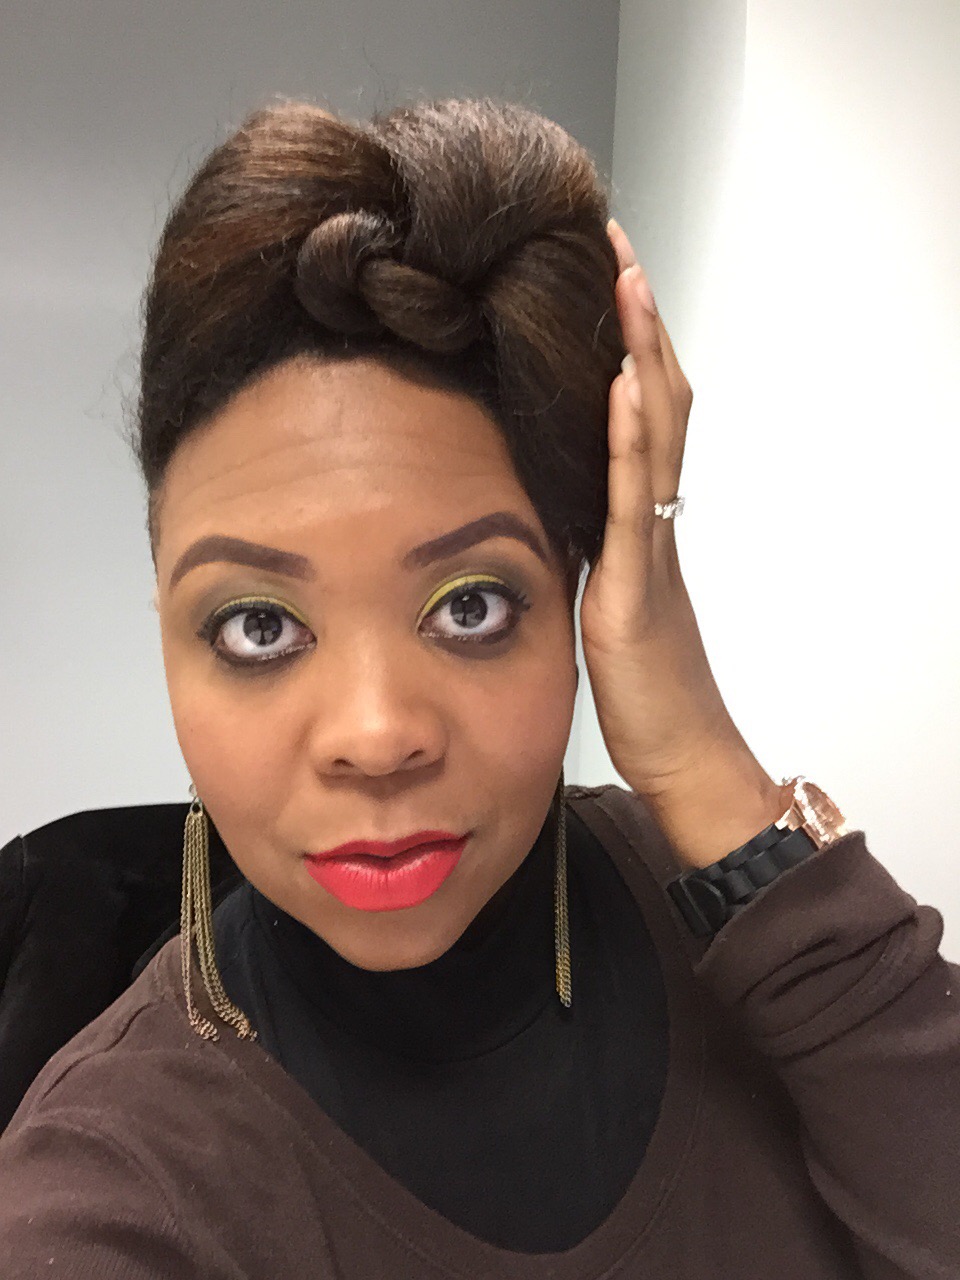
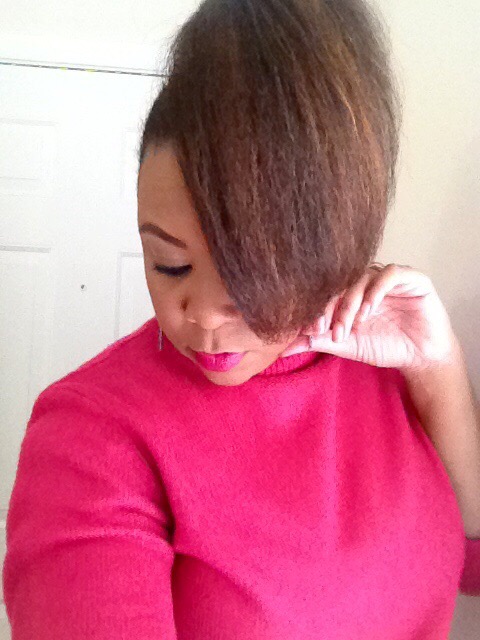
Style 4

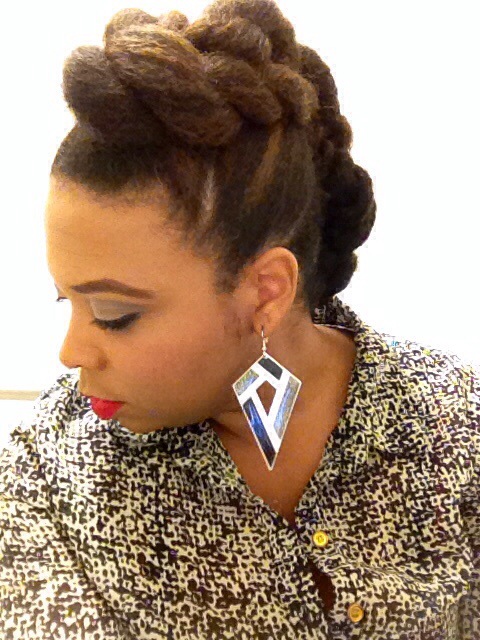
Style 5


Style 6
Style 7
I had so much fun getting creative with styles for my straightened hair! I’m already excited about my next straight hair adventure. Comment and let me know which one is your favorite.