
Hey Luvs!!!
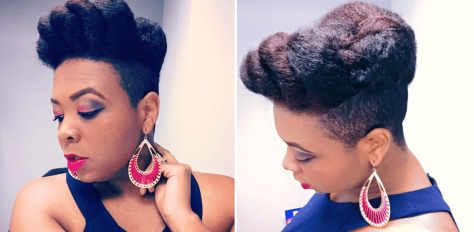
I’ve got another DIY tutorial for you guys today. This one is for this front flat twist & top knot.

Really enjoyed this look and I’m excited to show you all how I got it. For all the deets click here.
XOXO
~TJ

Hey Luvs!!!
I’ve got another DIY tutorial for you guys today. This one is for this front flat twist & top knot.
Really enjoyed this look and I’m excited to show you all how I got it. For all the deets click here.
XOXO
~TJ
Heyyy beauties!
Today I’ve got a video tutorial for you. Inside my August curlBOX were some products by One ‘N Only.

I decided to take a few of them for a drive by doing a twist out using the L.O.C. Method (liquid, oil, cream). The results were beautiful!
Day 1
Day 2 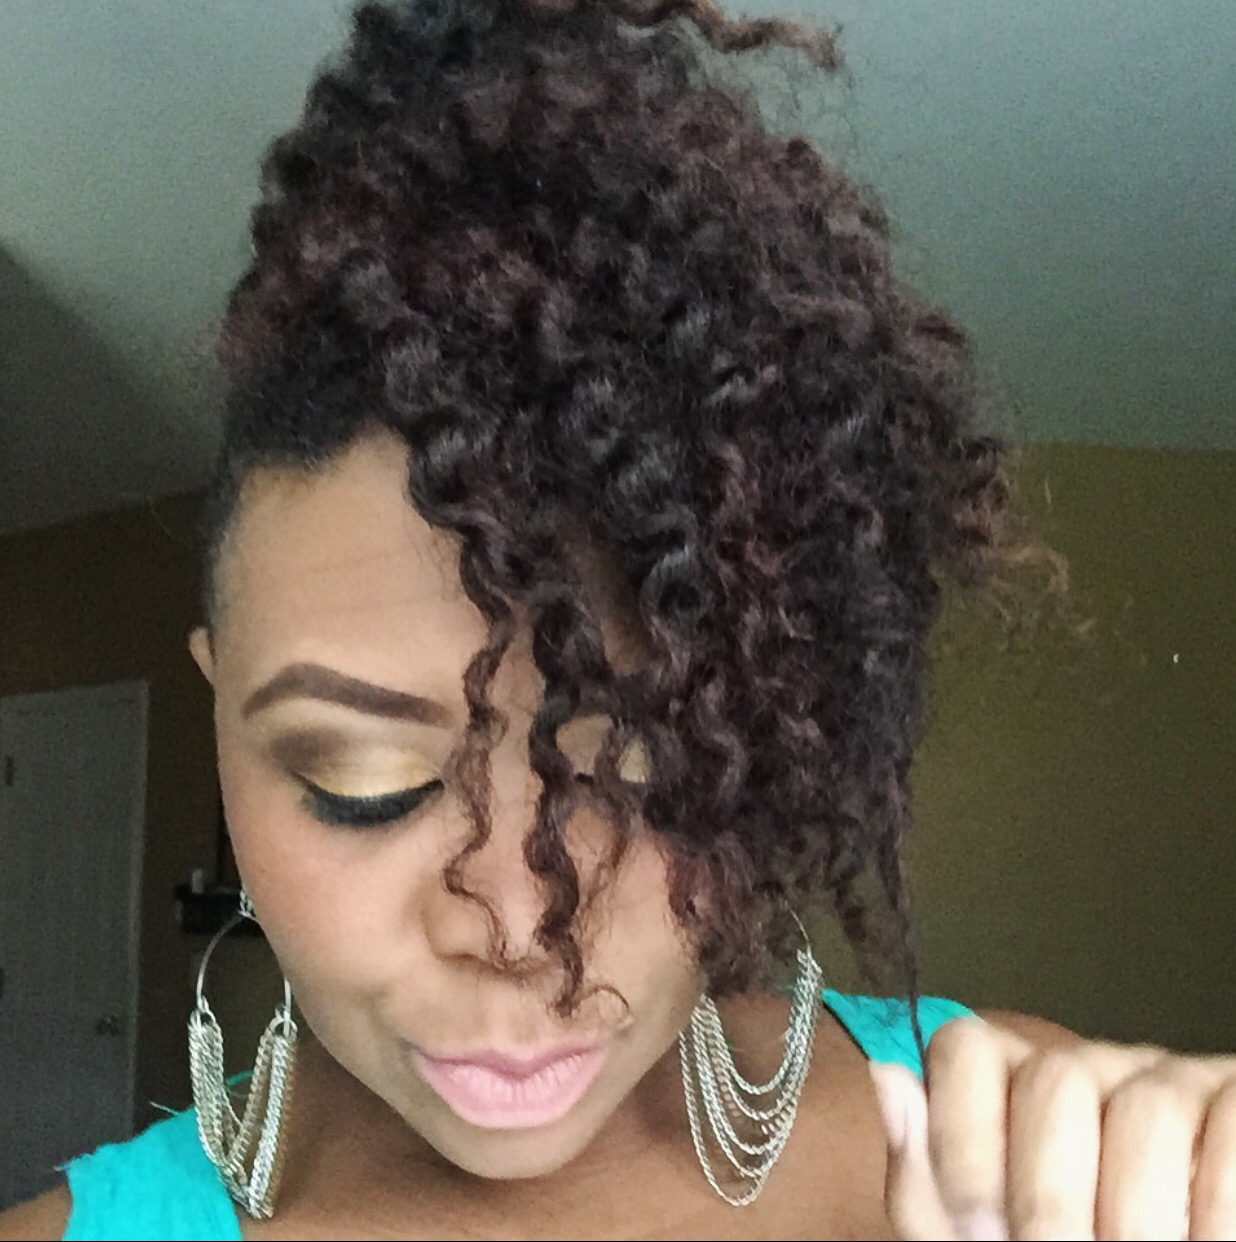
To check out the complete process click here
XOXO,
TJ
Hi loves!
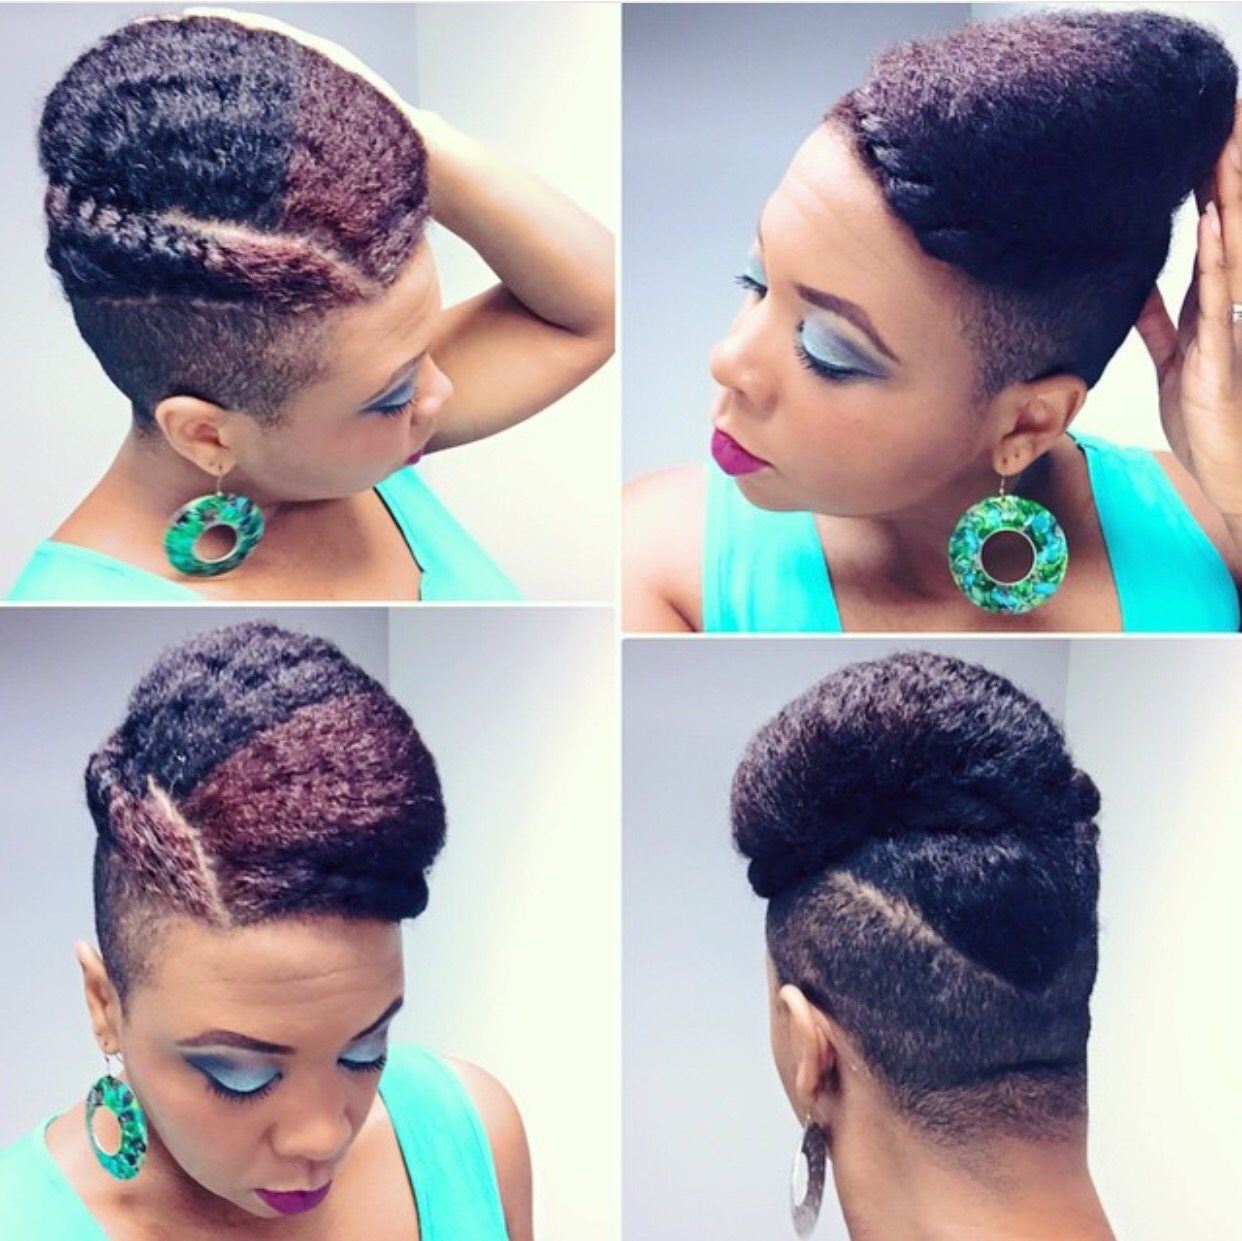
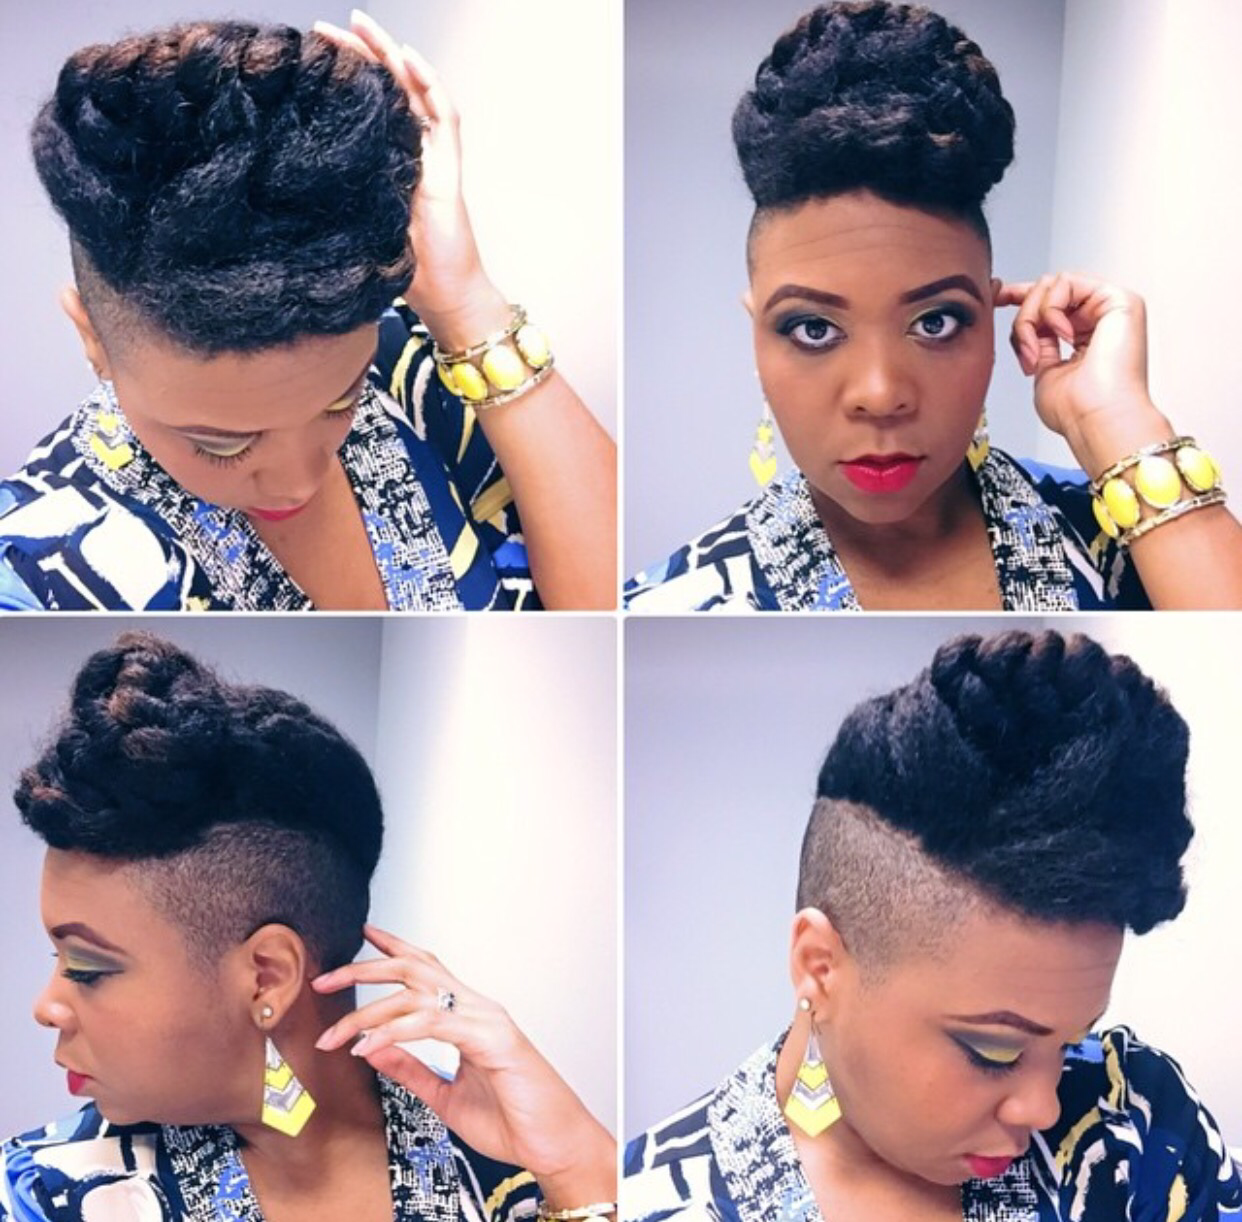
Today I wanted to share 3 eye-catching French rolls with you along with how-to’s for each look.
I love French rolls because they are extremely dynamic. You can always find a new way to style a French roll. Here are a few different styles I’ve come up with on both stretched and straightened hair and tutorials for each. And for more styles & tricks and tips to French roll versatility click here. Enjoy!
The Mega Side French Roll
Click here to see how I got this look

The French Roll with a Twist
Click here to see how I got this look

The Flat Twist Framed French Roll
Click here to see how I got this look. Tutorial starts at 3:26
Hello beauties!
Probably one of my favorite all time buns and what I considered to be my go-to bun before I layered my hair is this super easy, edgy but chic bun hawk.
Bun hawk on wet hair
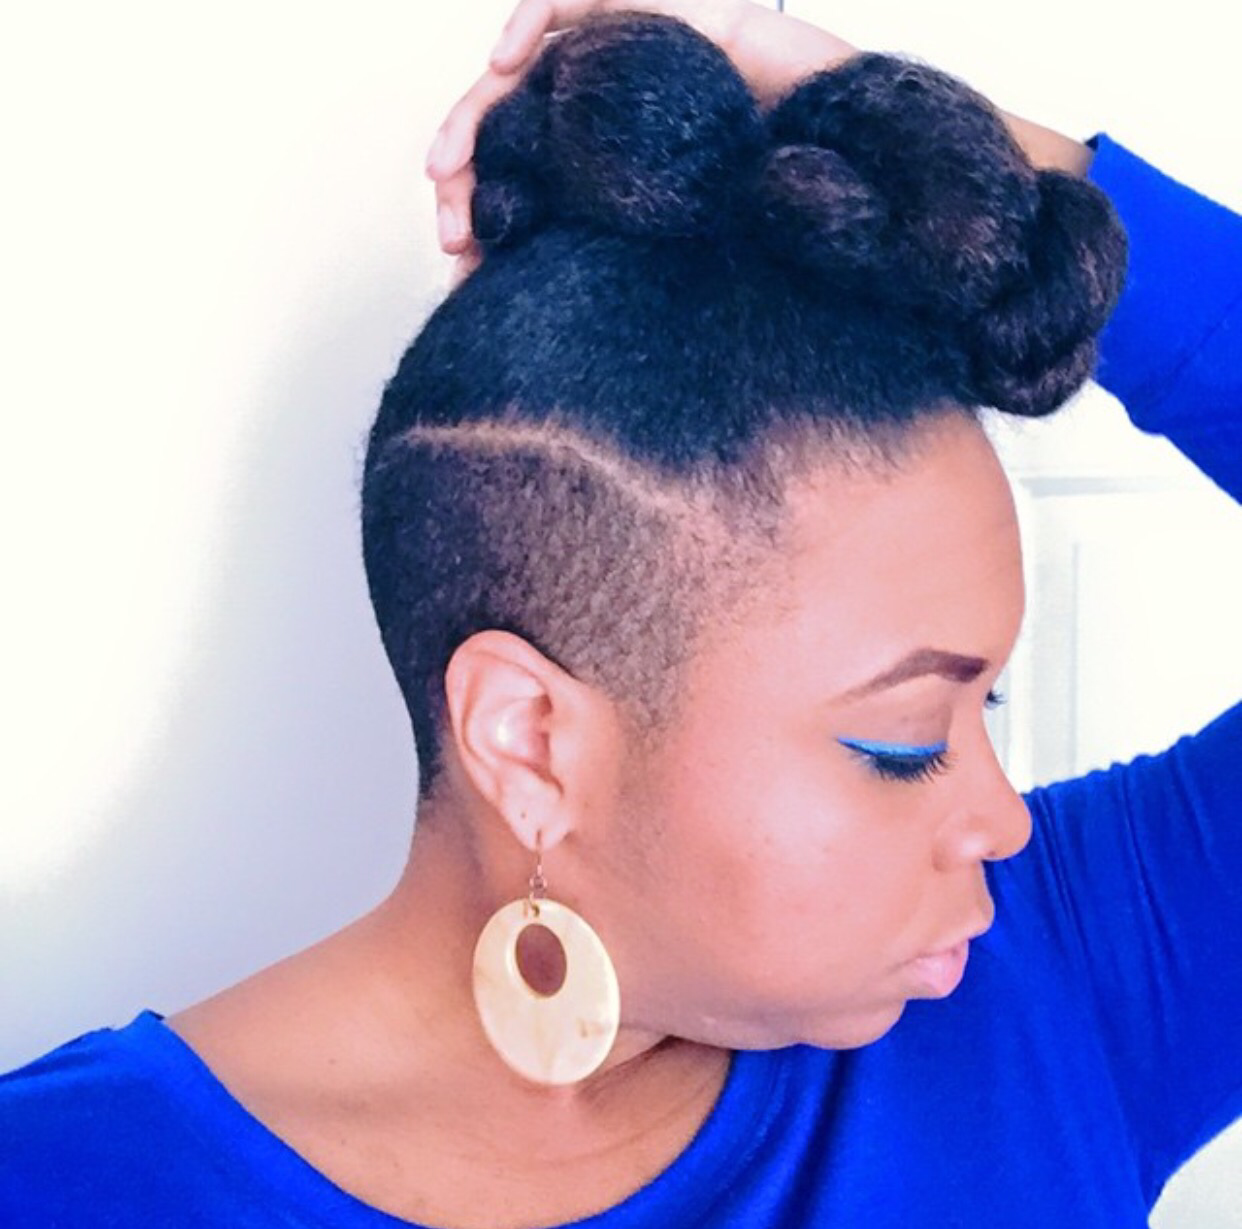
Bun hawk on semi-stretched hair

Bun hawk on semi-stretched hair
Bun hawk on completely stretched hair

The technique to get the look never changes but depending on the texture of your hair (wet, semi-dry/stretched or completely stretched) it can come out a little differently like you see above.
Before I started challenging myself to do something different every single day, this was an easy way to get a protective, creative yet simple style, especially if I was really short on time.
To see just how easy it is to get this look, click here.
Enjoy!
Hi beauties!
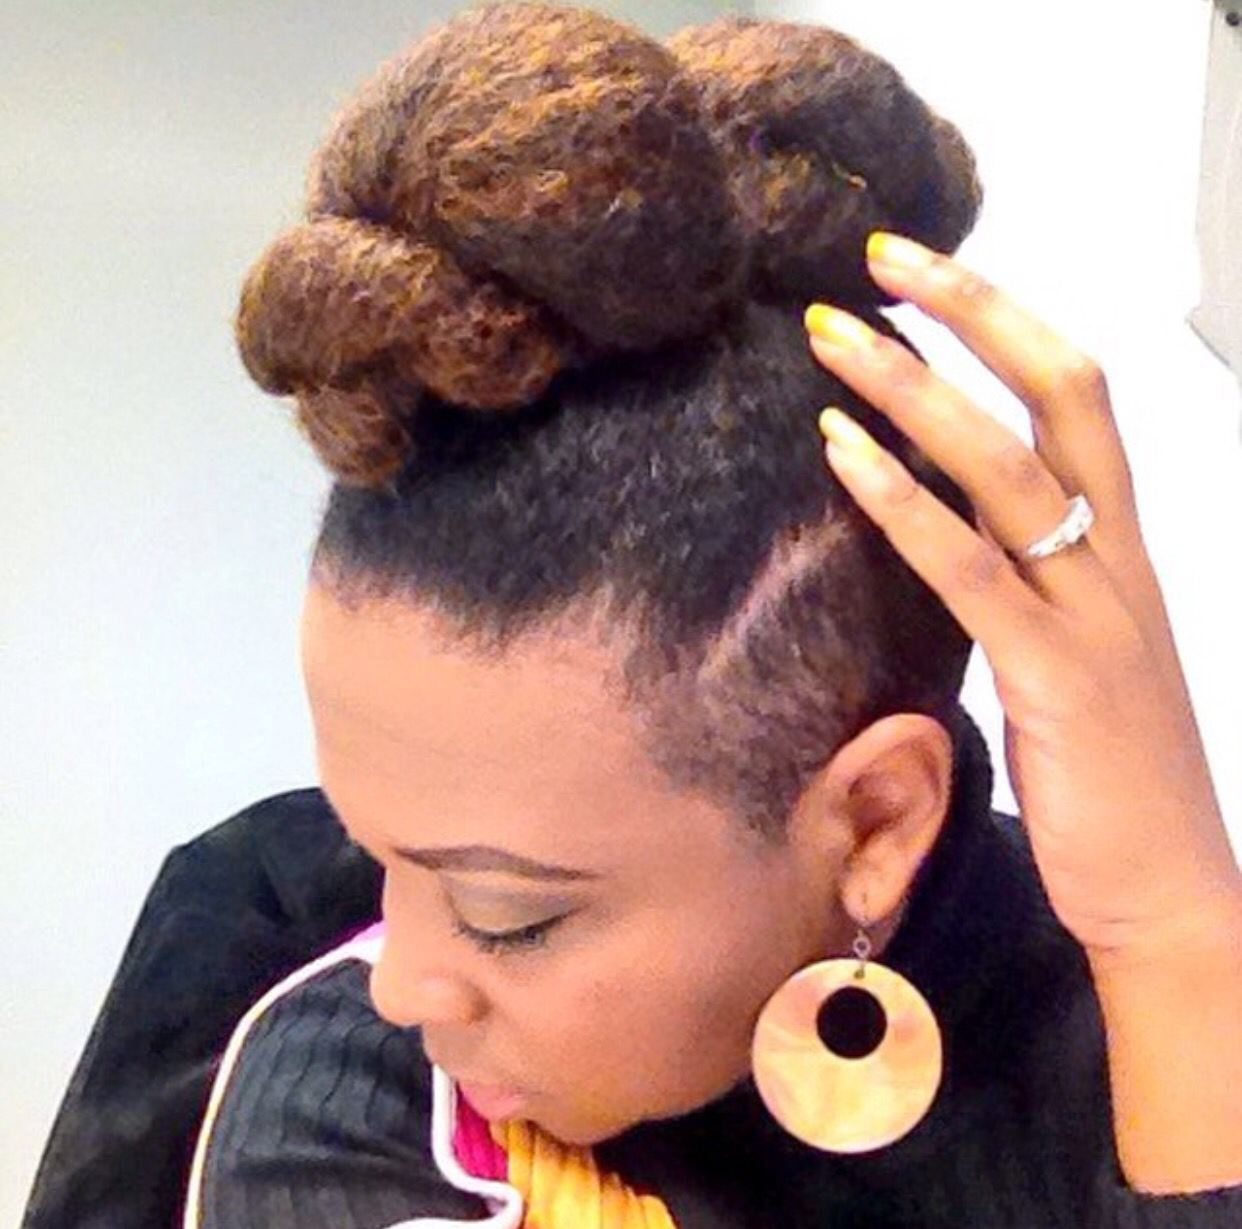
Faux styles can be a lot of fun to wear. There are two that I especially love. One is the faux bob and the other is the faux knot which I want to talk about today.
This faux knot style is just that, a style that includes what looks like a knot, but isn’t. Here are a few pics:

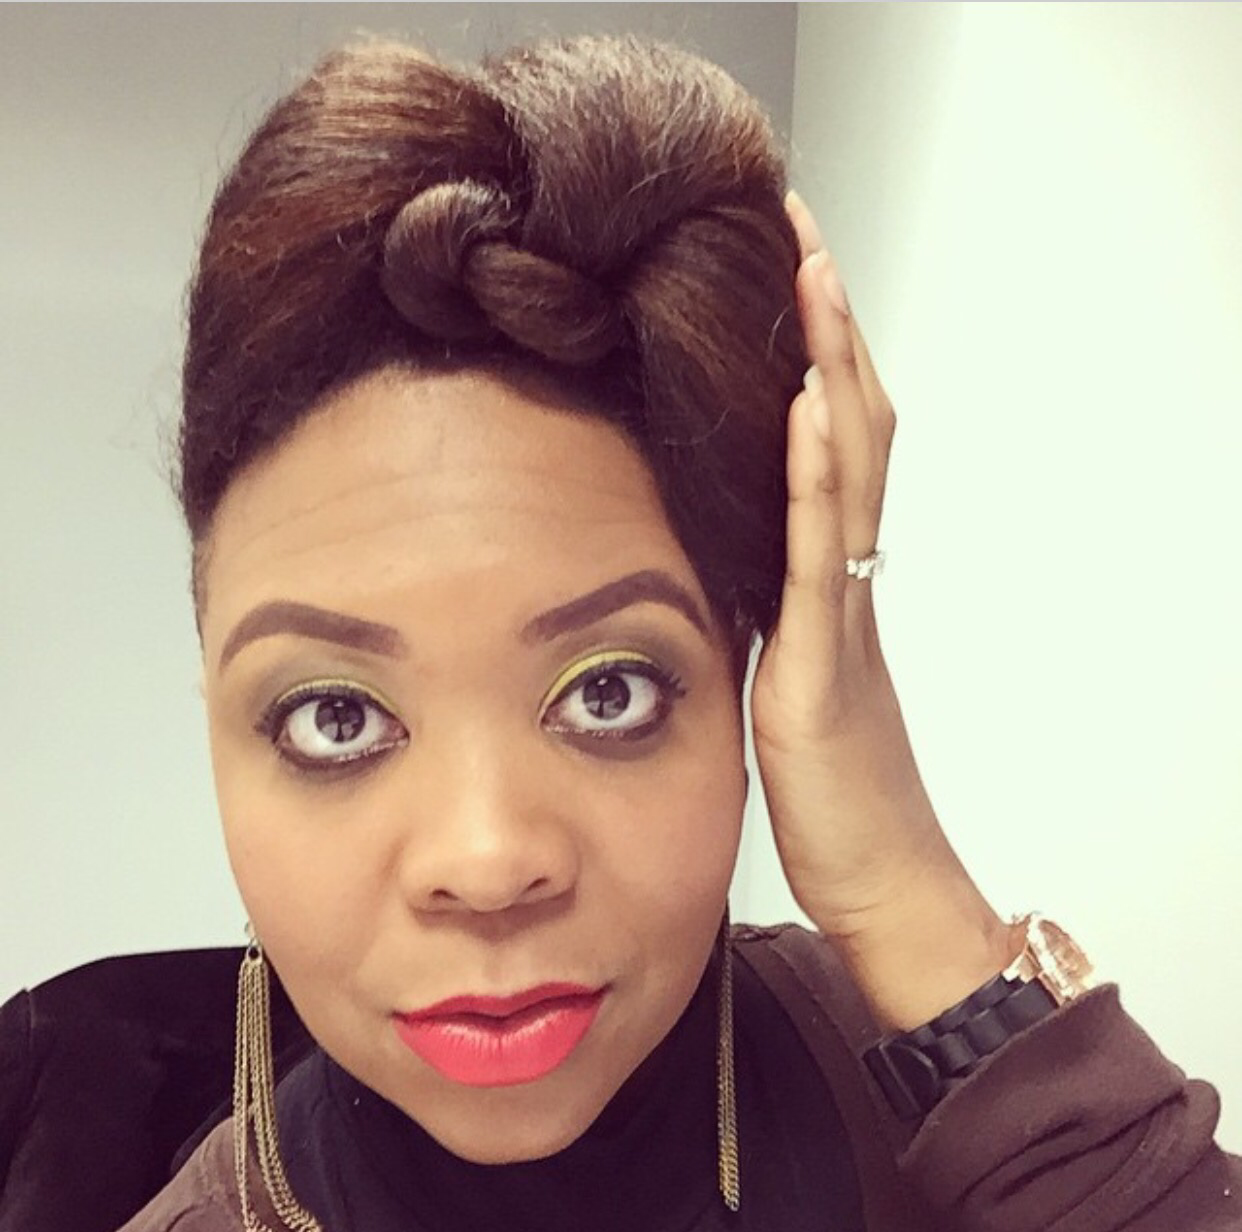
 This look works best for me on straight hair. I have done it on my more textured hair and the result is more of a pompadour, kinda like the last picture above.
As for how I get the look, below is a super quick how to of how I got the under knot. You can achieve different variations in how tight you do the twist and how you shape and pin the twist once it’s complete. The over knot is achieved just by pulling the hair up and back.
Mmuuahh!
Hi luvs!
Three tutorials in one week! I have been on a serious grind trying to get you guys some good creative content. Today I’ve got a tutorial for this unique crown braid.
Definitely not your typical crown braid! If you missed the blog post where I talk about 5 of my most extraordinary crown braids and how I come up with the ideas you can check it out here.
To see the step by step video on how I got this look featuring one of my favorite styling products, Dark and Lovely’s Easy Twist Gel N’ Butter click here!
Enjoy :o)
Hi Beauties!
Today I’ve got another DIY tutorial for you. This is the number 1 voted style from last week when I had my hair straight. It is essentially 3 flat twists that I’ve pinned up to form this chic look.

Click here to see the step by step on how I got this look.
Enjoy! And don’t forget to subscribe.
Morning lovelies!
Today I’ve got a video tutorial for a twisted updo. This look was the #1 voted style from the week that I wore it.

The prep and style time took me about 7 minutes total!


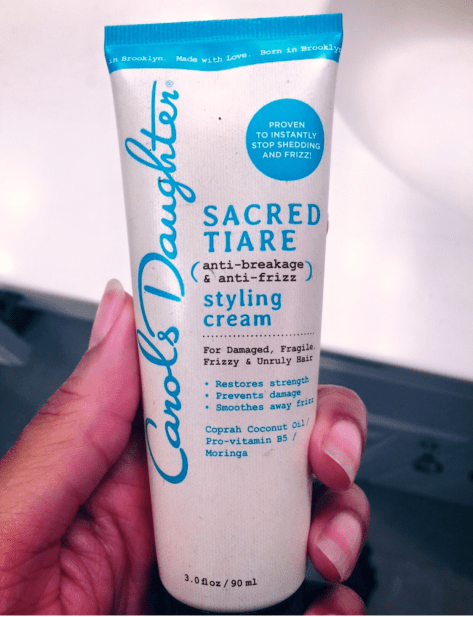
The product I used to get this original look was from the June curlBOX. It’s the Sacred Tiare Styling Creme. This product was nice and thick and offered great shine. It also helped to control my frizz which helped the style look nice and neat. I didn’t use the product in the re-creation video tutorial as its focused on the methodology of how I achieved the style.
To see how I got the look click here
Muuahhhh!
Hey beauties!
Today I’ve got a video tutorial of the best voted style from last week. To recap, here’s a look at all of the styles from last week as well as what the top looks were.

Here are the top two voted styles from last week
Best Style
Second Best Style

Today’s tutorial is for the best voted style. I didn’t have time to do a twist out over the weekend to show you all how I got the second best style which was a twist out updo, but I will try to get that in for you later in the week.
So, to see how I got the best voted style from last week click here!
Good Morning Luvs!
Today I’ve got tutorials for two different looks. These were voted the top two styles of the week! I hope you all enjoy this video and be sure to follow me on Instagram and Facebook @TJLuvsbeingnatural to vote for your top two styles this Friday. Enjoy!


