
Hi beauties!
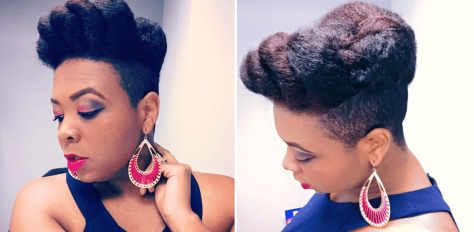
I was going through some of my older video tutorials and came across a how-to for a reverse pompadour. I used to wear this style a lot. It’s super easy and very chic. If you haven’t seen the video for this look, check it out here.


Hi beauties!
I was going through some of my older video tutorials and came across a how-to for a reverse pompadour. I used to wear this style a lot. It’s super easy and very chic. If you haven’t seen the video for this look, check it out here.
Hi Beauties!
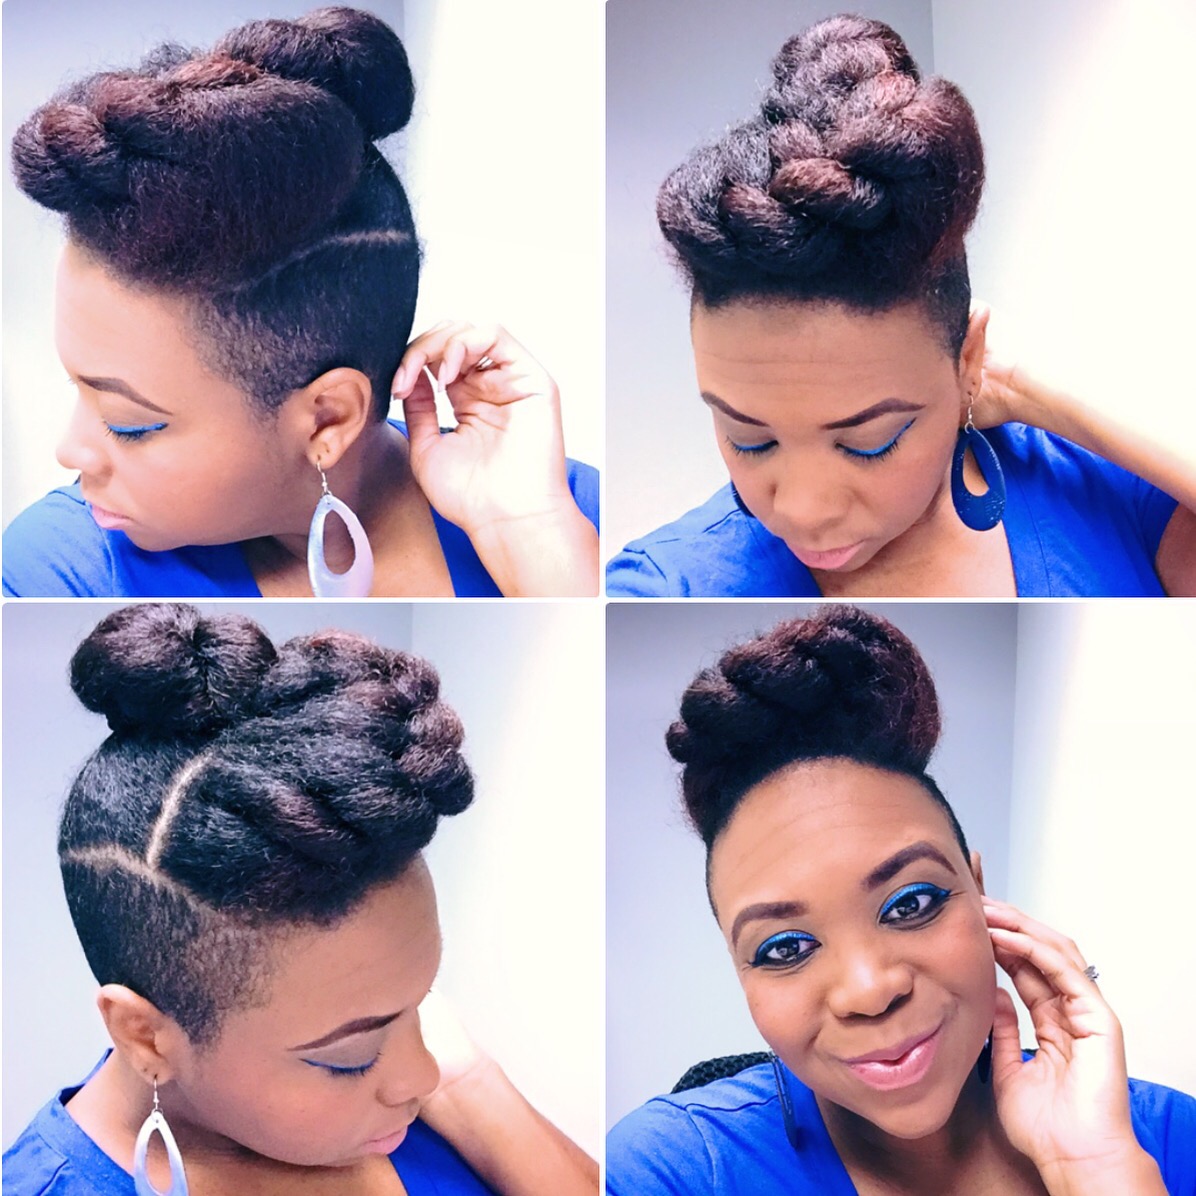
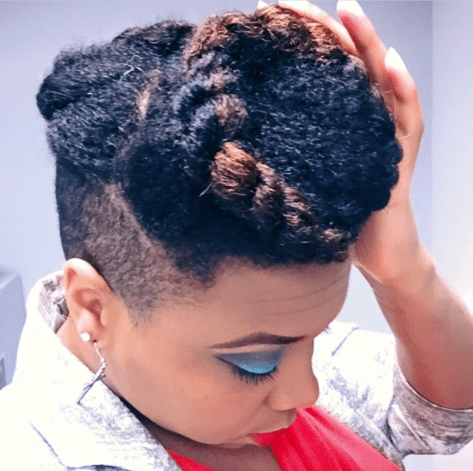
Today I’ve got another DIY tutorial for you. This is the number 1 voted style from last week when I had my hair straight. It is essentially 3 flat twists that I’ve pinned up to form this chic look.

Click here to see the step by step on how I got this look.
Enjoy! And don’t forget to subscribe.
Good morning beauties!
Today I’ve got a video tutorial for the second top voted style from last week. I played with some different straight hair styles and this one got a lot of attention.

It was one of my favorites because of the chic look and the fact that it took 3 minutes tops!
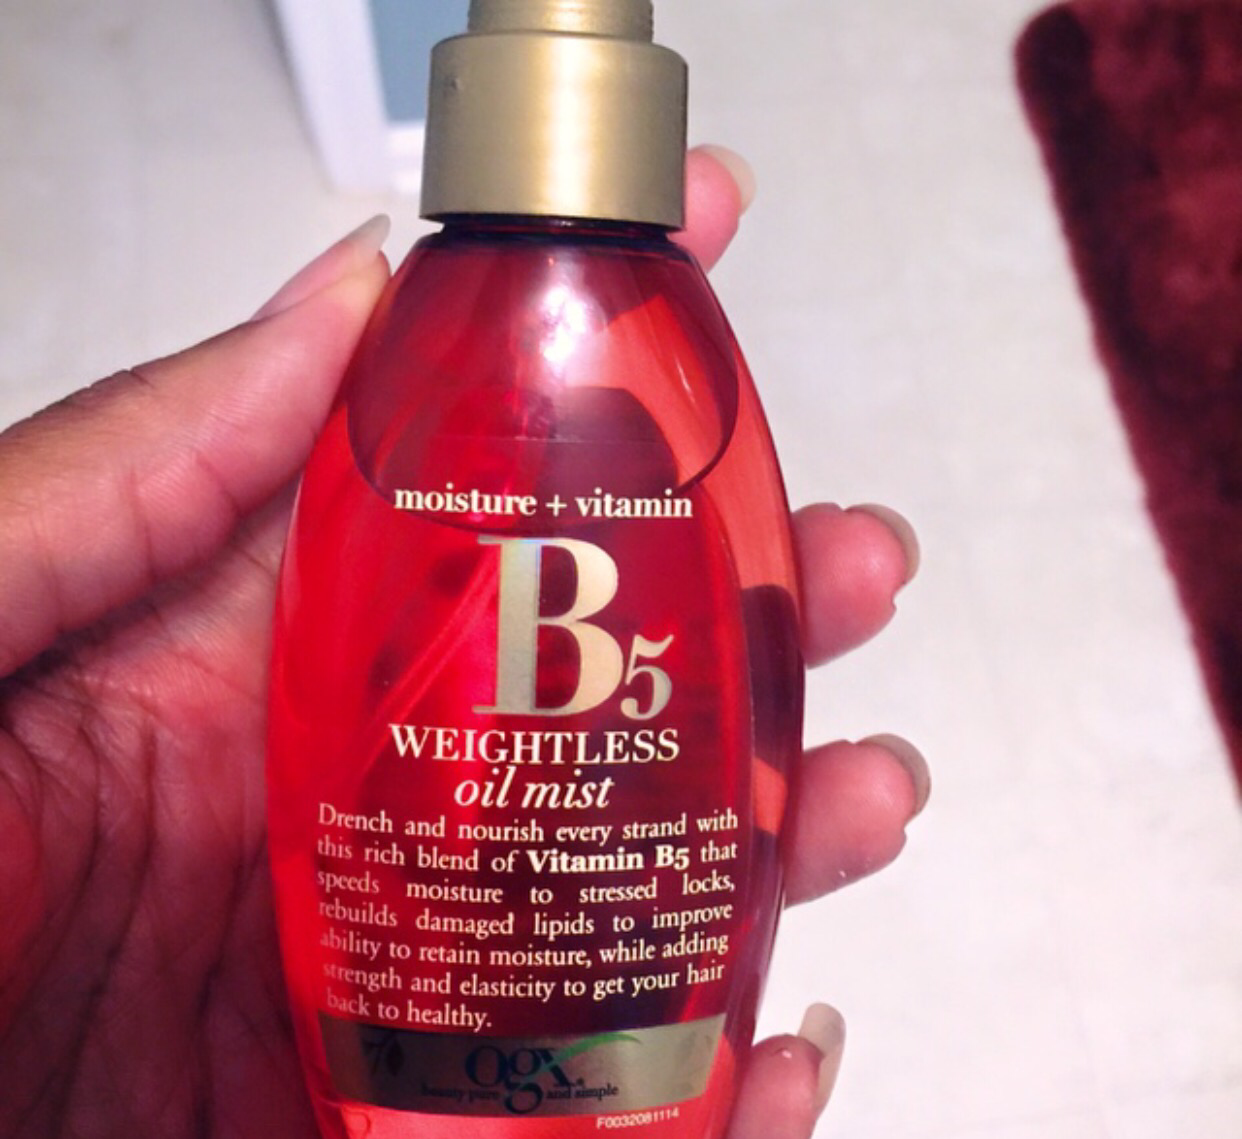
As for a styling product, this OFX Beauty B5 Weightless Oil Mist is the only thing I used. LOVE this stuff for my straightened hair.
Check out the short DIY video tutorial for this French roll with a twist here.
Hi Luvs!
Today I’ve got a video tutorial for this flat twist & ponytail combo. Click here to get the step by step on how I got this look and see how easy it is to do it yourself!
Morning lovelies!
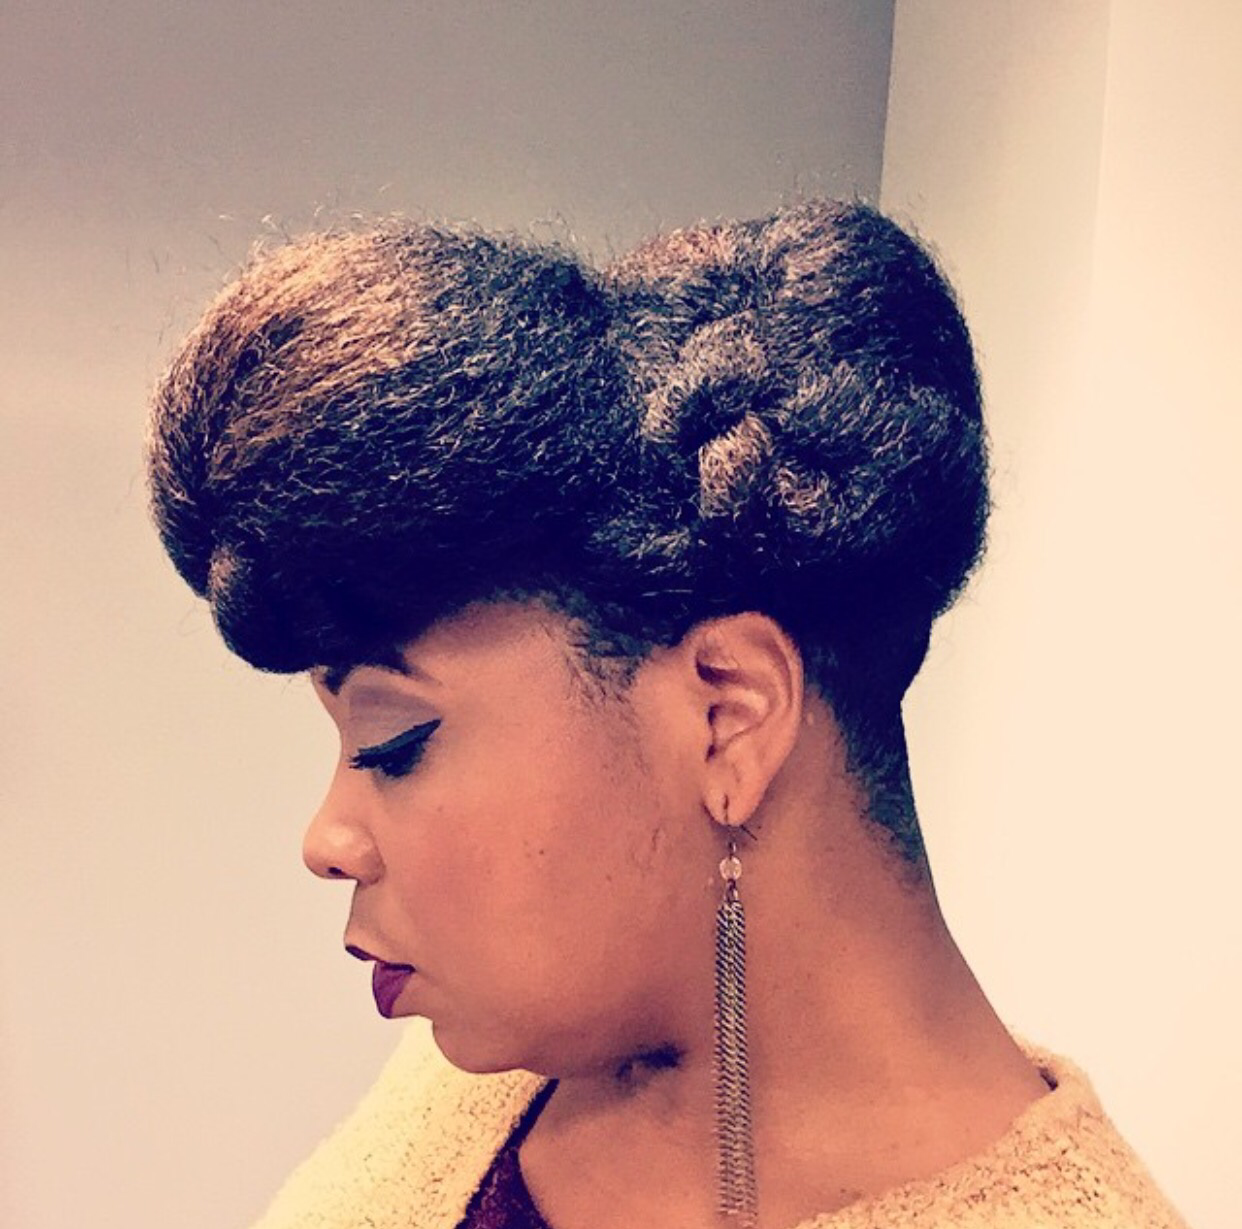
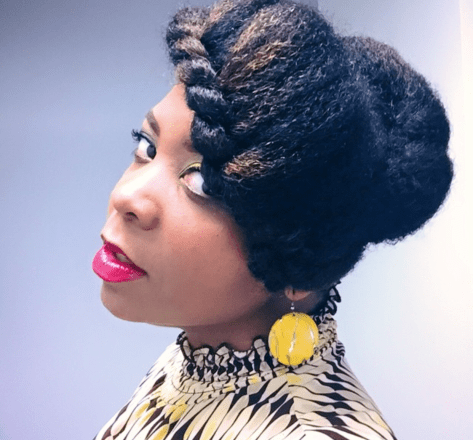
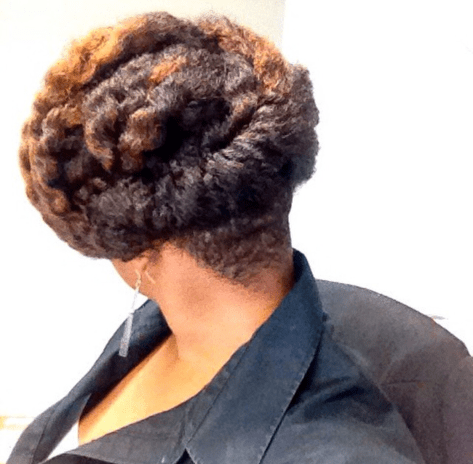
Today I’ve got a video tutorial for a twisted updo. This look was the #1 voted style from the week that I wore it.

The prep and style time took me about 7 minutes total!


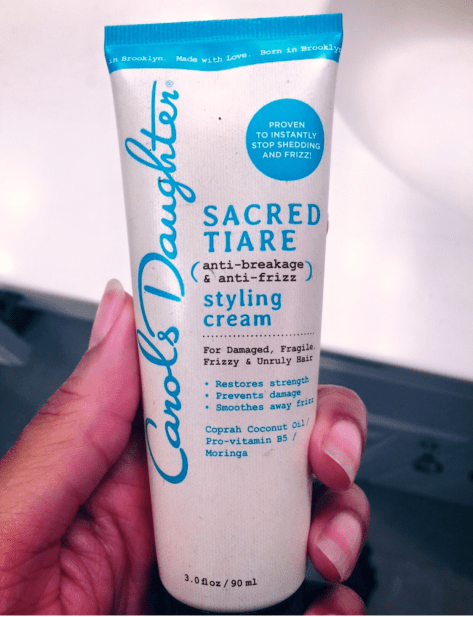
The product I used to get this original look was from the June curlBOX. It’s the Sacred Tiare Styling Creme. This product was nice and thick and offered great shine. It also helped to control my frizz which helped the style look nice and neat. I didn’t use the product in the re-creation video tutorial as its focused on the methodology of how I achieved the style.
To see how I got the look click here
Muuahhhh!
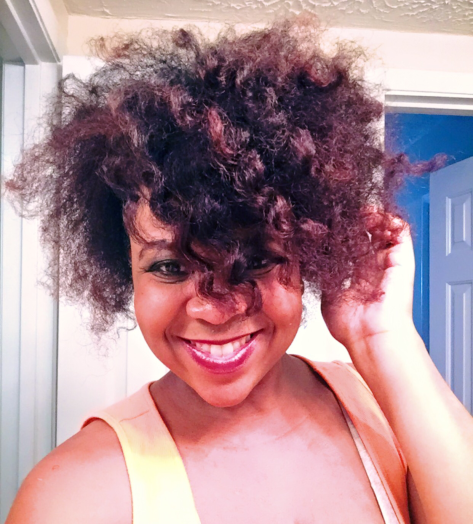
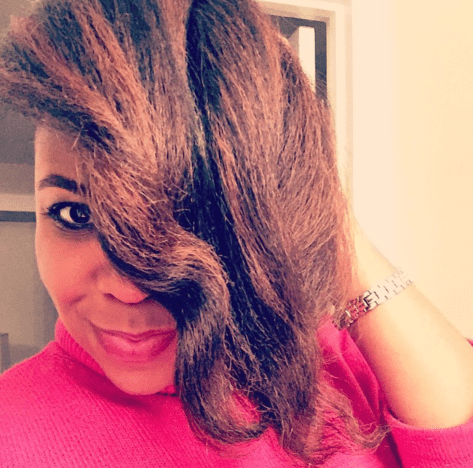
Ever wish you could start the day with your end of day hair. It’s kinda like how 3rd and 4th day twist outs have a tendency to slay harder than days 1 and 2. Well, this is my reality at least 2 days out of the week.
Despite my total adoration for updos, I love big messy, curly with a side of frizz type hair just as much as the next naturalista. My ability to end the day with a brand new beautiful natural hairstyle is yet another perk of twisted updo styling!
If you follow me on Instagram you know I post those let down hair slayage pics fairly often. While I am consistently amazed at the transformation, I love to showcase the additional opportunity for natural hair styling made pretty effortlessly from the days updo (which typically takes no longer than 10 minutes whether my hair is straight or not.)
So, as I sit here enjoying today’s updo thinking about what awesomeness I’ll encounter when I get home and let my hair down, here is a look at some before and after, from updo to let down hair slayage transformations.
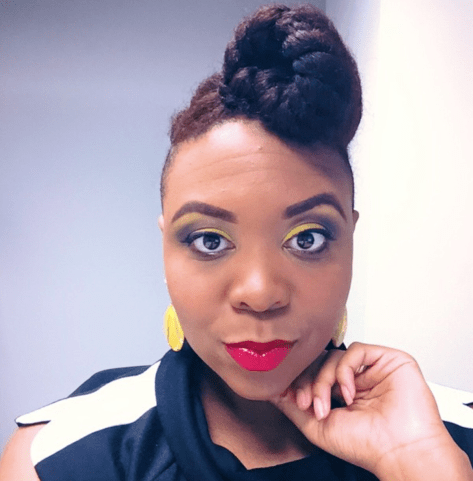
Updo

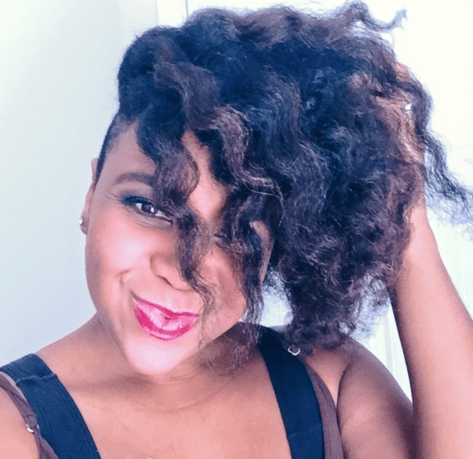
The let down
Updo
The let down

Updo
The let down
Updo

The let down
Hey beauties!
Today I’ve got a video tutorial of the best voted style from last week. To recap, here’s a look at all of the styles from last week as well as what the top looks were.

Here are the top two voted styles from last week
Best Style
Second Best Style

Today’s tutorial is for the best voted style. I didn’t have time to do a twist out over the weekend to show you all how I got the second best style which was a twist out updo, but I will try to get that in for you later in the week.
So, to see how I got the best voted style from last week click here!
Good Morning Luvs!
Today I’ve got tutorials for two different looks. These were voted the top two styles of the week! I hope you all enjoy this video and be sure to follow me on Instagram and Facebook @TJLuvsbeingnatural to vote for your top two styles this Friday. Enjoy!
Hi luvs!
Today I want to talk a bit about shape an angles when it comes to hairstyles. In my YouTube video 3 Keys To Developing Creative Styles which you can watch here, I talk about how embracing shape and angles opens up more opportunity for styling options.
Here are the two main shapes I tend to embrace to come up with unique looks:
1. Circles: you might not realize it but circular styles are easy to come up with, outside of a typical halo/crown braid or bun. Here are a few different styles where I embraced a circular shape or rounded edges.


2. Triangles – triangular shapes allow me to achieve some really unique looks up front and they tend to be really bold. Take a look at these styles where I embraced a trianglular shape


The easiest way to achieve these circular or triangular looks is by using 1 or more sections of twisted hair and pulling and pinning them until they form the shape you’re looking for. You can also try to just form the hair into the shape and secure with bobby pins along the way, but this is a bit more difficult.
That’s it beauties! Try embracing one of these shapes with your next experimental updo and see where you end up.
Muuuahhhh!!!
Hi loves!
Today I’ve got a tutorial of three different twist out updos that can be done on first, second, third and even forth day twistouts! These styles are super easy and chic. Click the link below and check them out! Don’t forget to subscribe!


